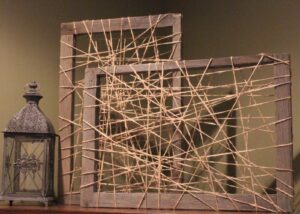
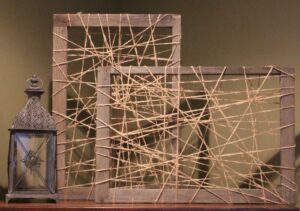
This project was a near miss that skated dangerously close to a major fail. For the last few months, I’ve been looking for pieces to decorate a corner in my bedroom. Recently, I browsed through a very high end decor store. I saw the most unique wall art that was rustic and interesting. Then I glanced at the price tag and nearly choked. Two hanging pieces were a combined $500.00. So I decided to create a replica that was more reasonably priced. Had I not almost ruined the entire project (details below), the cost would’ve been under $2 for both and much less time and worry – sometimes we must learn the hard way…Let me explain.
Materials:
Wood Frames
Sponge Paint Brushes (at least two big ones)
Paint (whatever color you choose)
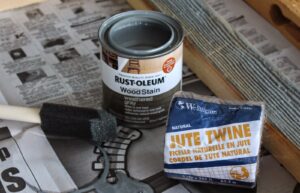
Twine
Gloves
Newspaper to protect the floor
How-To:
My father gave me two old windows. The wood was dirty and needed to be sanded some, but the grain had lots of character. The wood was free. I suggest browsing a local Habitat for Humanity Restore or Goodwill for old frames. You could choose any color that matches your decor, it’s up to you. I removed the glass remnants and washed the frames before sanding them lightly. Watch for splinters or broken glass.
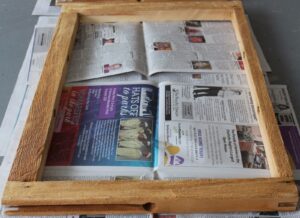
I wanted a weathered look for the frames and browsed through Lowes and found a stain called Rust-Oleum Weathered Gray Wood Stain. I wanted the wood to be lightly stained so the natural wood would also show with a tinge of color. The sample at Lowes looked exactly as I wanted the frames to look. It was weathered but not really a color.
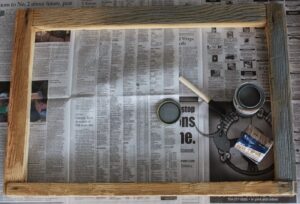
I lightly stained the wood. As I was staining, I started getting an uneasy feeling because the stain was VERY BLUE – I mean really, really blue. The photos aren’t showing the blue hue all that well. It was gross and I was frustrated. Shame on you Rust-Oleum – weathered gray is not BLUE!
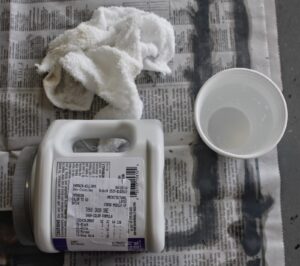
Next, I went online and looked for ways to fix the blue tint. A DIY blog, that I will not mention, said to purchase Iron Ore from Sherwin Williams to offset the blue tint. It said to sponge the paint on with a wet wash cloth. I did this to my horror – do NOT believe every DIY blog. Eye roll.
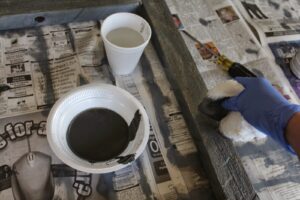
I sponged the paint carefully on the frame. The blue only turned a painted gray. It wasn’t working!! Here is a contrast in blue frame versus Iron Ore grey frame. There is almost no difference. The blog lied, another eye roll.
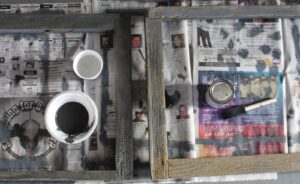
Back to Lowes. I will interject here that the paint I got next was free. Several home decor and living magazines right now have insert coupons in them for a free 8 ounces of paint from Lowes. This coupon is amazing – Thanks Lowes! The color I selected was English Tea Party from Valspar. It saved my entire project.
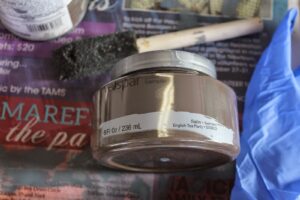
My father, the contractor, told me prior to staining, I should mix paint and water and brush it on the frames. I wish I would have listened. The time and money I could have saved, huge eye roll! I mixed equal parts of water and paint and brushed it over the blue/gray frames. It worked very well. The paint wash over the original frames would have been the color I really wanted – so now I’m settling for a brownish gray due to my mistake.
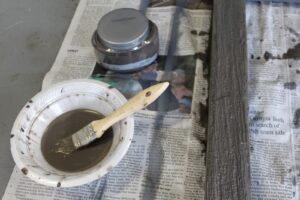
Once the frames dry, unroll a piece of twine.
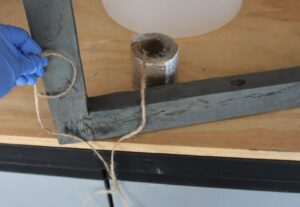
Tie one end of the twine to a corner of the frame. Be sure and tie the knot on the back so it isn’t seen. Trim the end that hangs over.
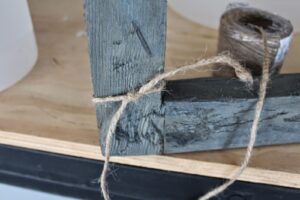
Wrap the frame over and over in all directions with the twine. There is no rule here, wrap as much twine as you wish.
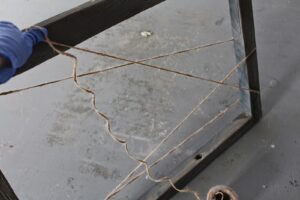
Once you’ve wrapped all the twine you want, tie off the end on the backside of the frame.

This is what the twine will look like once it is on the frame.
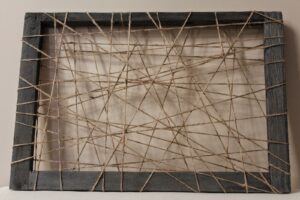
If I had used the frames and the free paint only, my cost would be around $2 for both frames. The twine costs just under $2 per roll and a roll is plenty to wrap two frames. Because I used stain and a paint I had to purchase, the cost was almost $15. The overall cost was still far less than purchasing them at retail pricing. I am extremely pleased at the way they turned out and I certainly learned a good lesson!
