


In an effort to squeeze out every last bit of summer before the pumpkin and holiday onslaught (which I love by the way), today’s project is a colorful and fun end of summer Plastic Straw DIY. We’ll be using plastic straws to repurpose old picture frames or pieces of chalkboard for dry erase boards and memo boards. I can never remind myself of what I need to do enough, so this is a celebratory way to create reminders of to-do lists.
If you’re like me, you’ll have a collection of colored straws from restaurant take-out so you don’t need to purchase them. If not, Amazon has multitudes of straws for reasonable prices. Most people have old photo frames at home collecting dust – or the dollar store has them for $5 or less. I’ll explain how to make two different styles of boards so you may pick or choose or come up with a new pattern entirely. Here’s a video for the complete How-To. There are no rules when it comes to creativity so you can’t get it wrong. Let’s go!
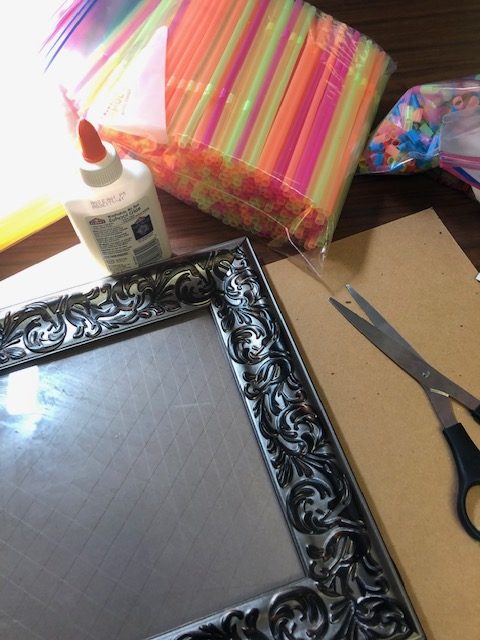
Materials:
Plastic Straws
Glue (Hot or Regular)
Scissors
Old Photo Frames
-OR-
Chalk Board Panels
Dry Erase Marker or Chalk
How-To:
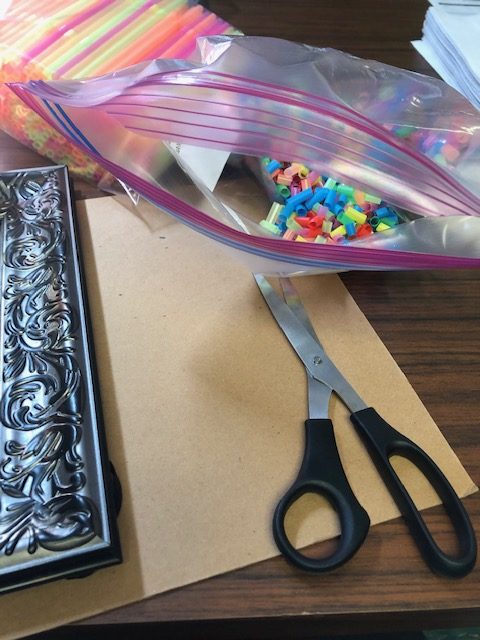
Begin by cutting up the straws into about ¼ to ½ inch pieces. It’s much easier to collect them in a gallon size Ziploc bag. The pieces look like confetti and become like sticky glitter – you’ll find them around your house if you aren’t careful. The bag contains them in one place (I learned this lesson the hard way). Also cut some straws into various lengths ranging from 1 inch to 6 inches. Set the cut straws into two piles.
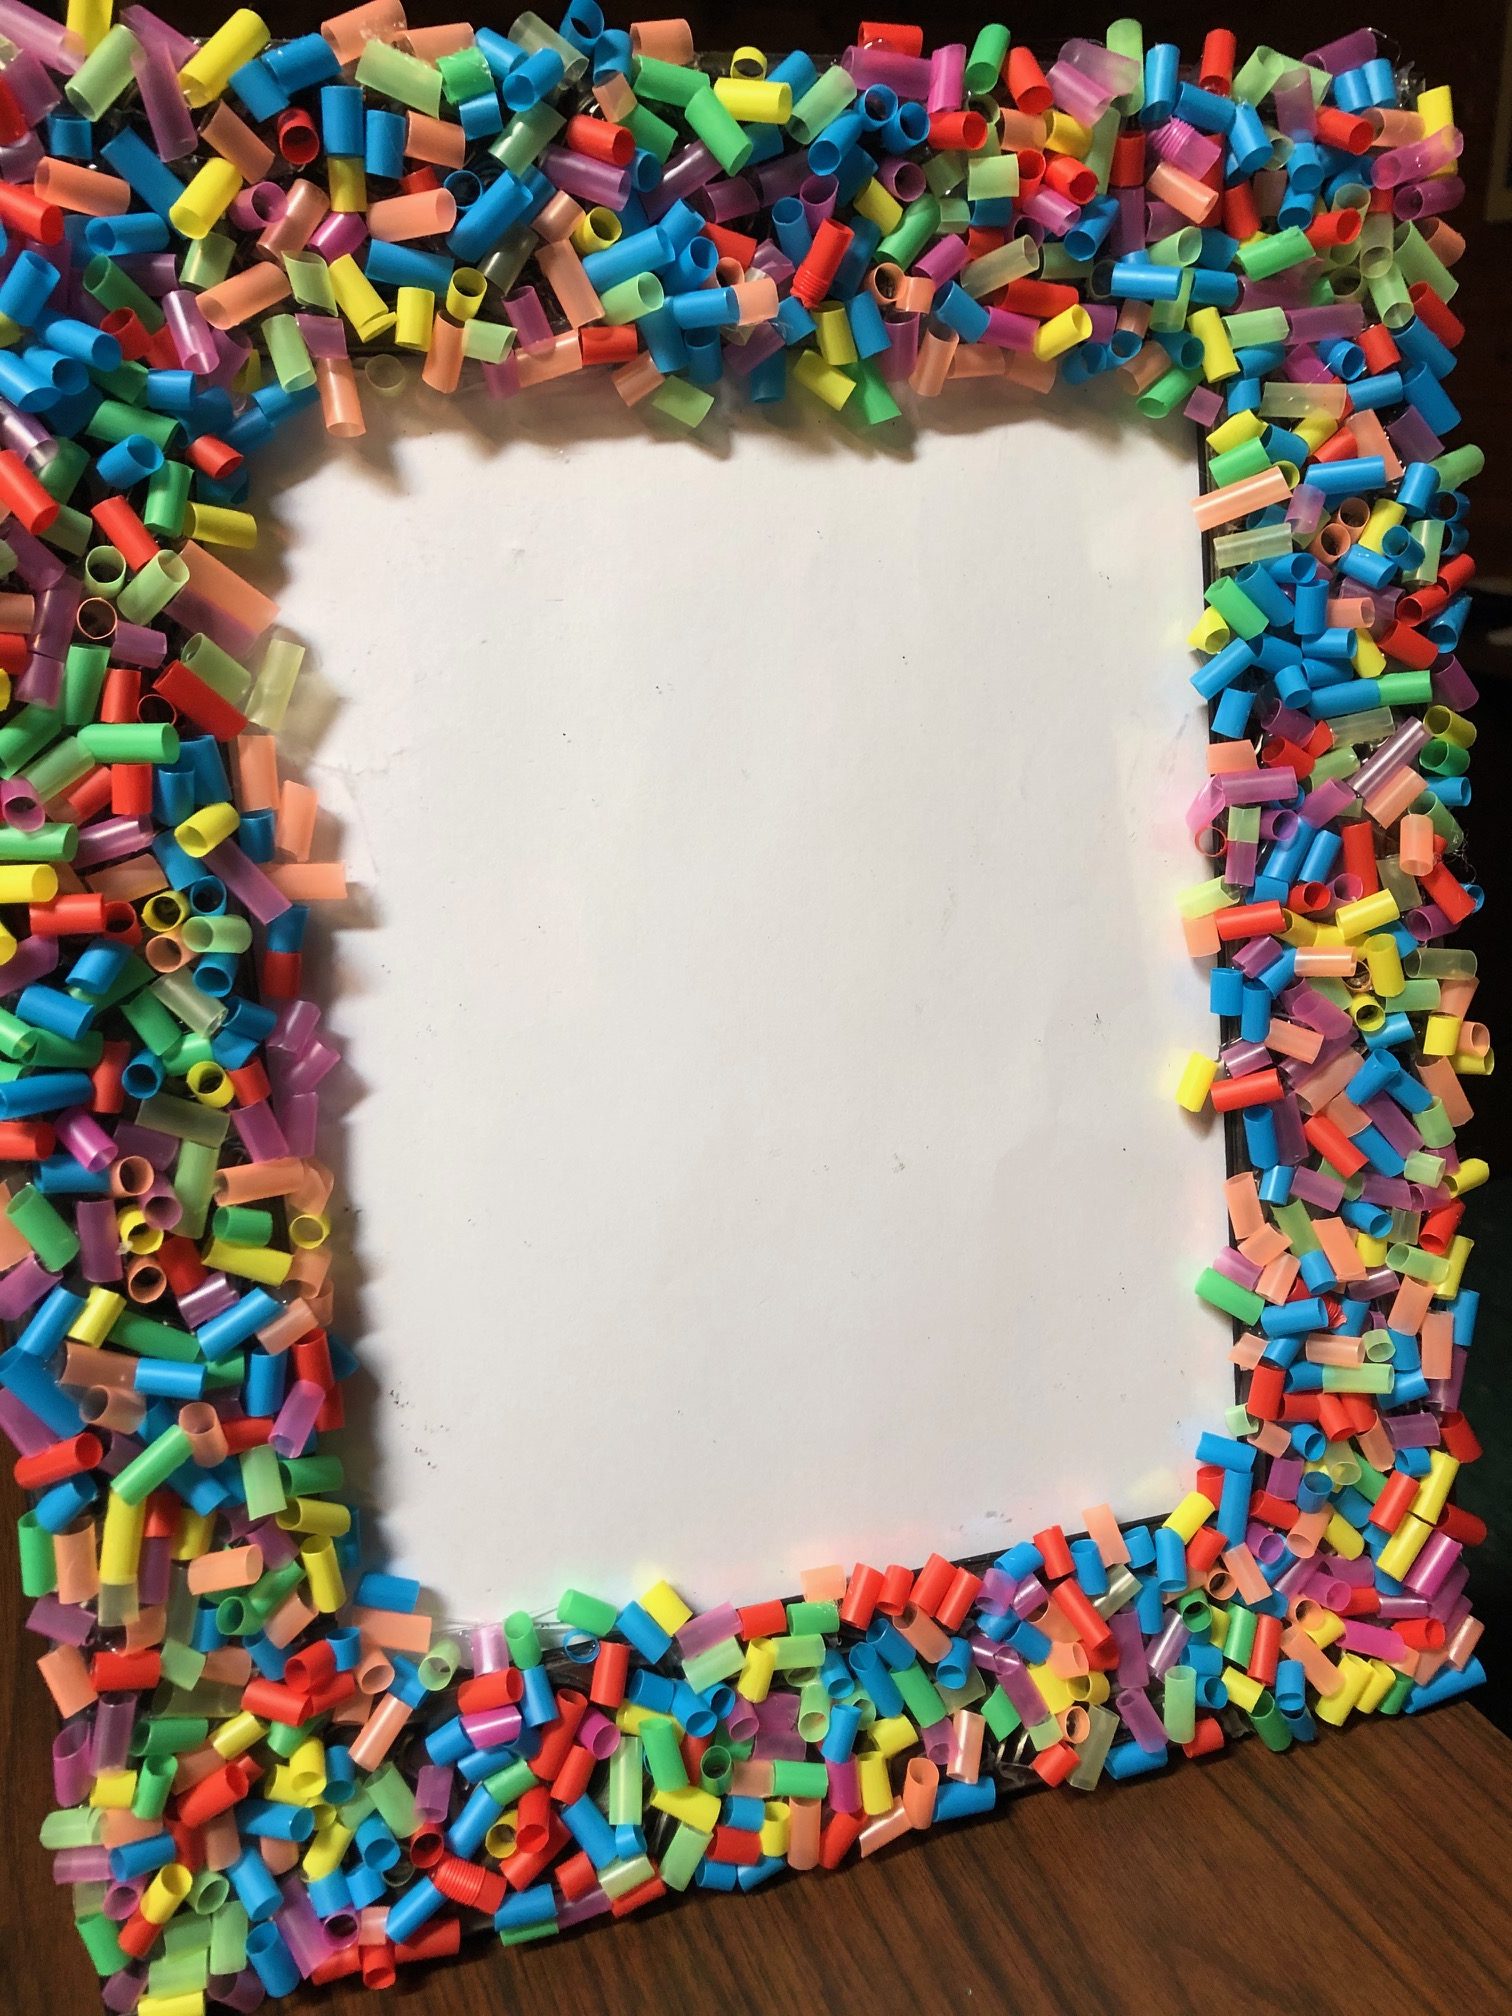
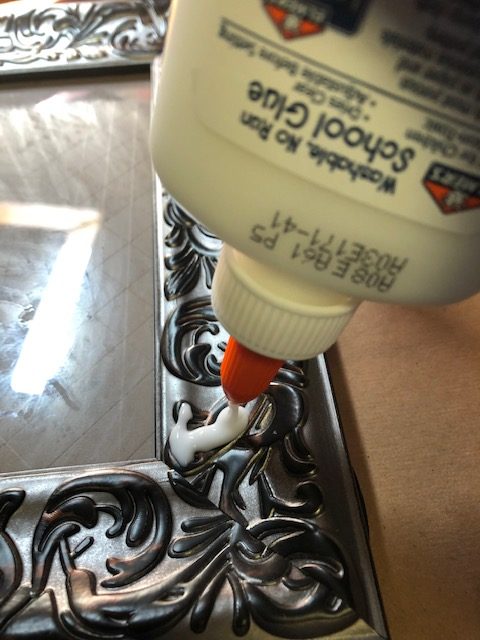
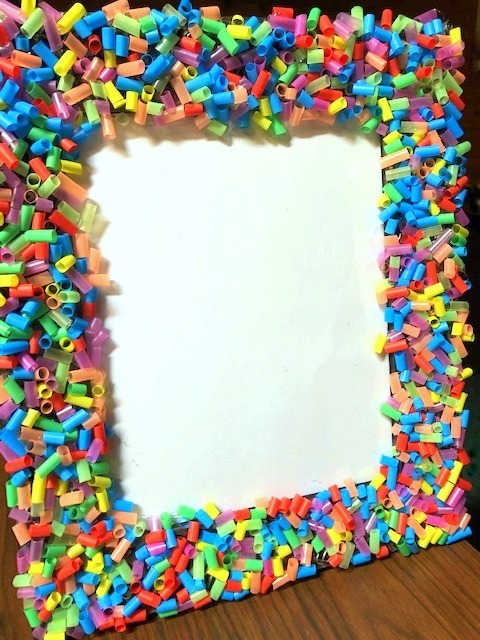
For the photo frame, we’re making a dry erase board. Put a white piece of copy paper into the photo frame where the photo would go. Using either hot glue or regular, apply glue in a section covering about 3 or 4 inches on edges of the frame.
Scoop up a handful of the confetti pieces and press them into the glue.
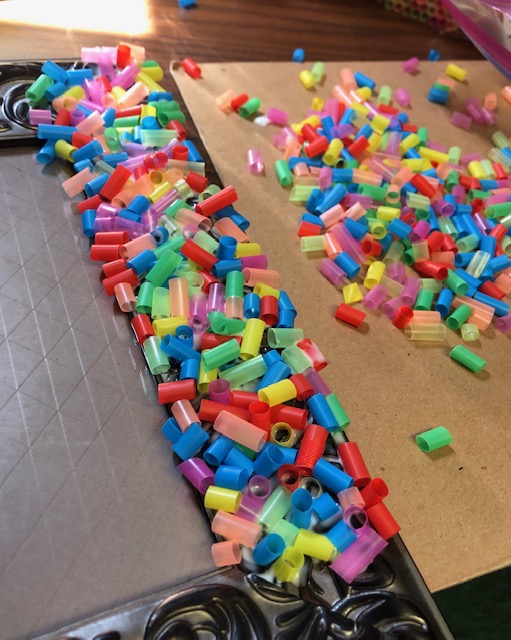
Continue section by section until the frame is covered. Allow to dry for several hours. You can now write on the glass of the frame just like a dry erase board.
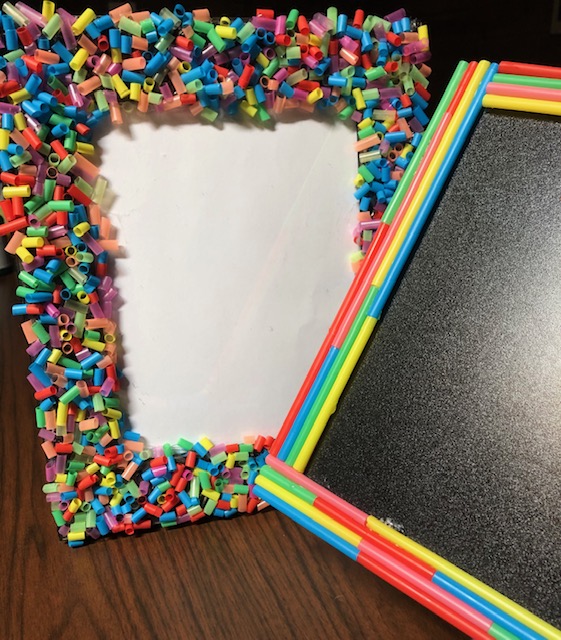
For the chalk board panel, we’re jazzing up the chalk board for a to-do list. Using your cut lengths of straws, choose lengths of straws to glue around the edges of the board in whatever color and size pattern you like.
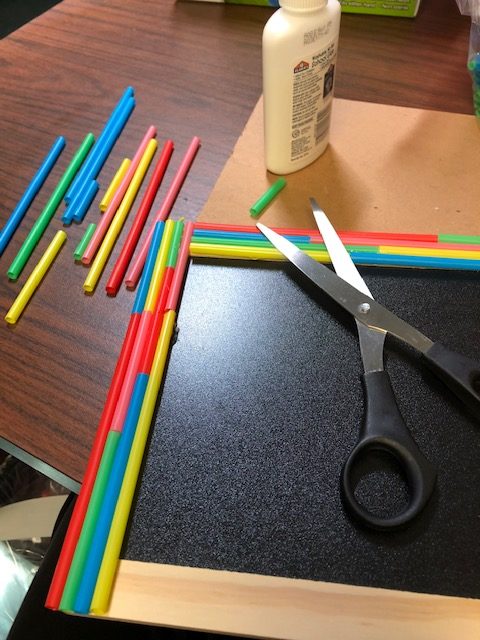
Again, apply glue in sections to the edges of the frame and press the lengths of straws into the glue. Continue section by section until the frame is covered. Allow to dry for several hours and you’ve got a cool chalk board for lists.

Plastic Straws and Old Frames repurpose in no time in this Plastic Straw DIY that’s perfect for Back to School and around the house!