


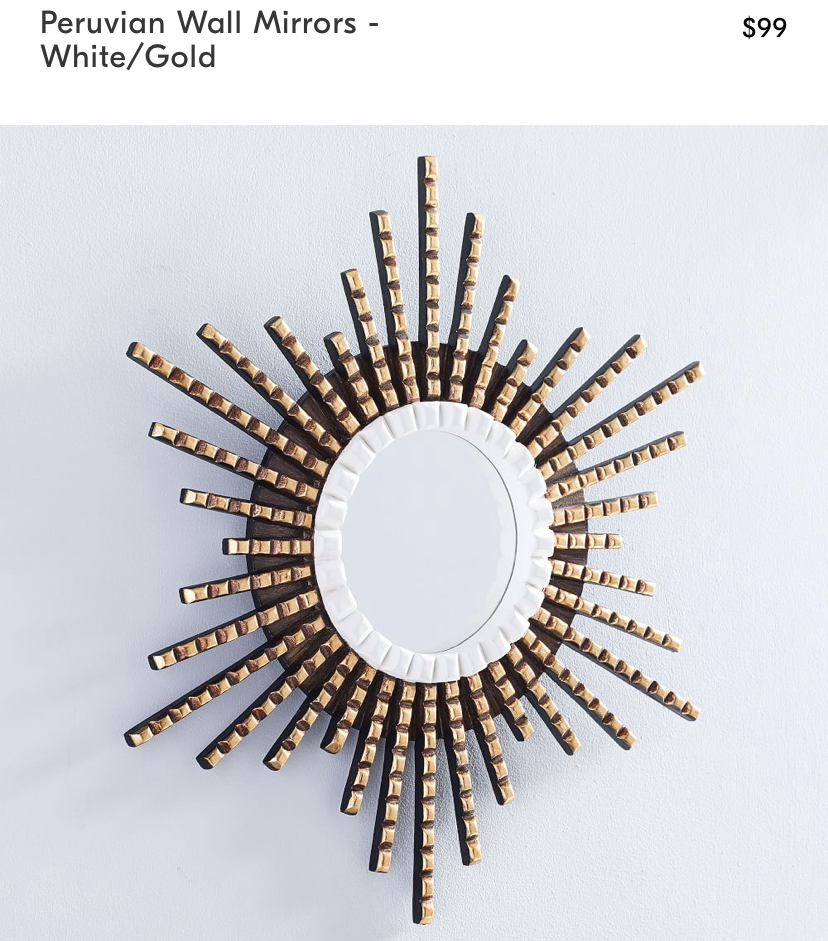
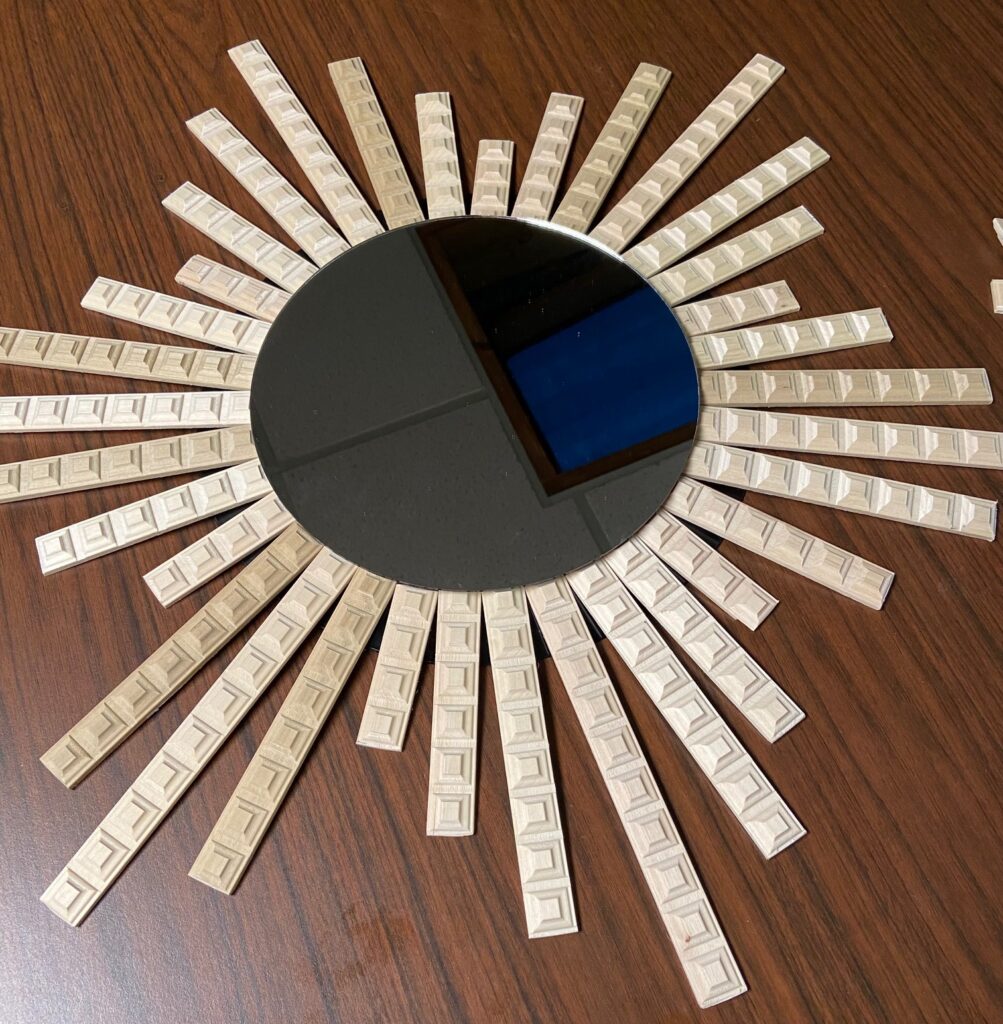
I’m doing another project in the Effortless Girl not Expensive DIY series – The Must Have DIY Mirror. This mirror is very chic and doesn’t come with a designer price tag – and the starburst pattern is everywhere. The high end version retails for $99+ and the Effortless Girl version is $27 or less. It’s great way to revamp a room for the new year without breaking the bank. Plus, I think the Effortless Girl version is better (yep, I said what I said…). The video how to is here and here.
My inspo came from this high end store – this is their mirror….I mean…..
Materials List:
- Plastic Charger from Dollar Store ($1)
- 6-8″ round mirror (depending on size of bottom of charger) also Dollar Store ($1)
- 2 – 8′ Stick Wooden Chair Rail Moulding in Block Pattern ($9 each) Not paid by Lowes but link makes it easier to find
- Tube of Black Craft Paint ($1)
- Tube of Gold Craft Paint ($1)
- Bottle of Wood Glue ($3)
- Disc of Sand Paper (.55 cents)
- Sponge Paint Brush (.89 cents)
Small Hand Saw or Heavy Shears
How-To:
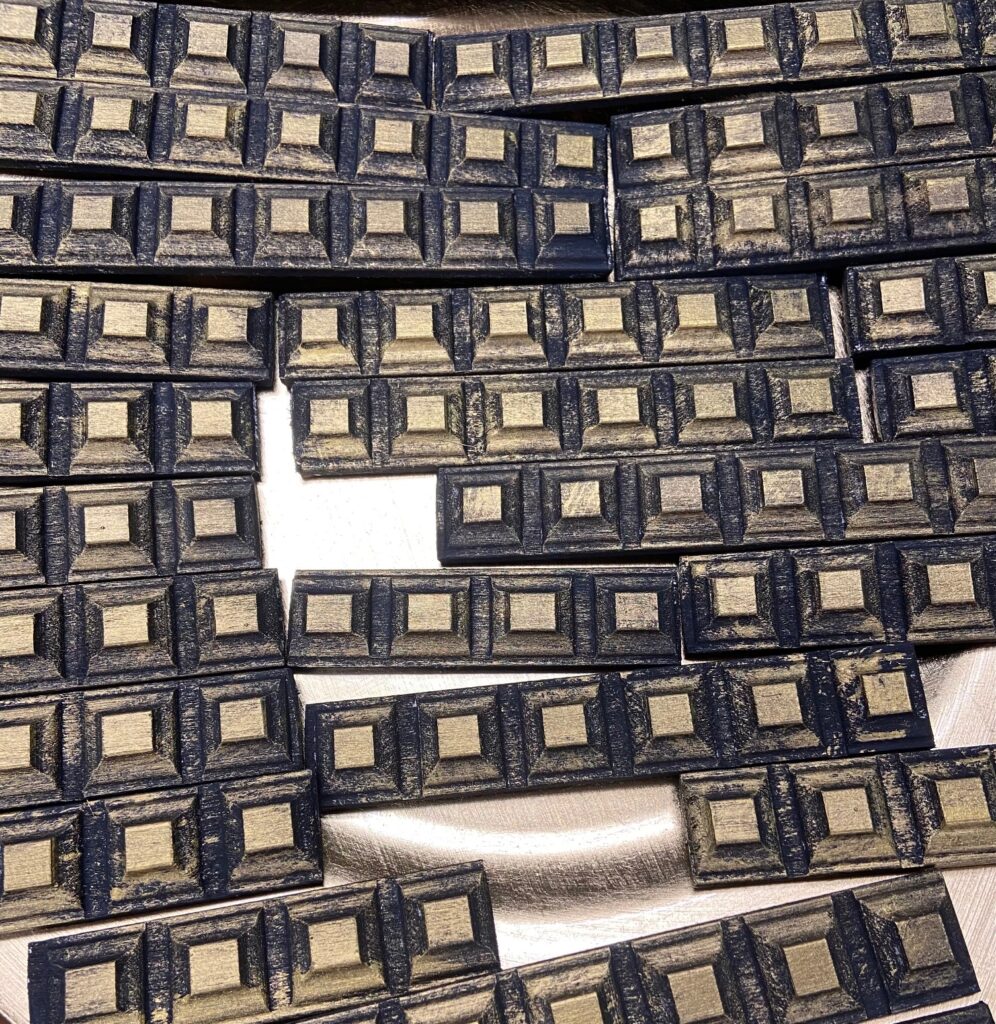
The starburst mirror uses wood moulding in a block pattern. I counted blocks to make the template for the mirror. This moulding is made to break after you make a very slight cut line between the blocks. Below is the template for how many pieces of wood moulding to cut and the number of blocks in each piece.
6 Pieces with 10 Blocks
12 Pieces with 8 Blocks
12 Pieces with 6 Blocks
6 Pieces with 4 Blocks
Start by cutting the wood pieces. You may need to sand the edges but not every edge will need sanding.
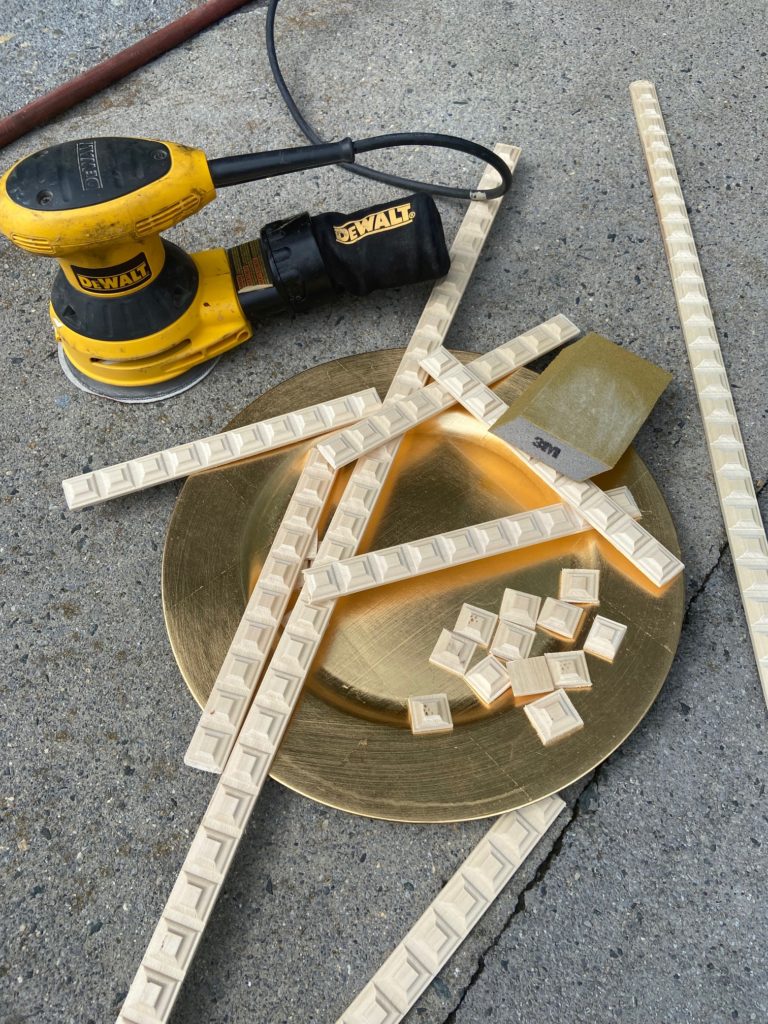
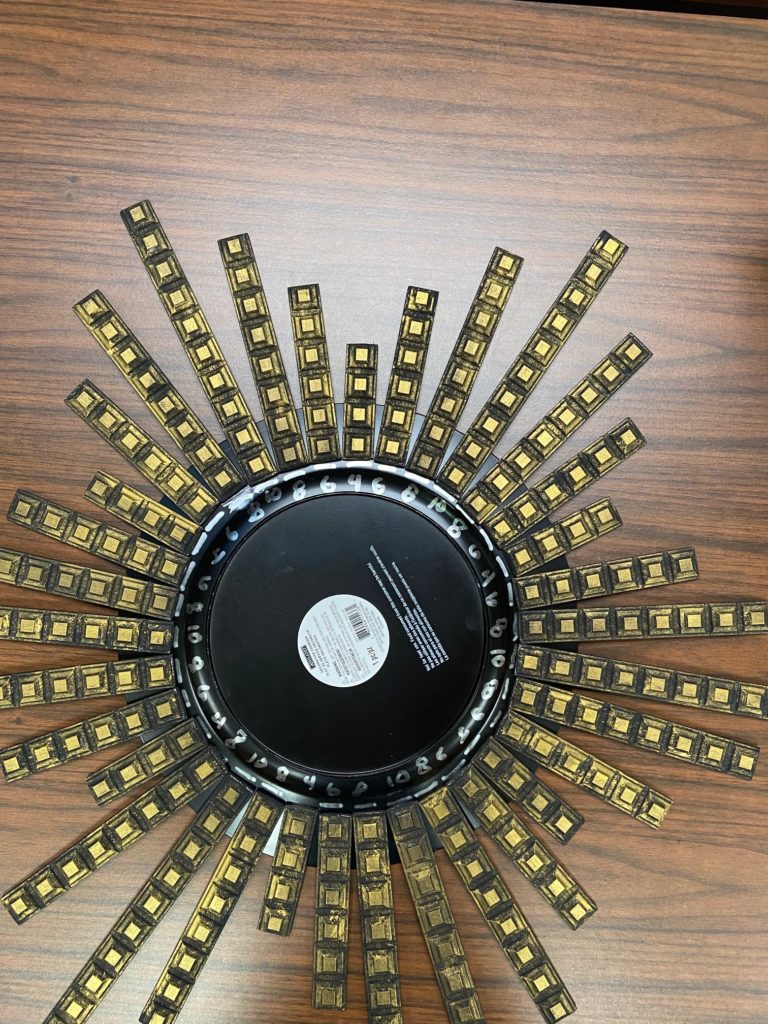
Flip the charger upside down on a flat working surface. Once the wood pieces are all cut, begin arranging them on the back of the charger.
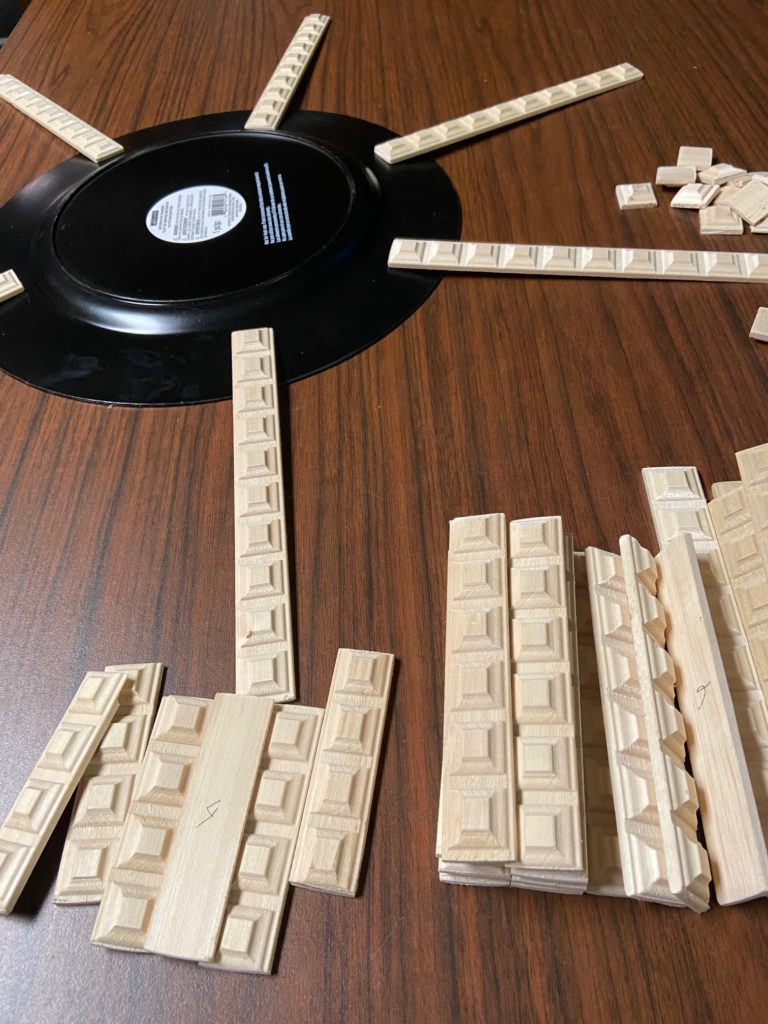
You can arrange the starburst any way you want, it doesn’t have to be exactly my pattern. I used 6 large pieces and then stacked the small pieces in and out around them in size.

Once I found my pattern, I labeled each piece by block number so I’d know where to glue. I also drew a little line on the plate at the end of each piece so I’d know where to line it up – this made it SO much easier.
Set the mirror temporarily in place to make sure it looks right on the wood before you start painting and gluing. (By using the back side of the charger which is angled downwards, you create a little lip under the mirror that the wood tucks neatly into). Then remove it until you’re ready to glue it on.
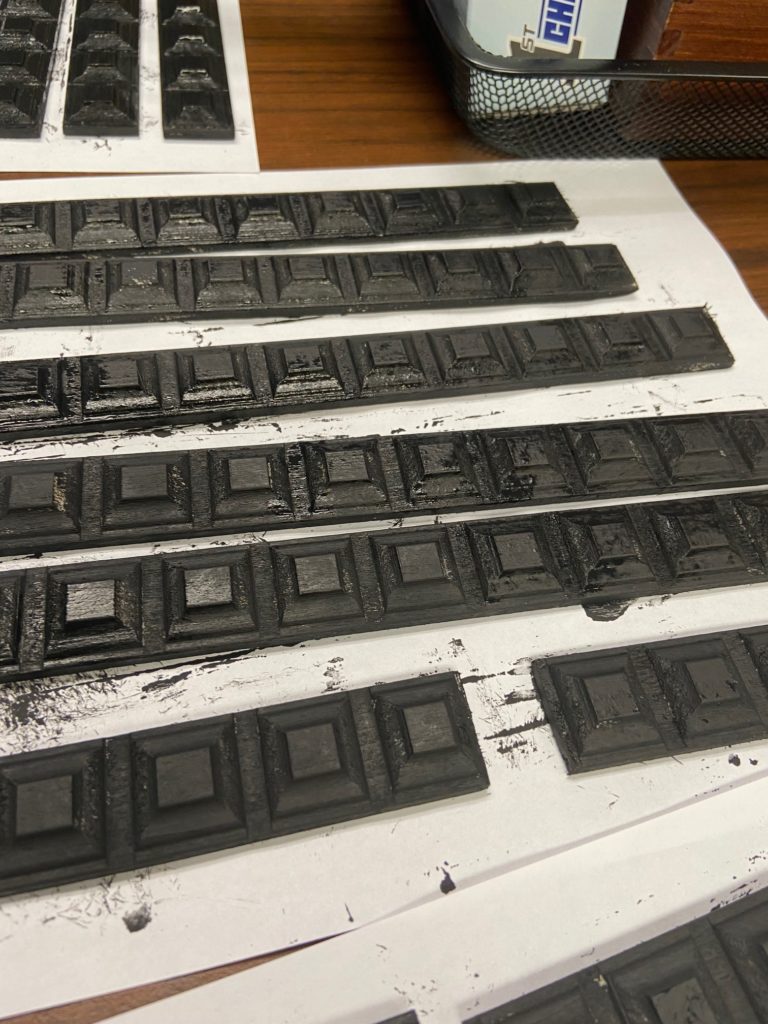
Paint the wood. I started with solid black but thought it needed something else.
I then added some gold with a sponge brush.
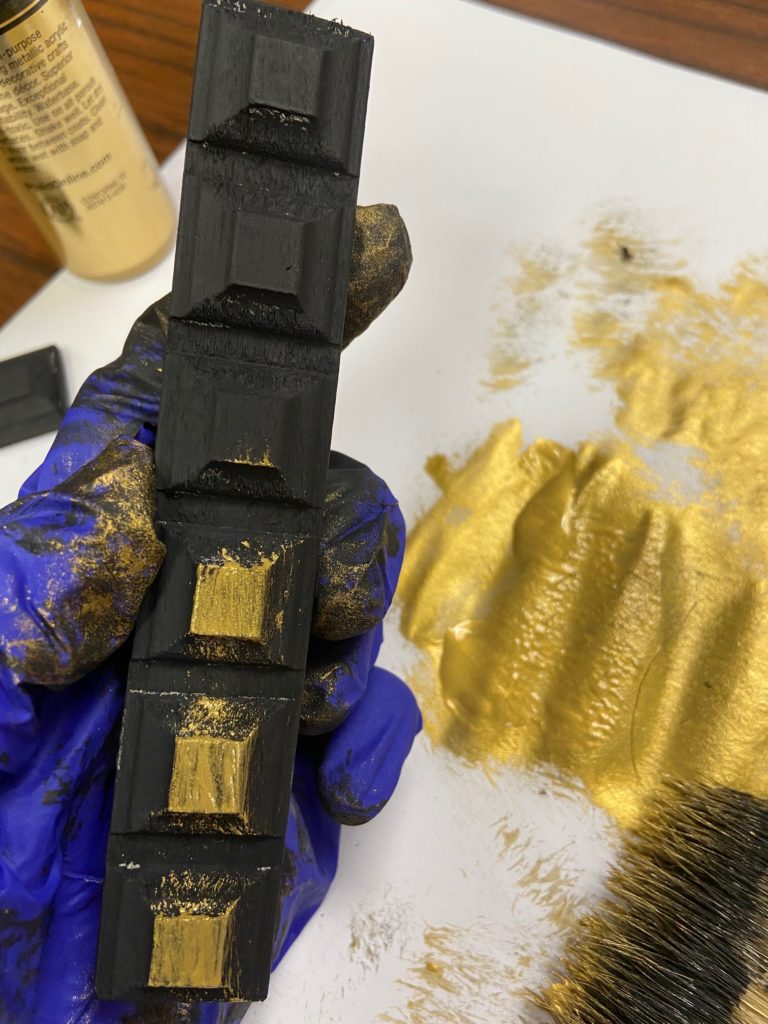
But do it very lightly and messy. You do not want it to look perfect. Just touch the wood with some gold paint here and there so no two pieces are alike.
Once the wood is dry, use wood glue to glue the pieces into place using the pattern you wrote earlier on the plate. This goes quickly.
Finish by gluing the mirror in the center and allow to dry. Add a command hook to the back and you’re ready to hang the mirror.
So this is definitely a Must Have DIY Mirror and well worth the $27 to be Effortless Girl not Expensive.