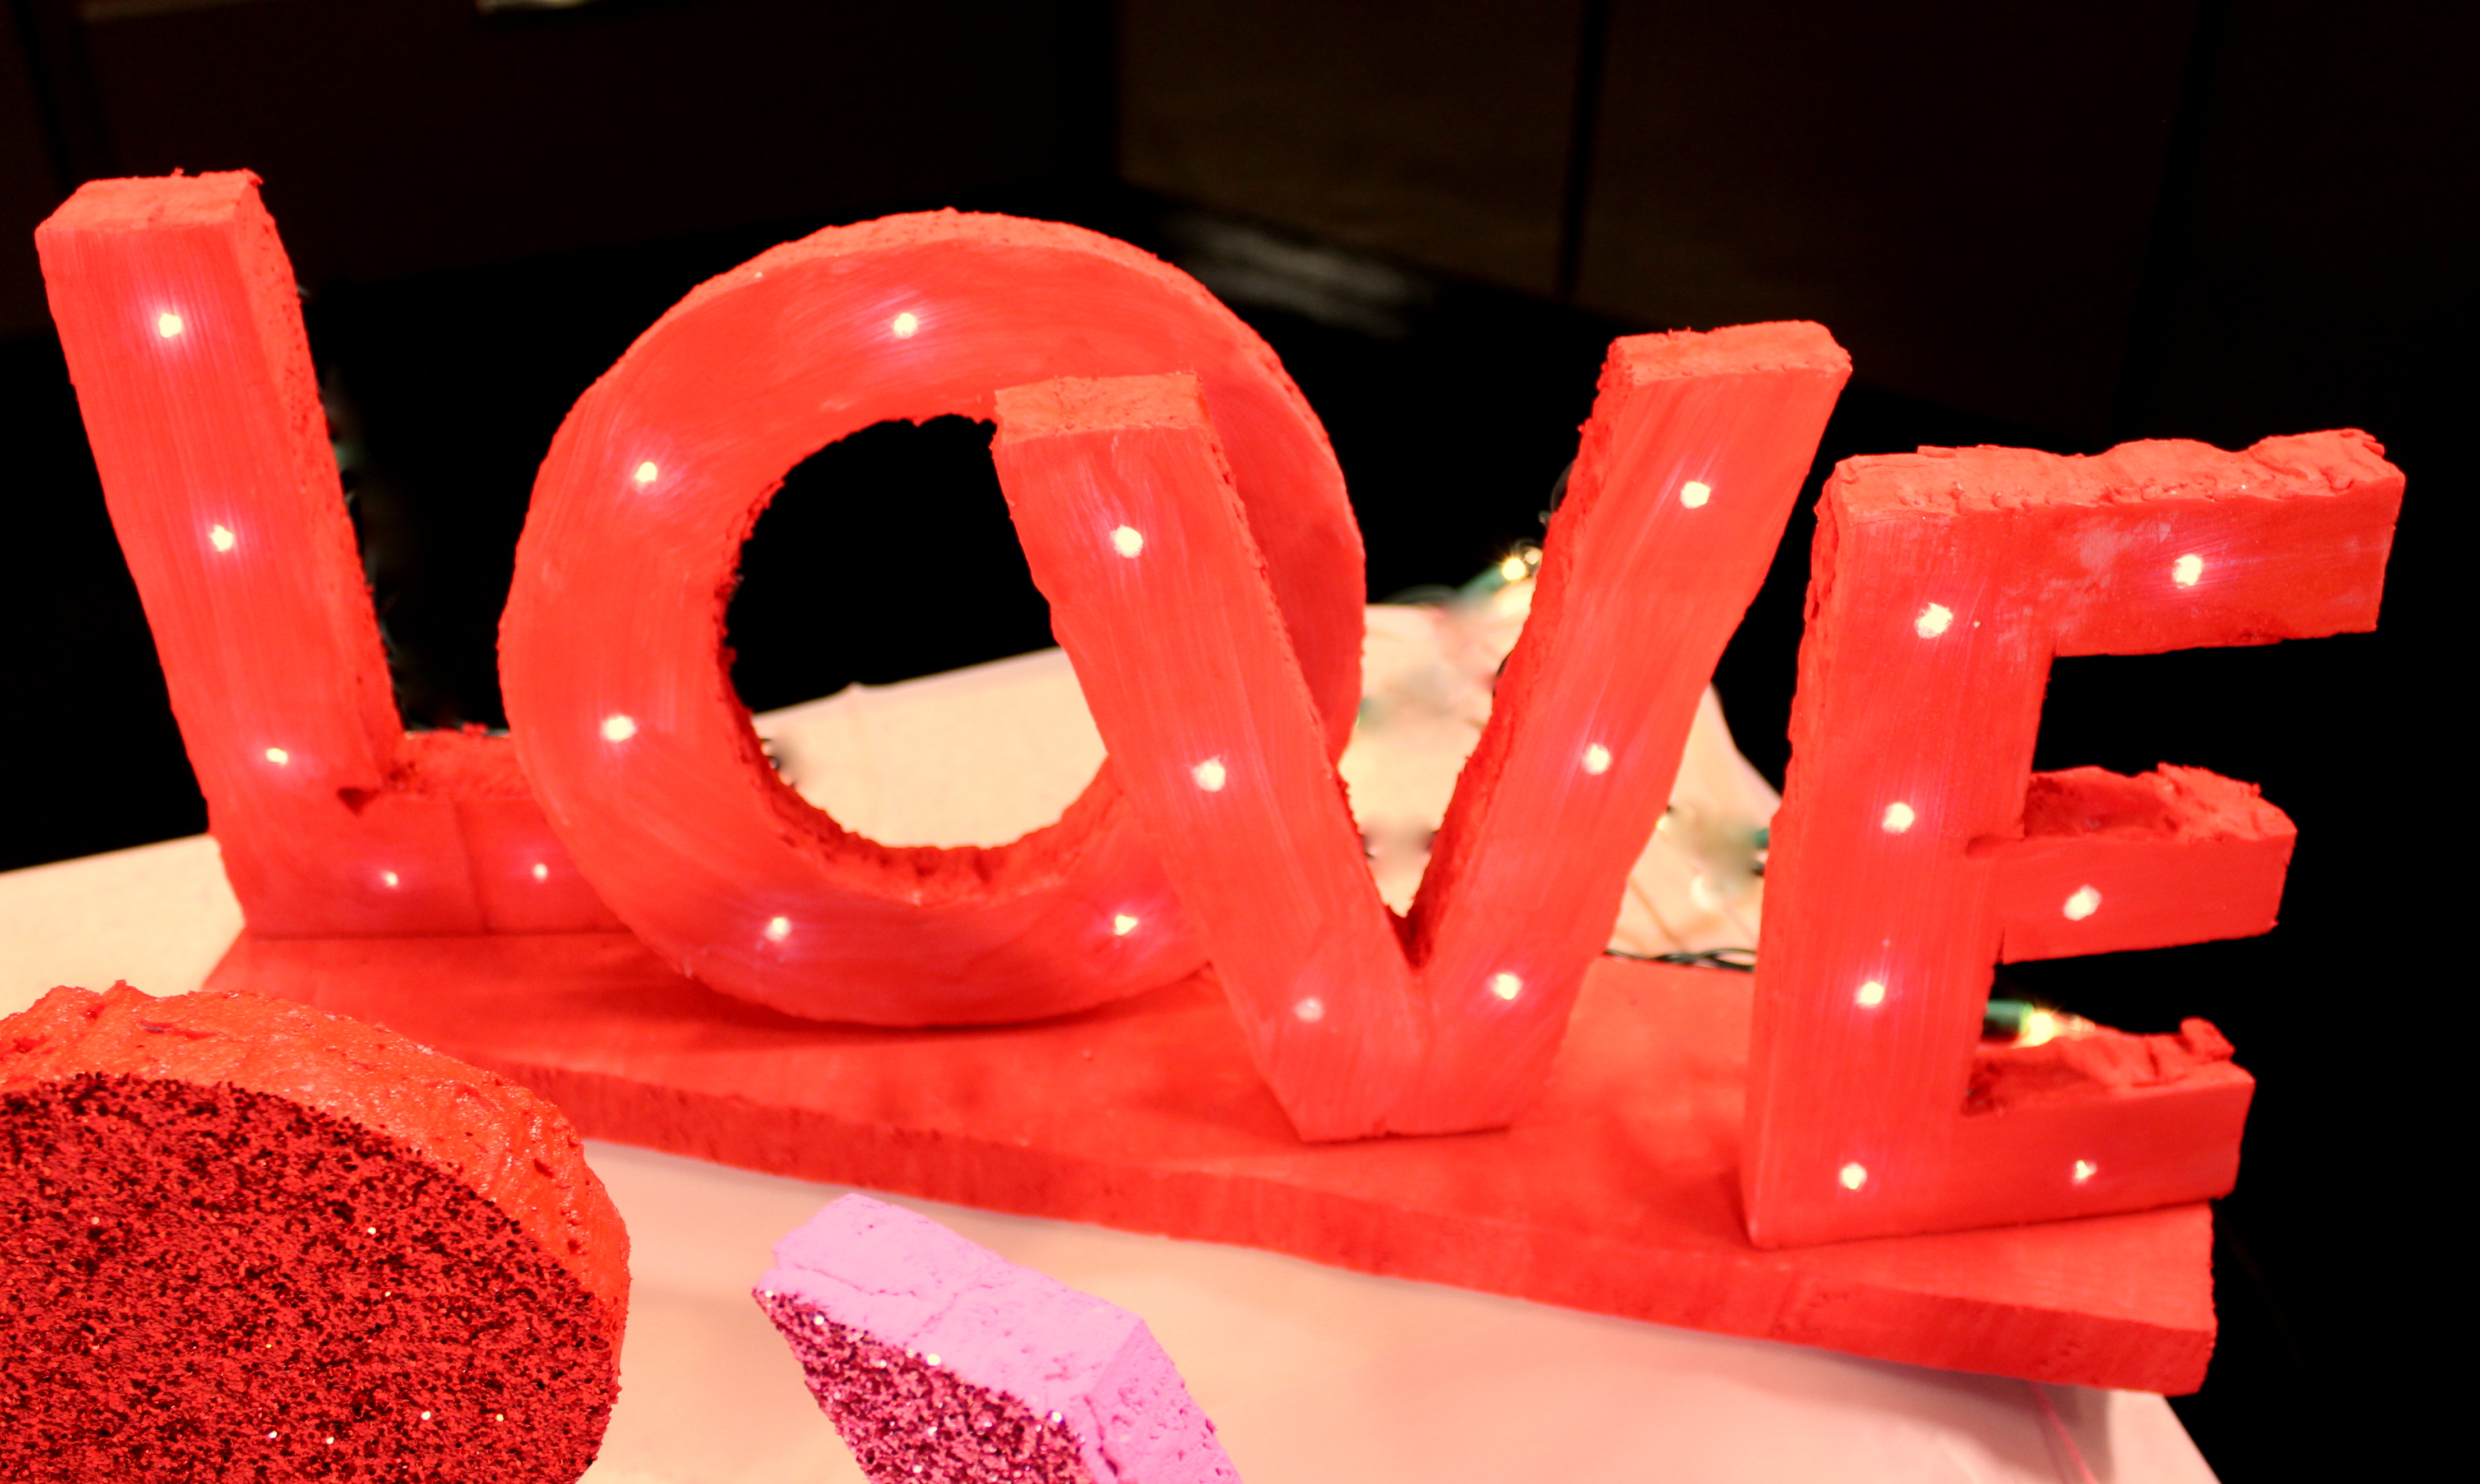


Today I’m not feeling particularly sentimental about Valentine’s Day so I’m not gonna wax poetic about sappy love and hearts. I’m just going to tell you how to make the easiest Valentine’s Day love letters that are surprisingly easy and extremely affordable. You can even light them up with recycled lights from the Christmas tree so the cost investment is minimal. These DIY love letters make adorable gifts for a teacher, friend, or someone special – or a sparkling centerpiece for a beautiful Valentine’s Day display. Our theme this year is Spread a little Love for less….so let’s get started!

I had many of the materials already on hand. If you go to a local building supply store and ask if they have any broken pieces of styrofoam board used in insulating and construction, they will likely give you the broken pieces for free. If not the 1″ board costs about $7-10 for an 4’x 8′ piece. You’ll have letters for DAYS with that size of a piece so all the holidays this year will be covered. Use what paints and/or glitter colors you have on hand. If you have to purchase paint, the acrylic paint at discount stores costs 50 cents per bottle and you’ll use about one bottle for 2-3 sets of letters or heart combinations. The glitter is also about $1-2 (depending on size) at discount stores. So the worst cost for letters is about $12 with lots and lots of styrofoam left over.

Materials:
Styrofoam Board Pieces
Paint
Glitter
Glue
Toothpicks or Wooden Skewers
Electric Knife or Regular Knife
How – To:
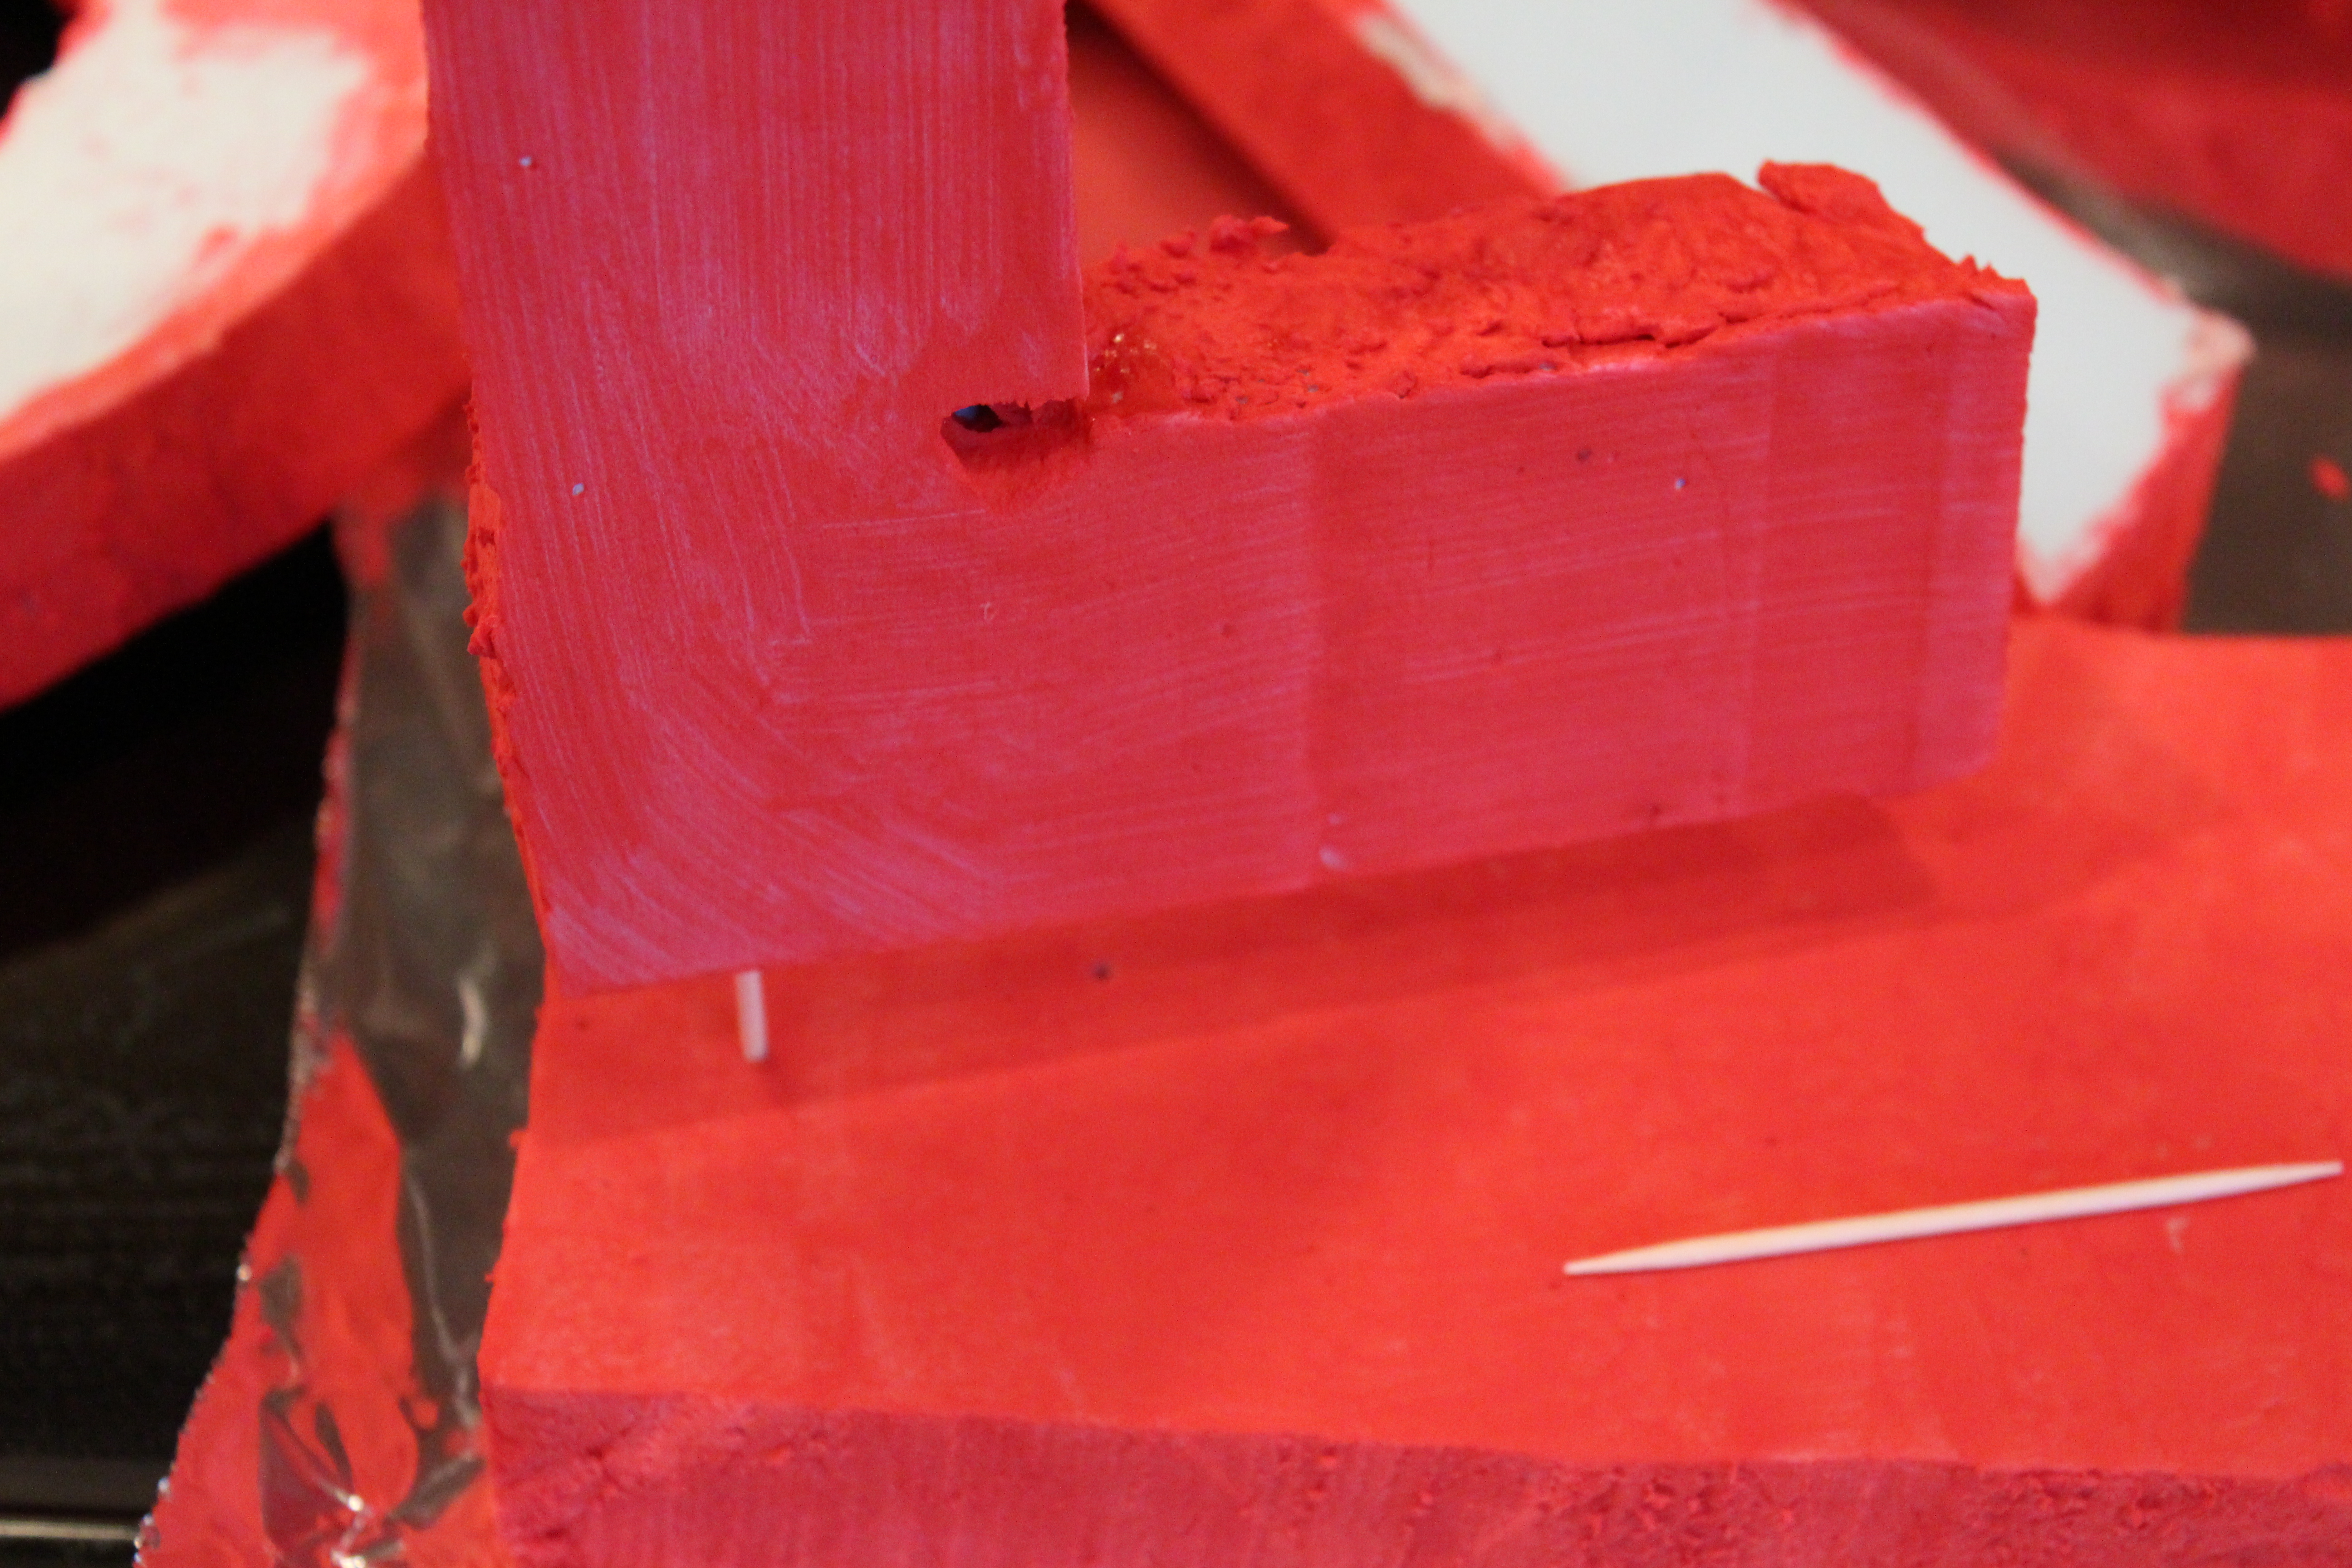
Cut the letters first. Be careful! I printed letters with my computer and used them as a template, but if you’re super talented – free hand away! The styrofoam cuts best with an electric knife. This makes the process about 10 minutes. Cutting with a traditional knife takes longer and it’s a pain (I did it this way, really a pain). Cut a block from the styrofoam for the base of the letters or shapes.
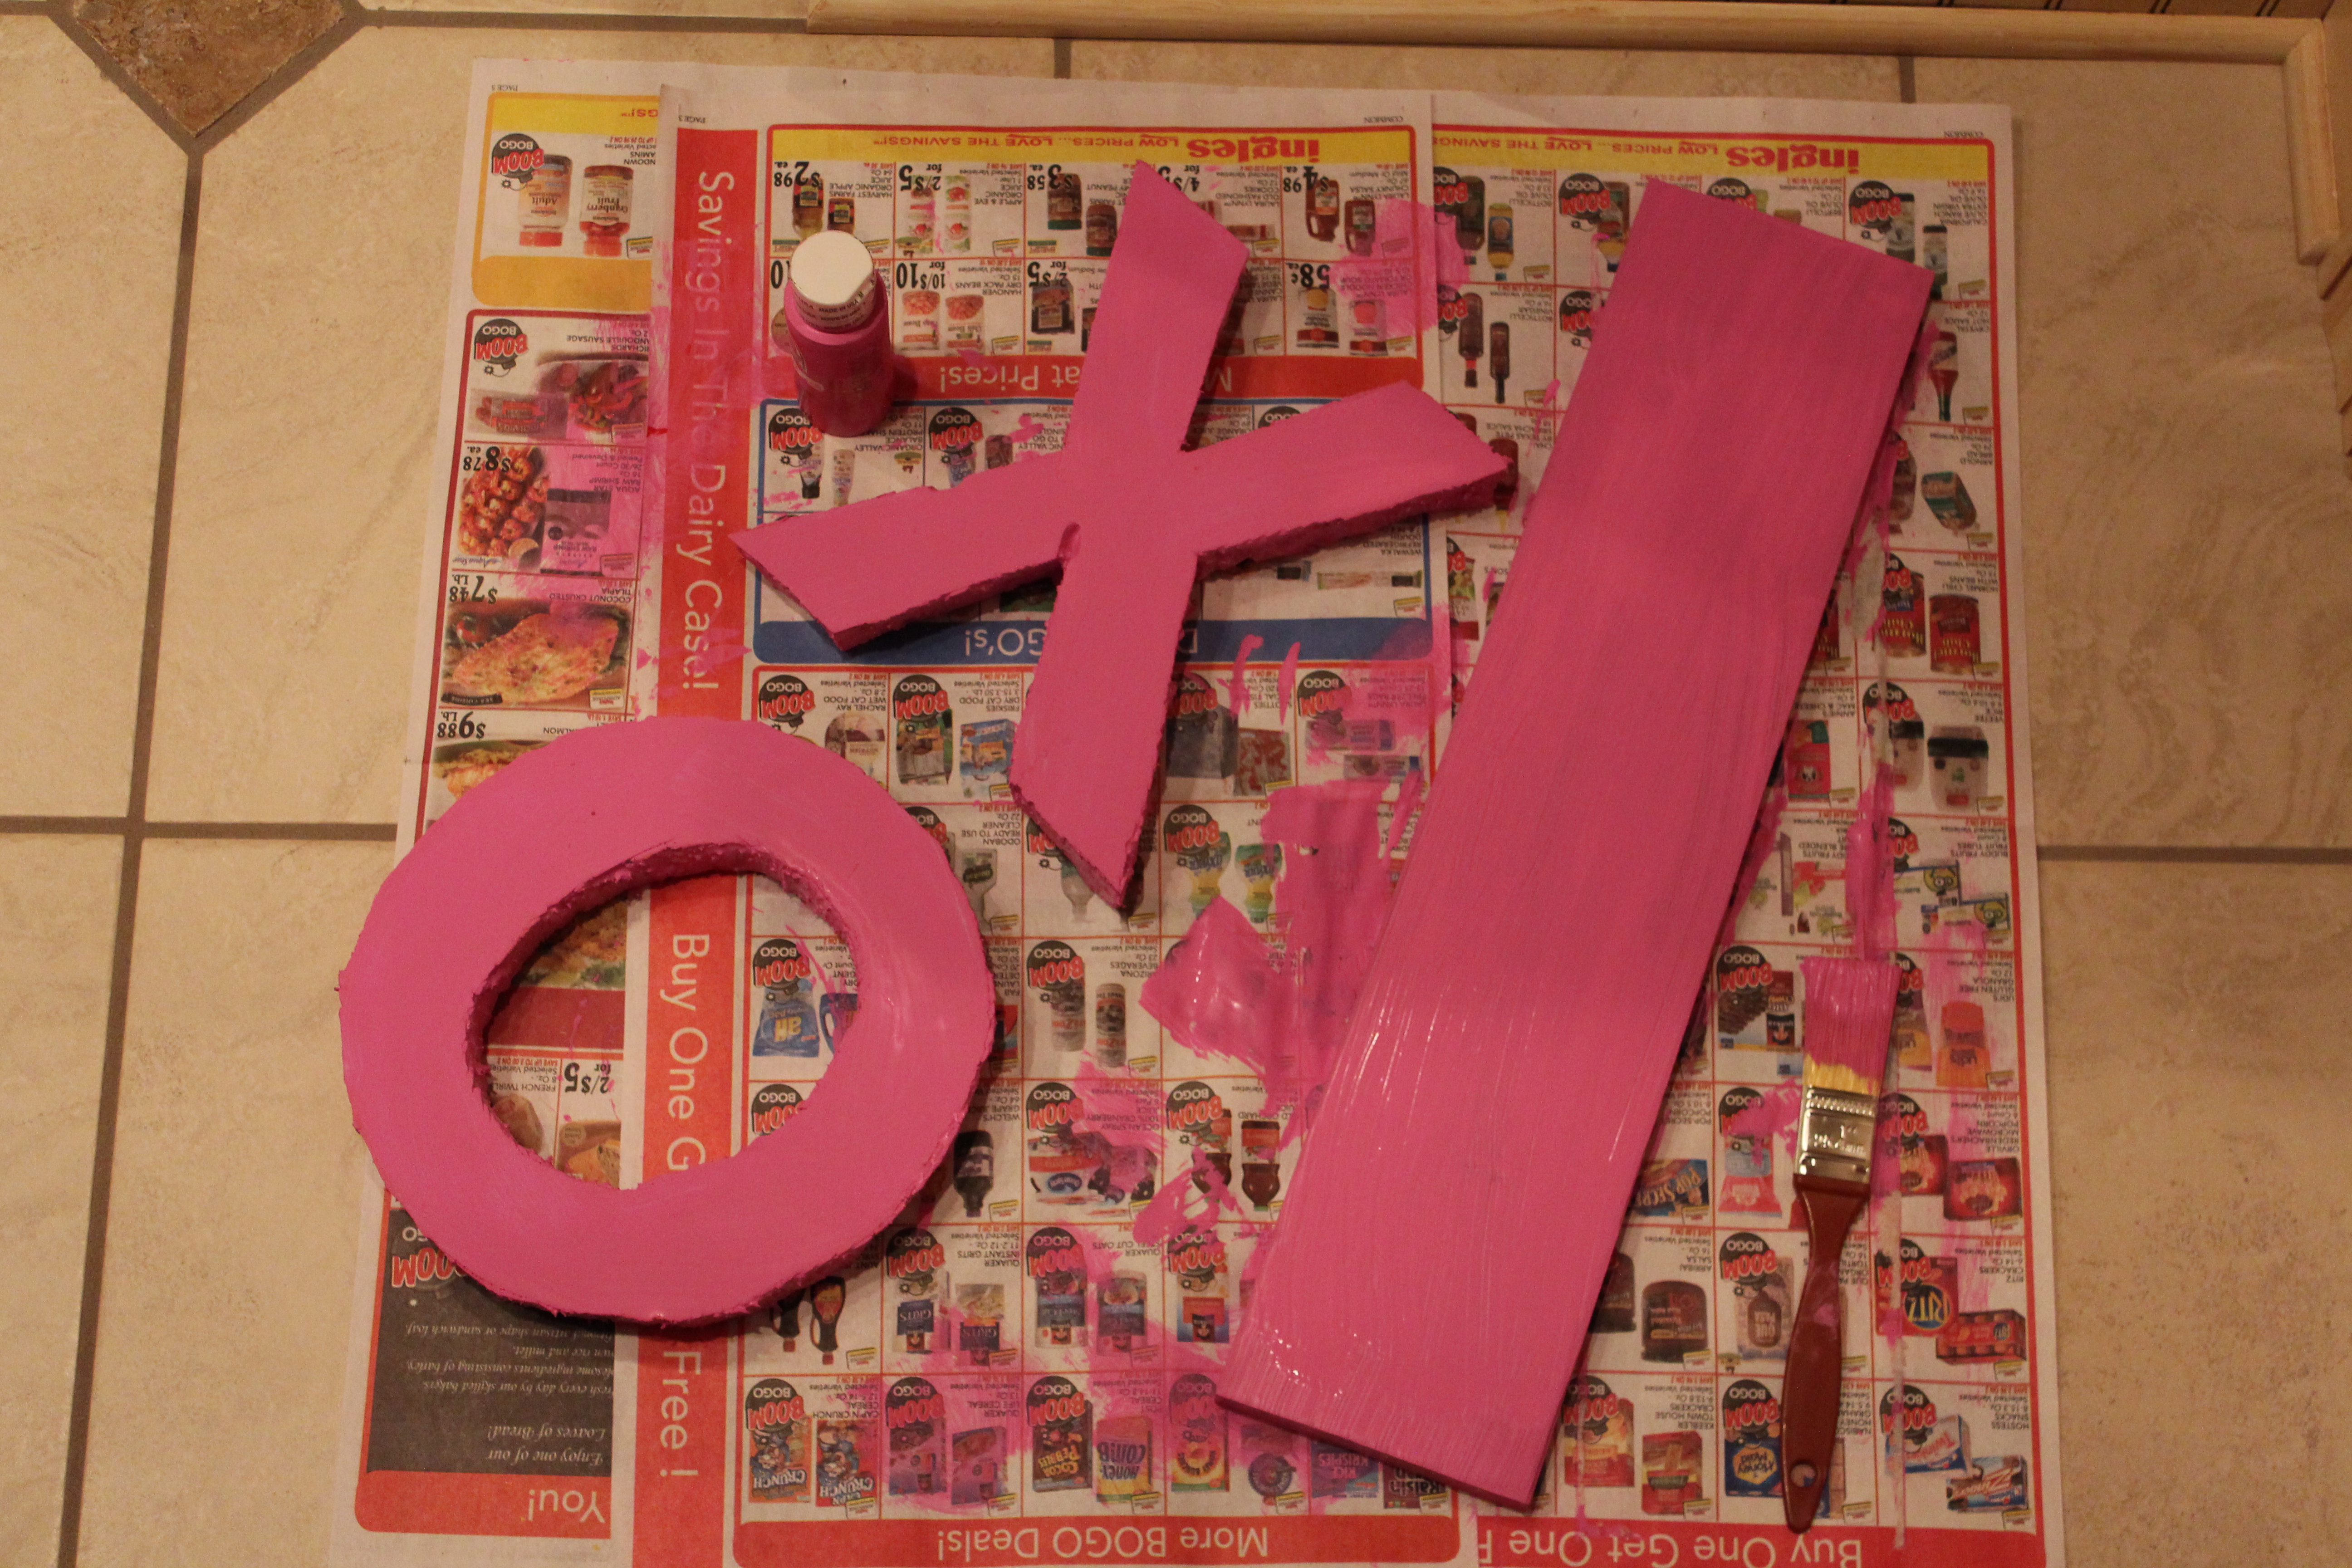
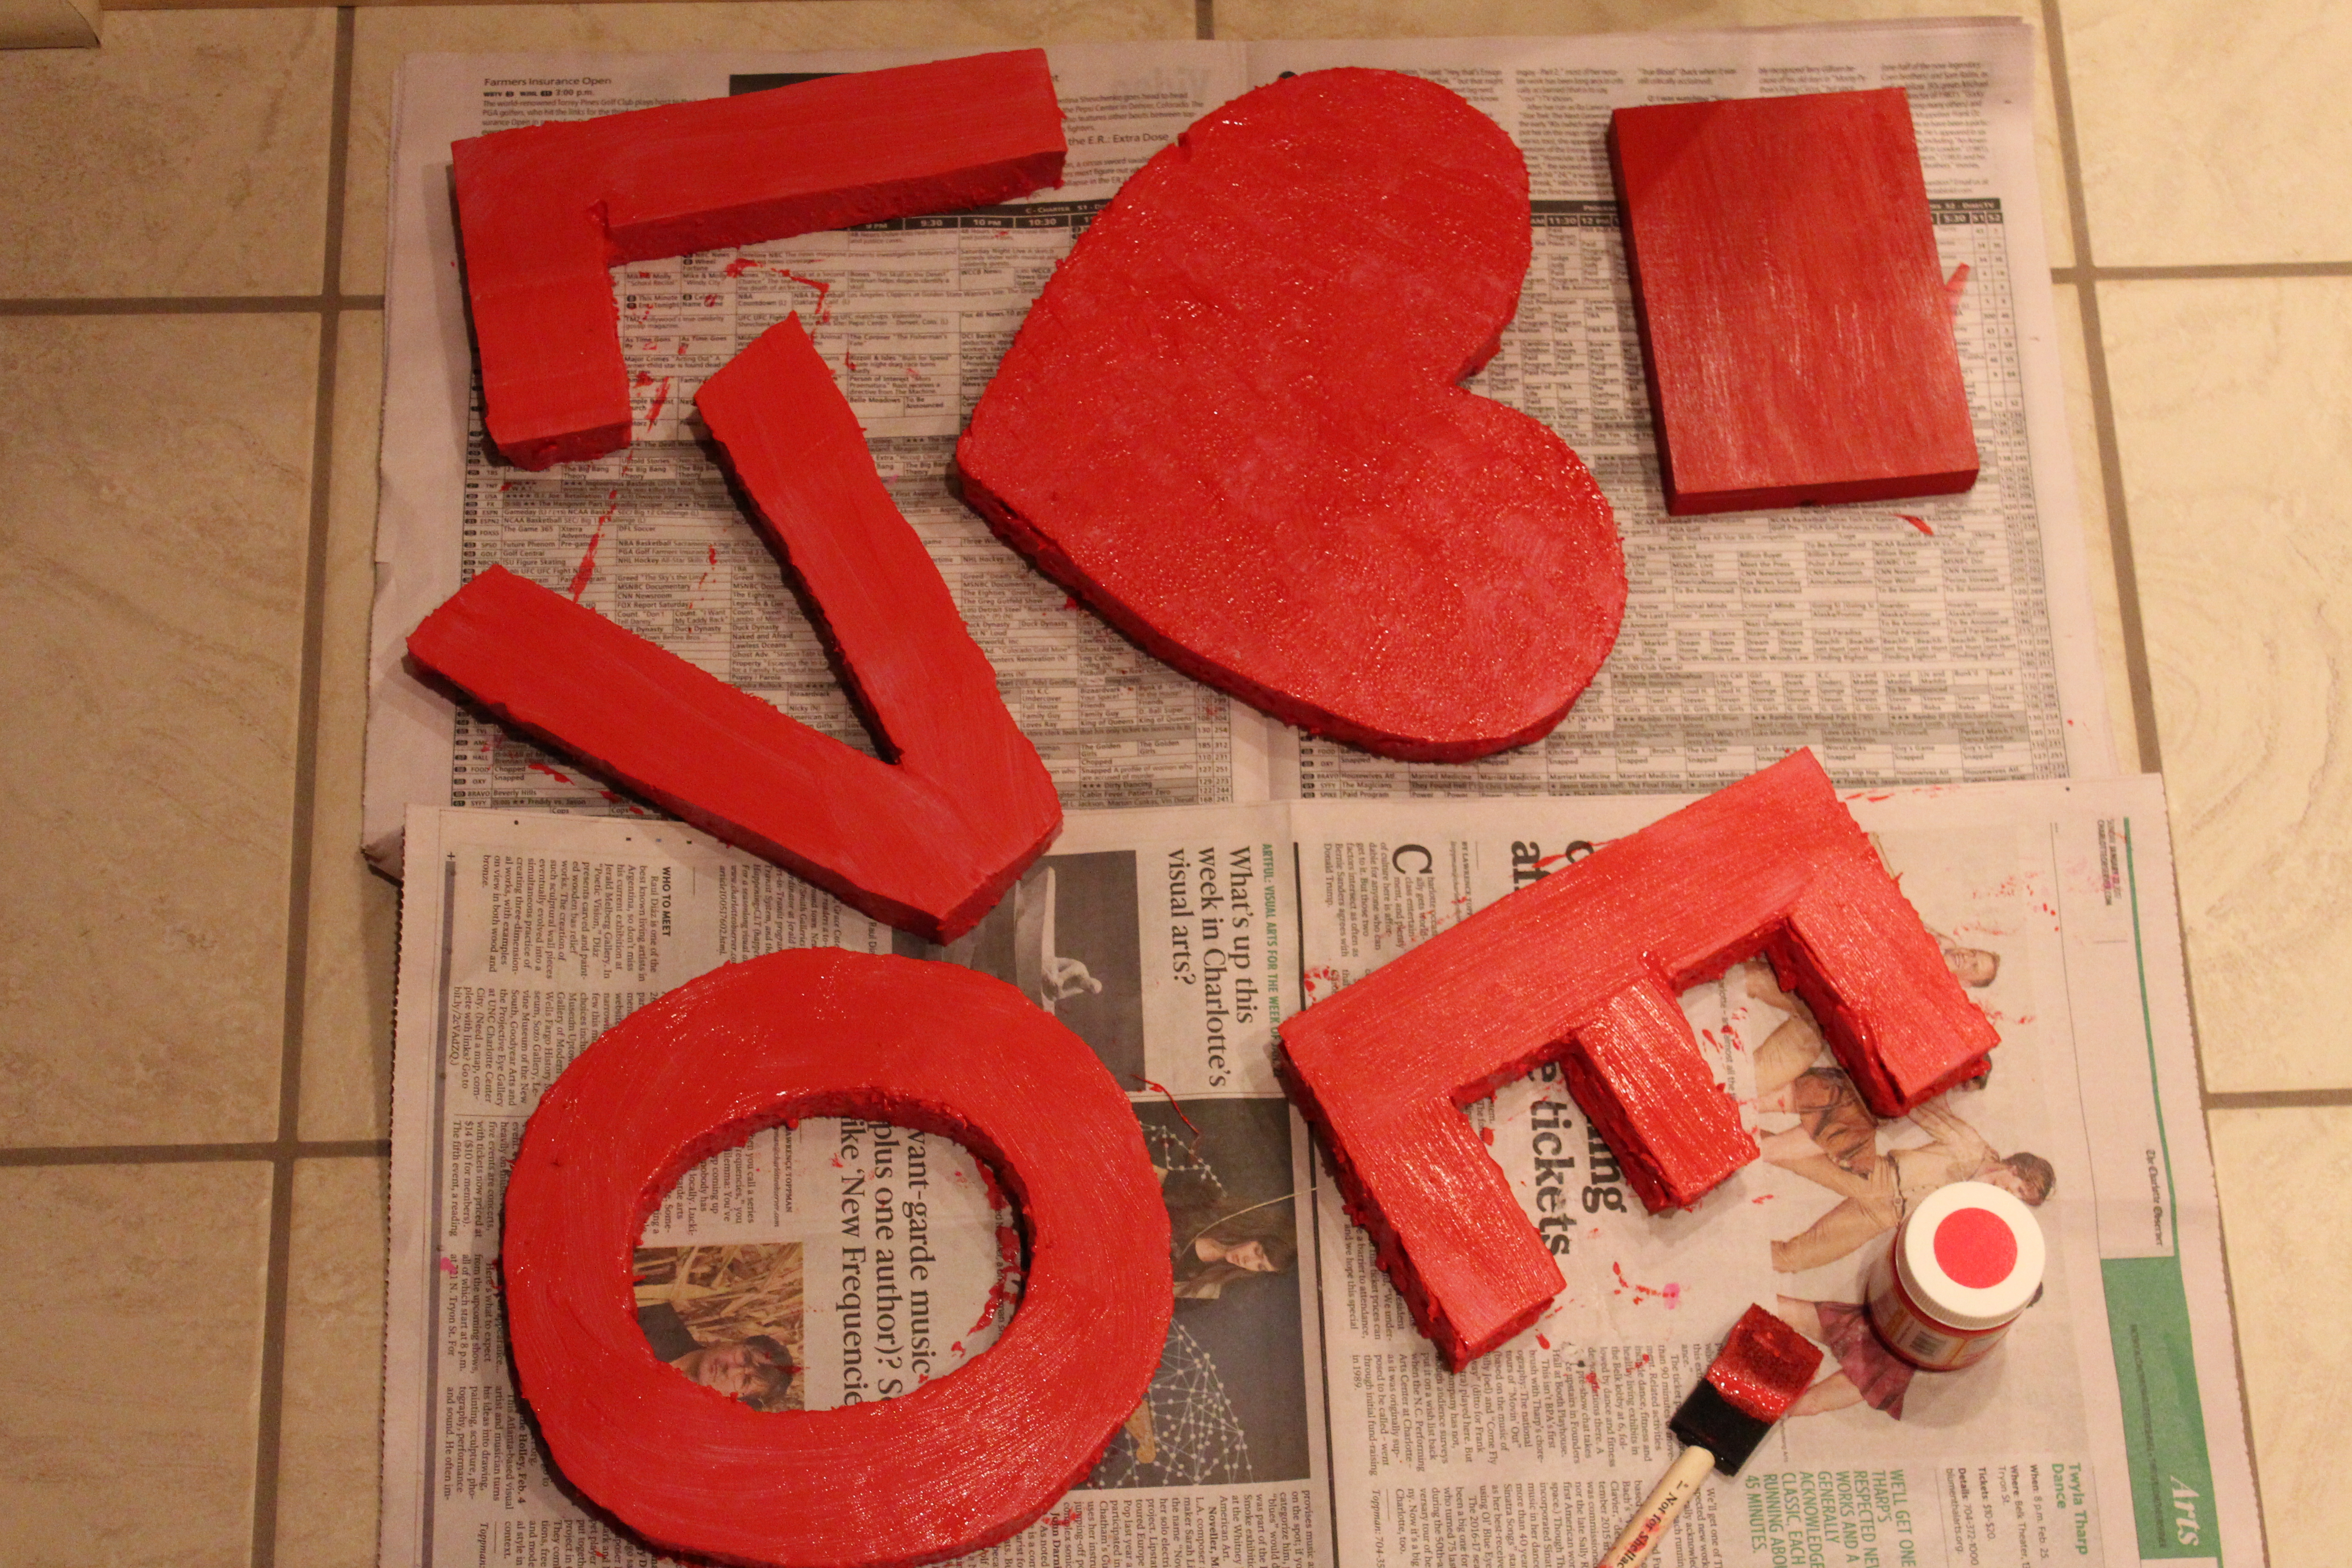
Next paint the cut styrofoam shapes and allow to dry.
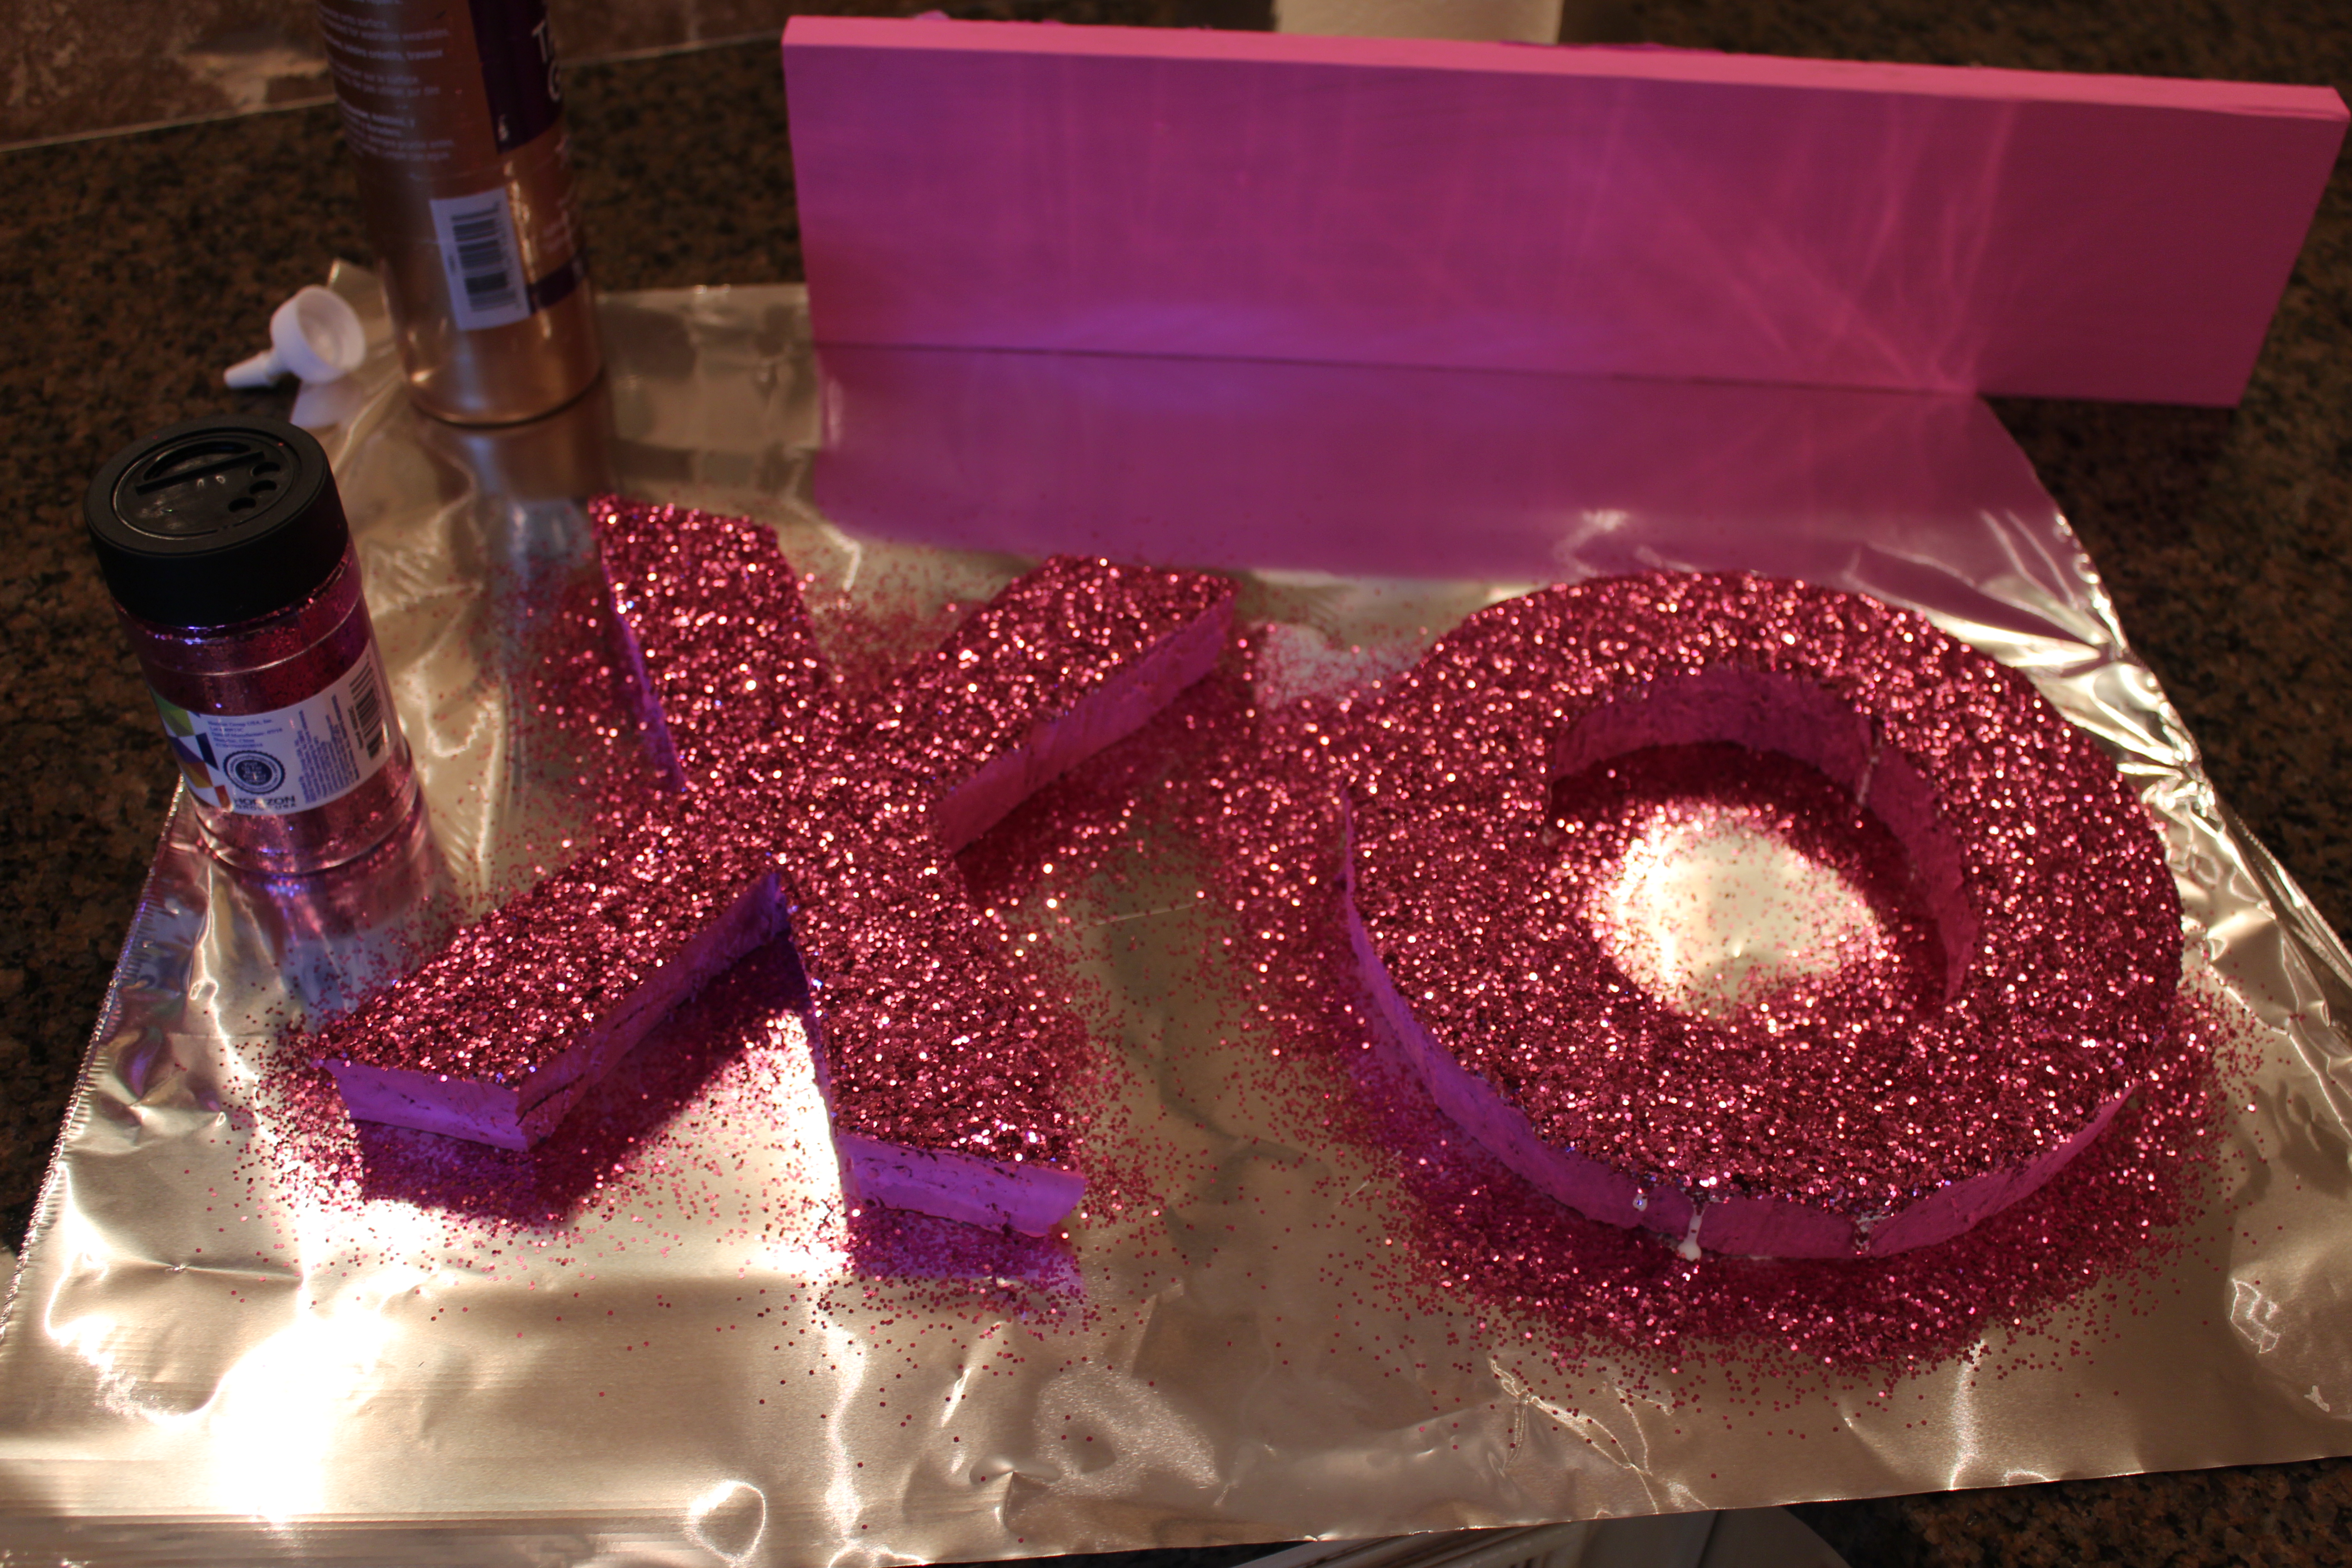
Once the paint is dry, cover the letters or shapes in glue and glitter them.
Allow everything to dry completely overnight. Affix the letters/shapes to the styrofoam base with toothpicks and wooden skewers. I placed a toothpick in the bottom of each letter and gently pressed it into the styrofoam. Use several toothpicks along the base of the letters/shapes for maximum stability.
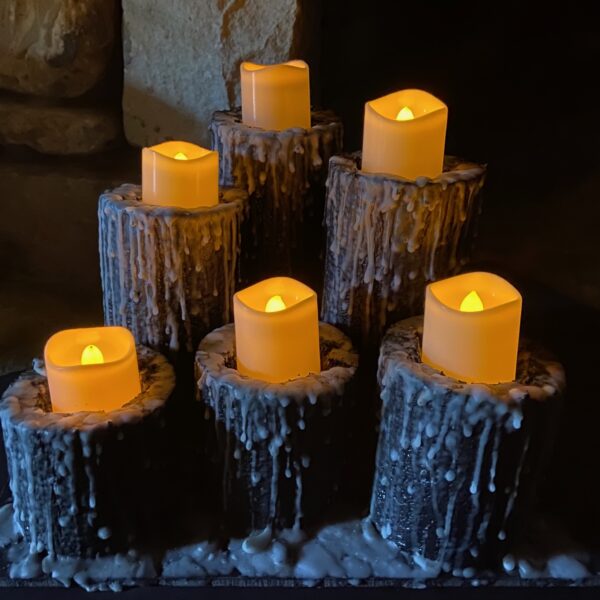
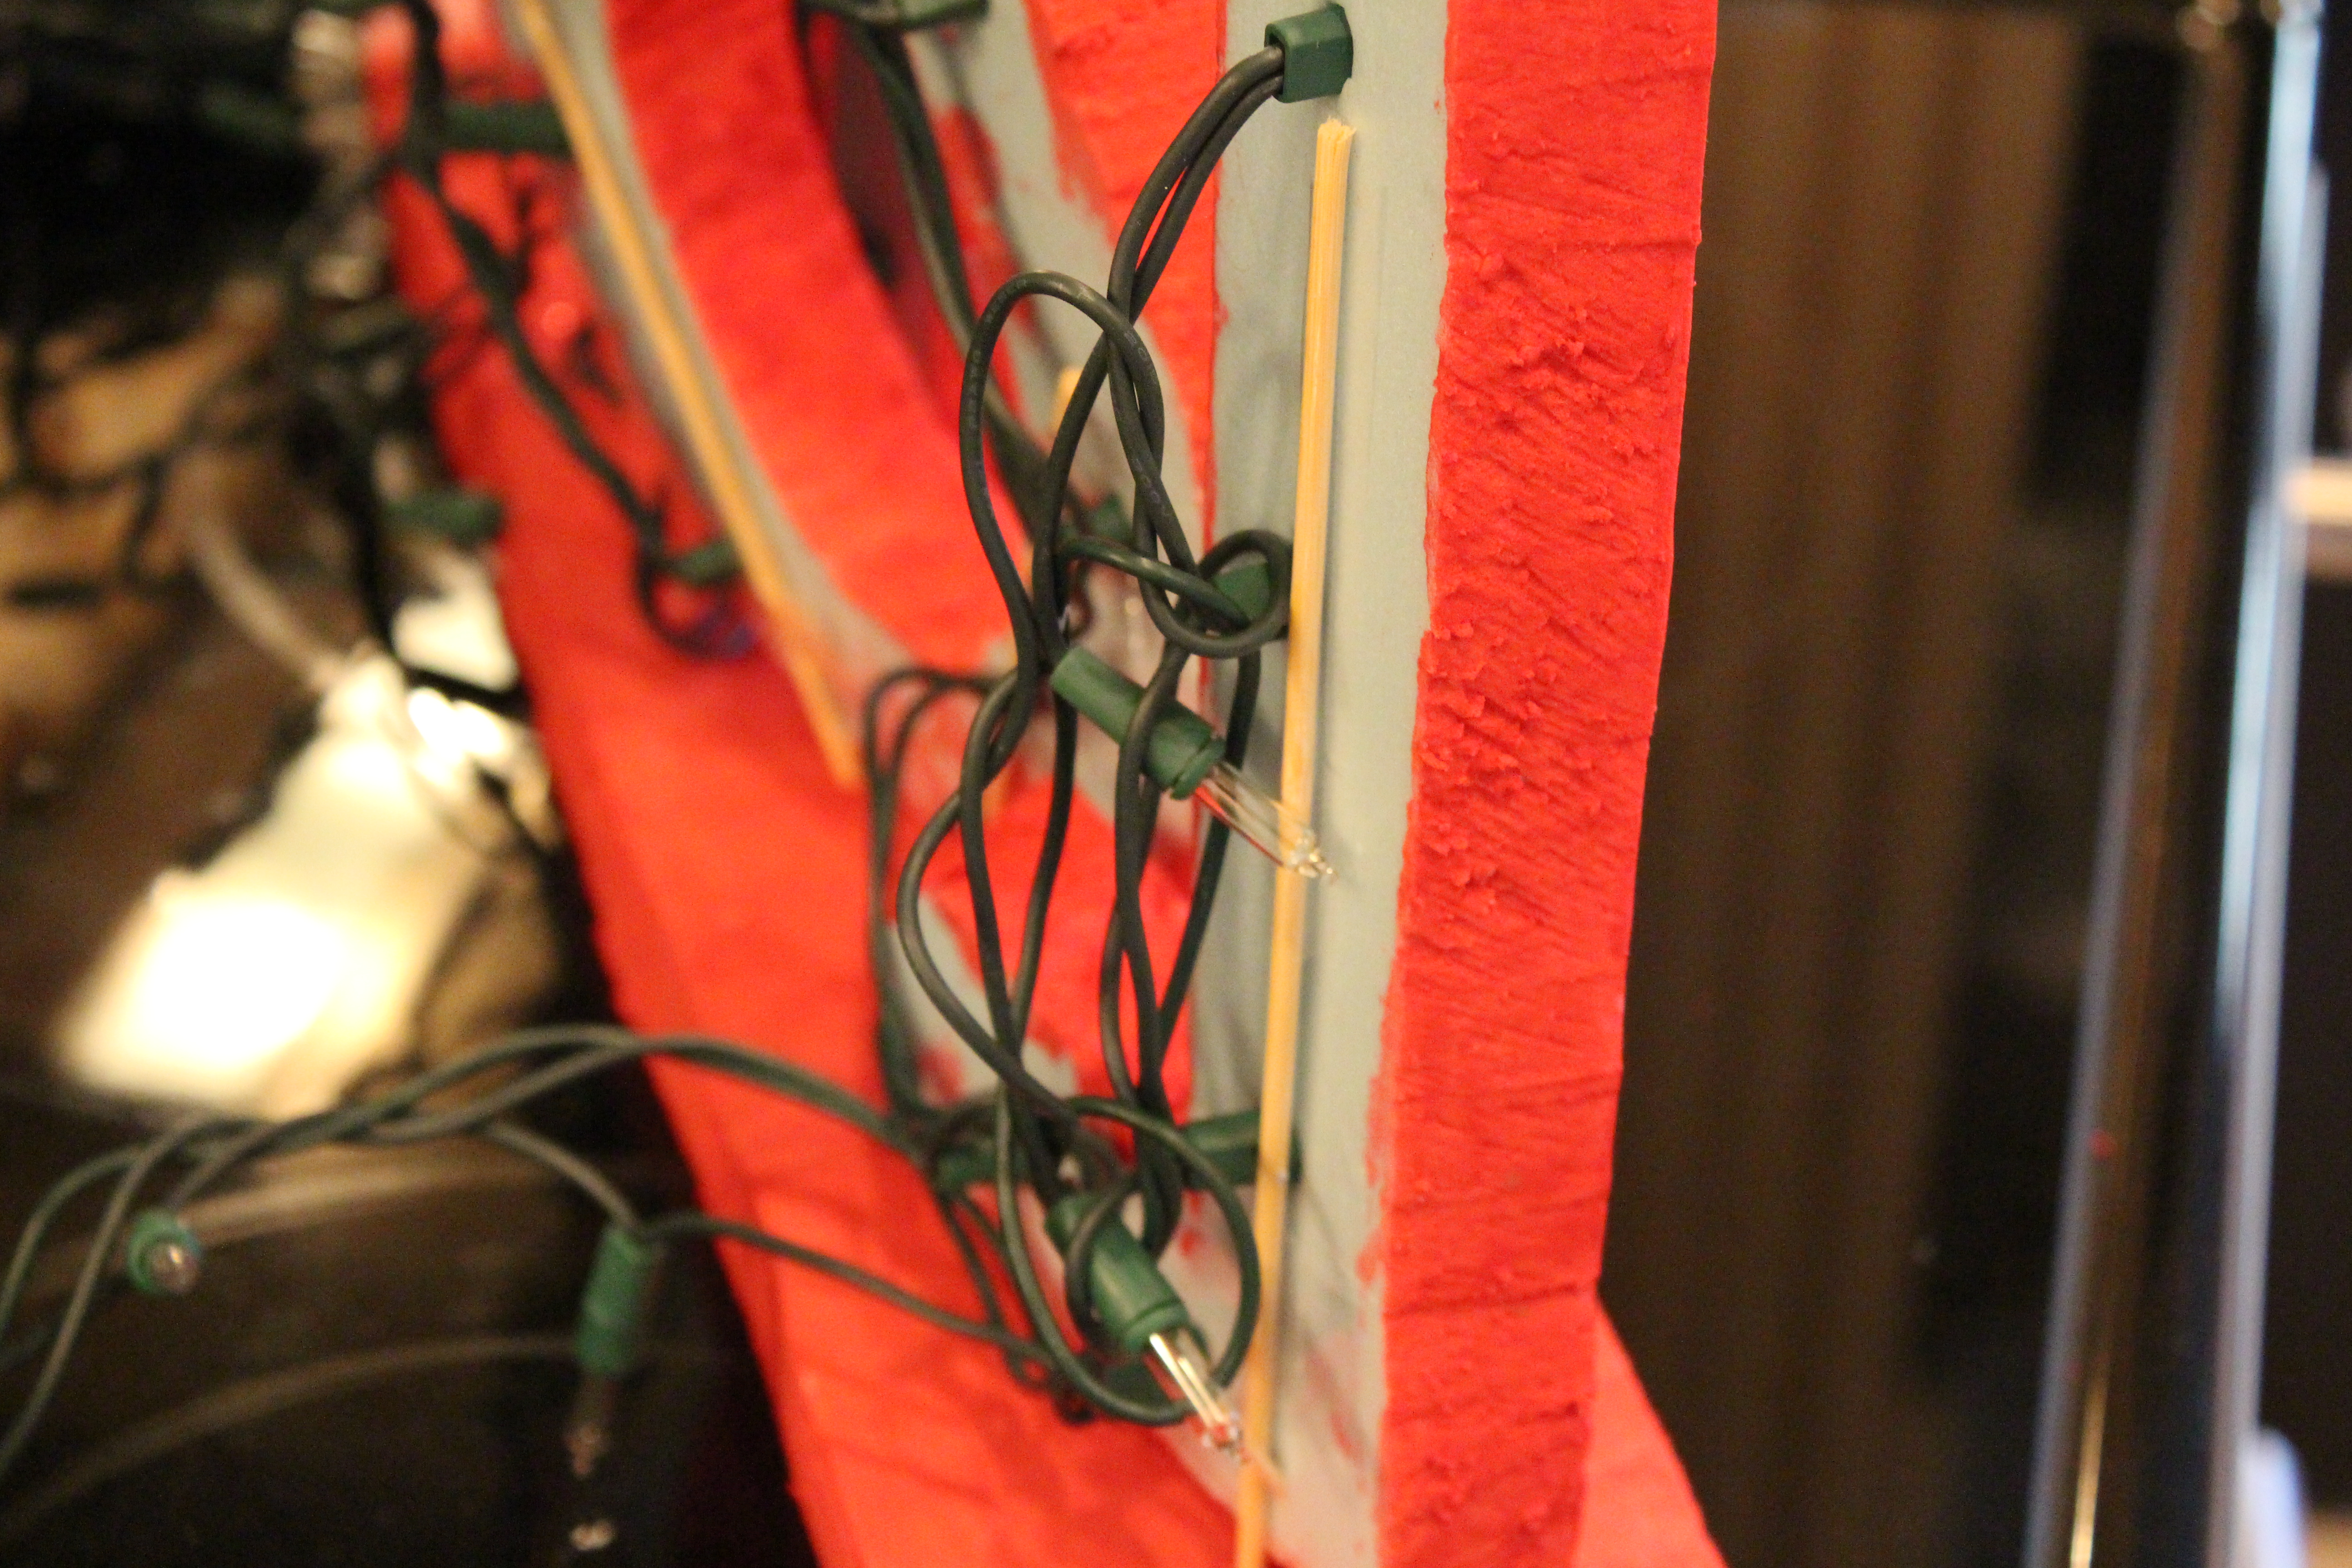
Along the back side of the letters/shapes, I inserted a wooden skewer into the styrofoam for more stability and to keep the letters/shapes from falling backward. The skewers are a must if you’re making this into a lighted marquee because you’ll want the additional strength. Press Christmas lights into the back side of the styrofoam letter/shape until just the edge of the light comes through the decorated side of the styrofoam.
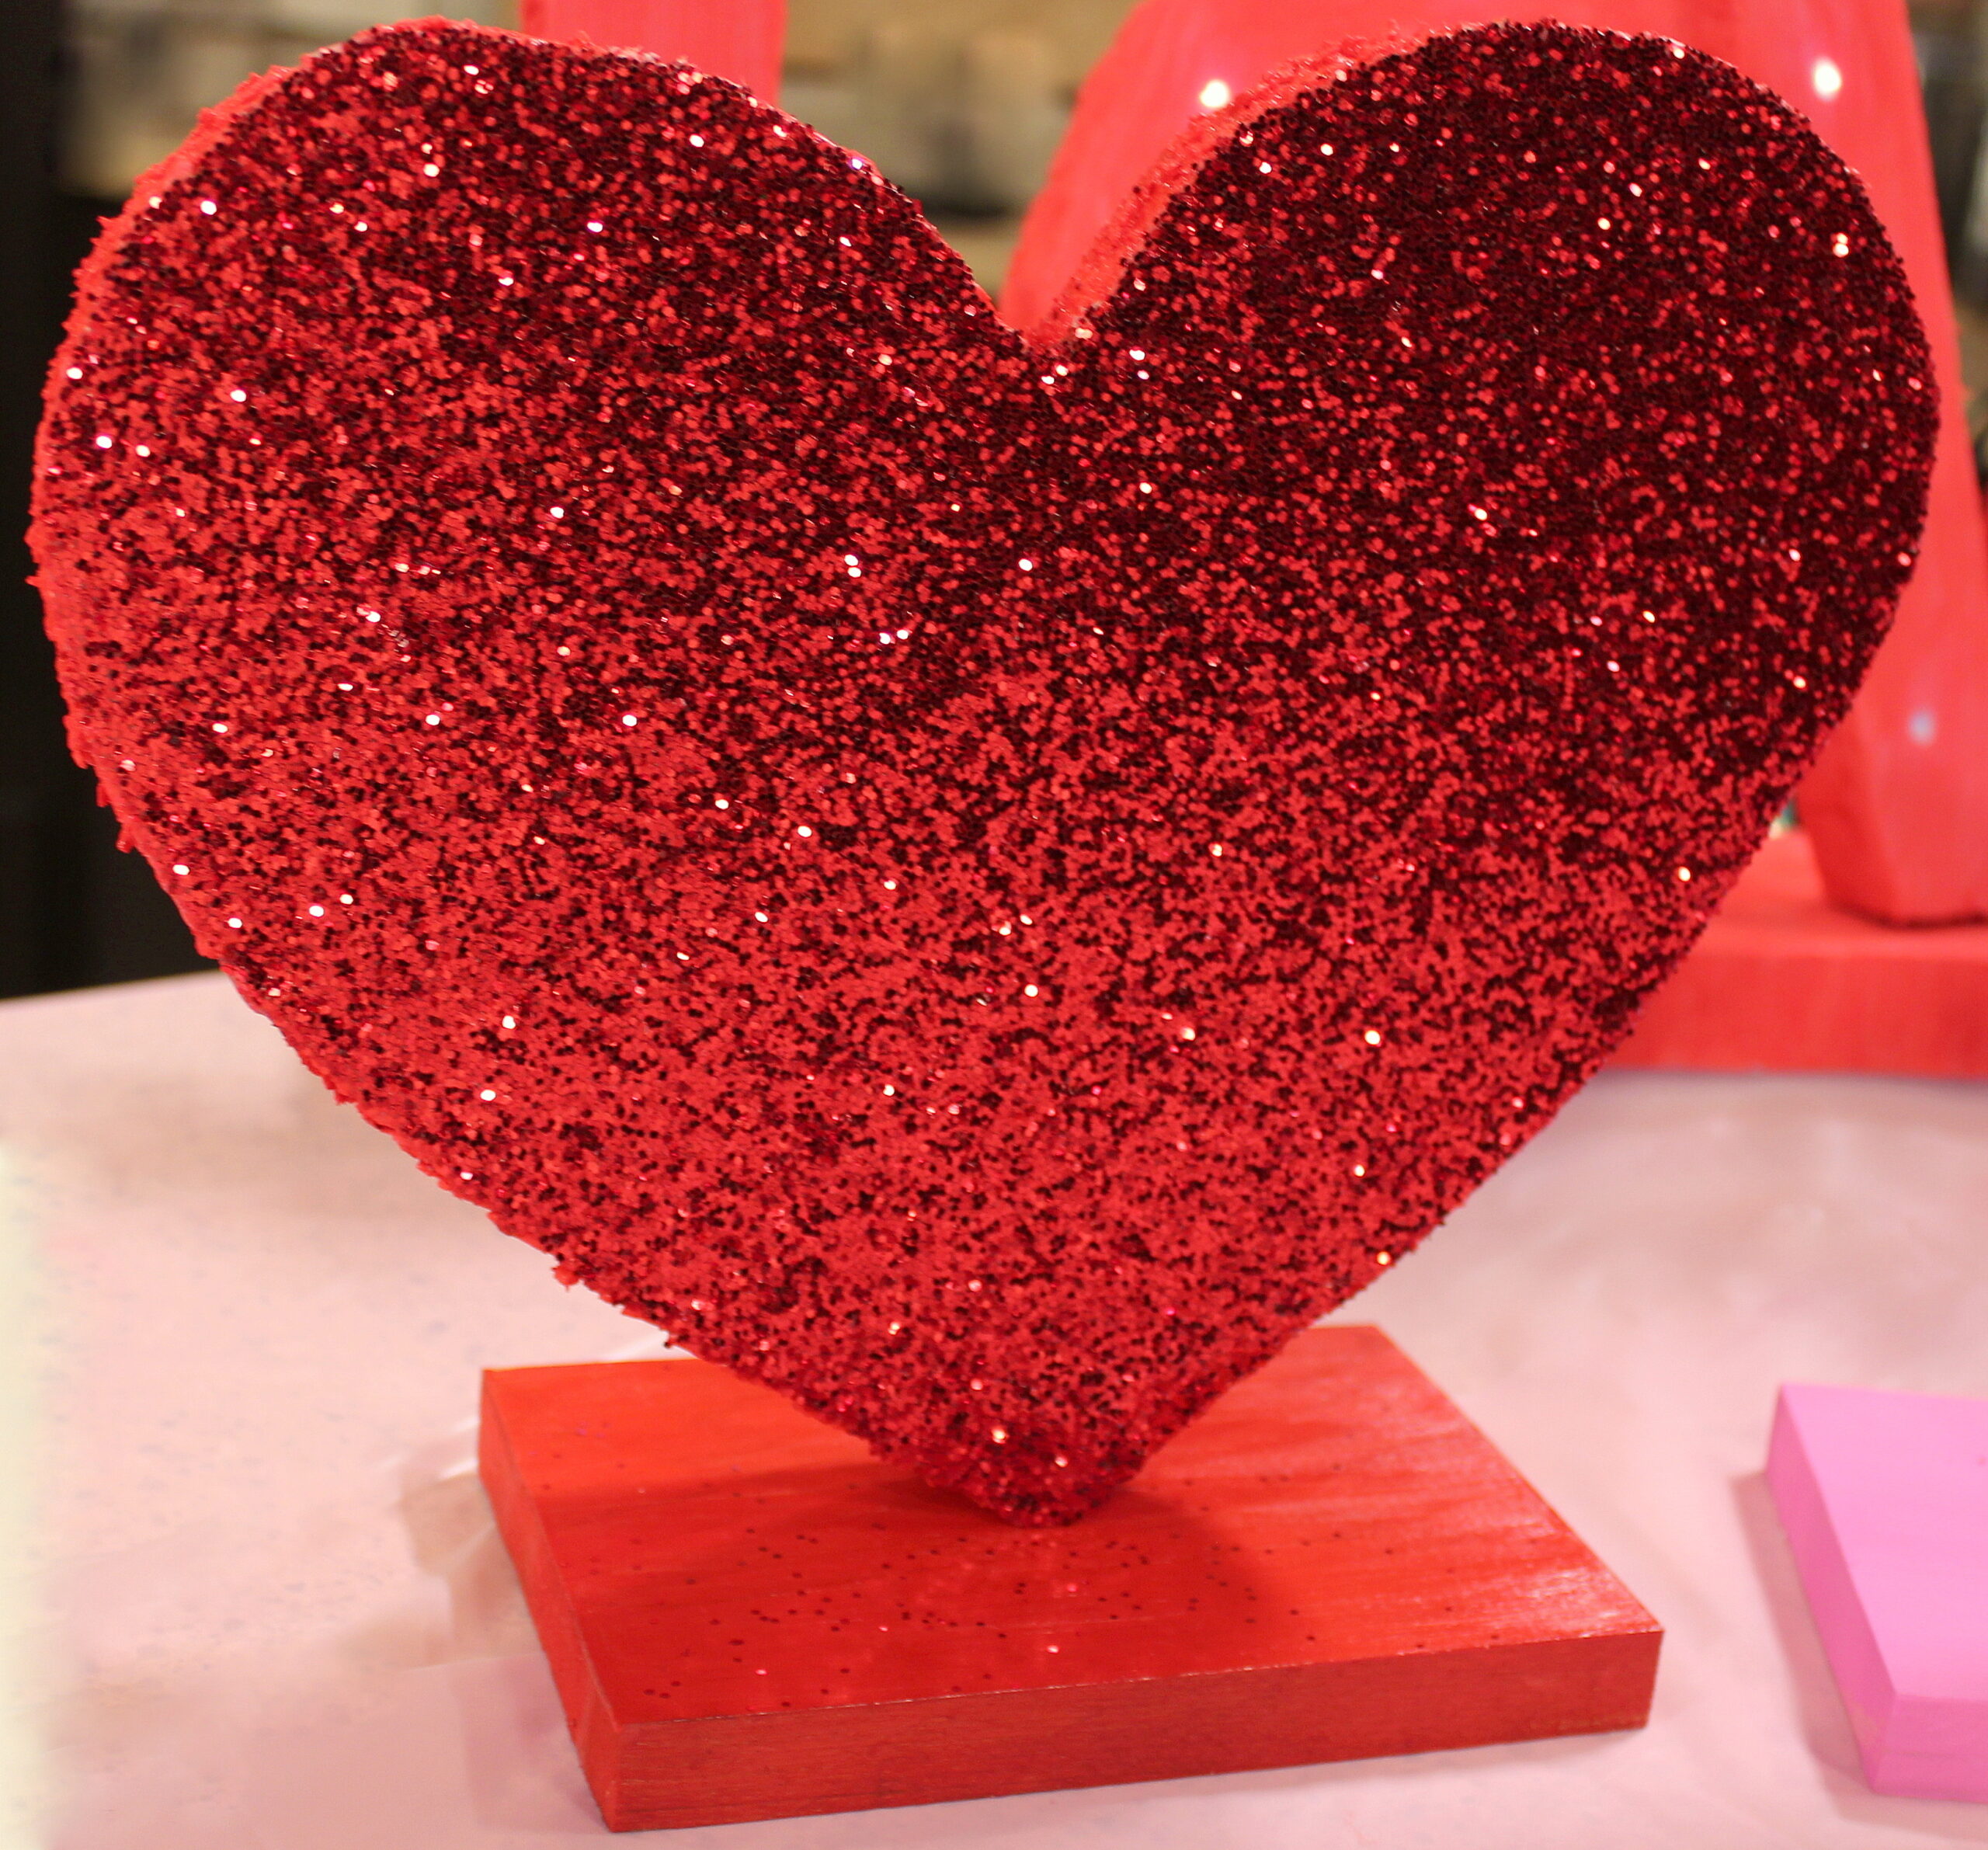
And Volia – Happy Valentine’s Day Y’all!