Want to be the most popular mom in school? Effortless and Exquisite has a creative yet simple treat idea for the upcoming round of holiday happenings for kids – and kids at heart. Classroom Christmas parties sometimes have moms scrambling the night before in the kitchen furiously baking sugary goodies. Instead of measuring, mixing, and baking how about melting, assembling, and putting your feet up? As an added bonus, the ingredients cost less than $10 for the entire class. Let the festivities begin!
 |
| Candy Sleds |
There are two treat options, either chocolate marshmallow sleds or chocolate marshmallow pops. The pops are easier than the sleds and cost about $2 less. Either will have you in and out of the kitchen in under 45 minutes (including cleaning)!
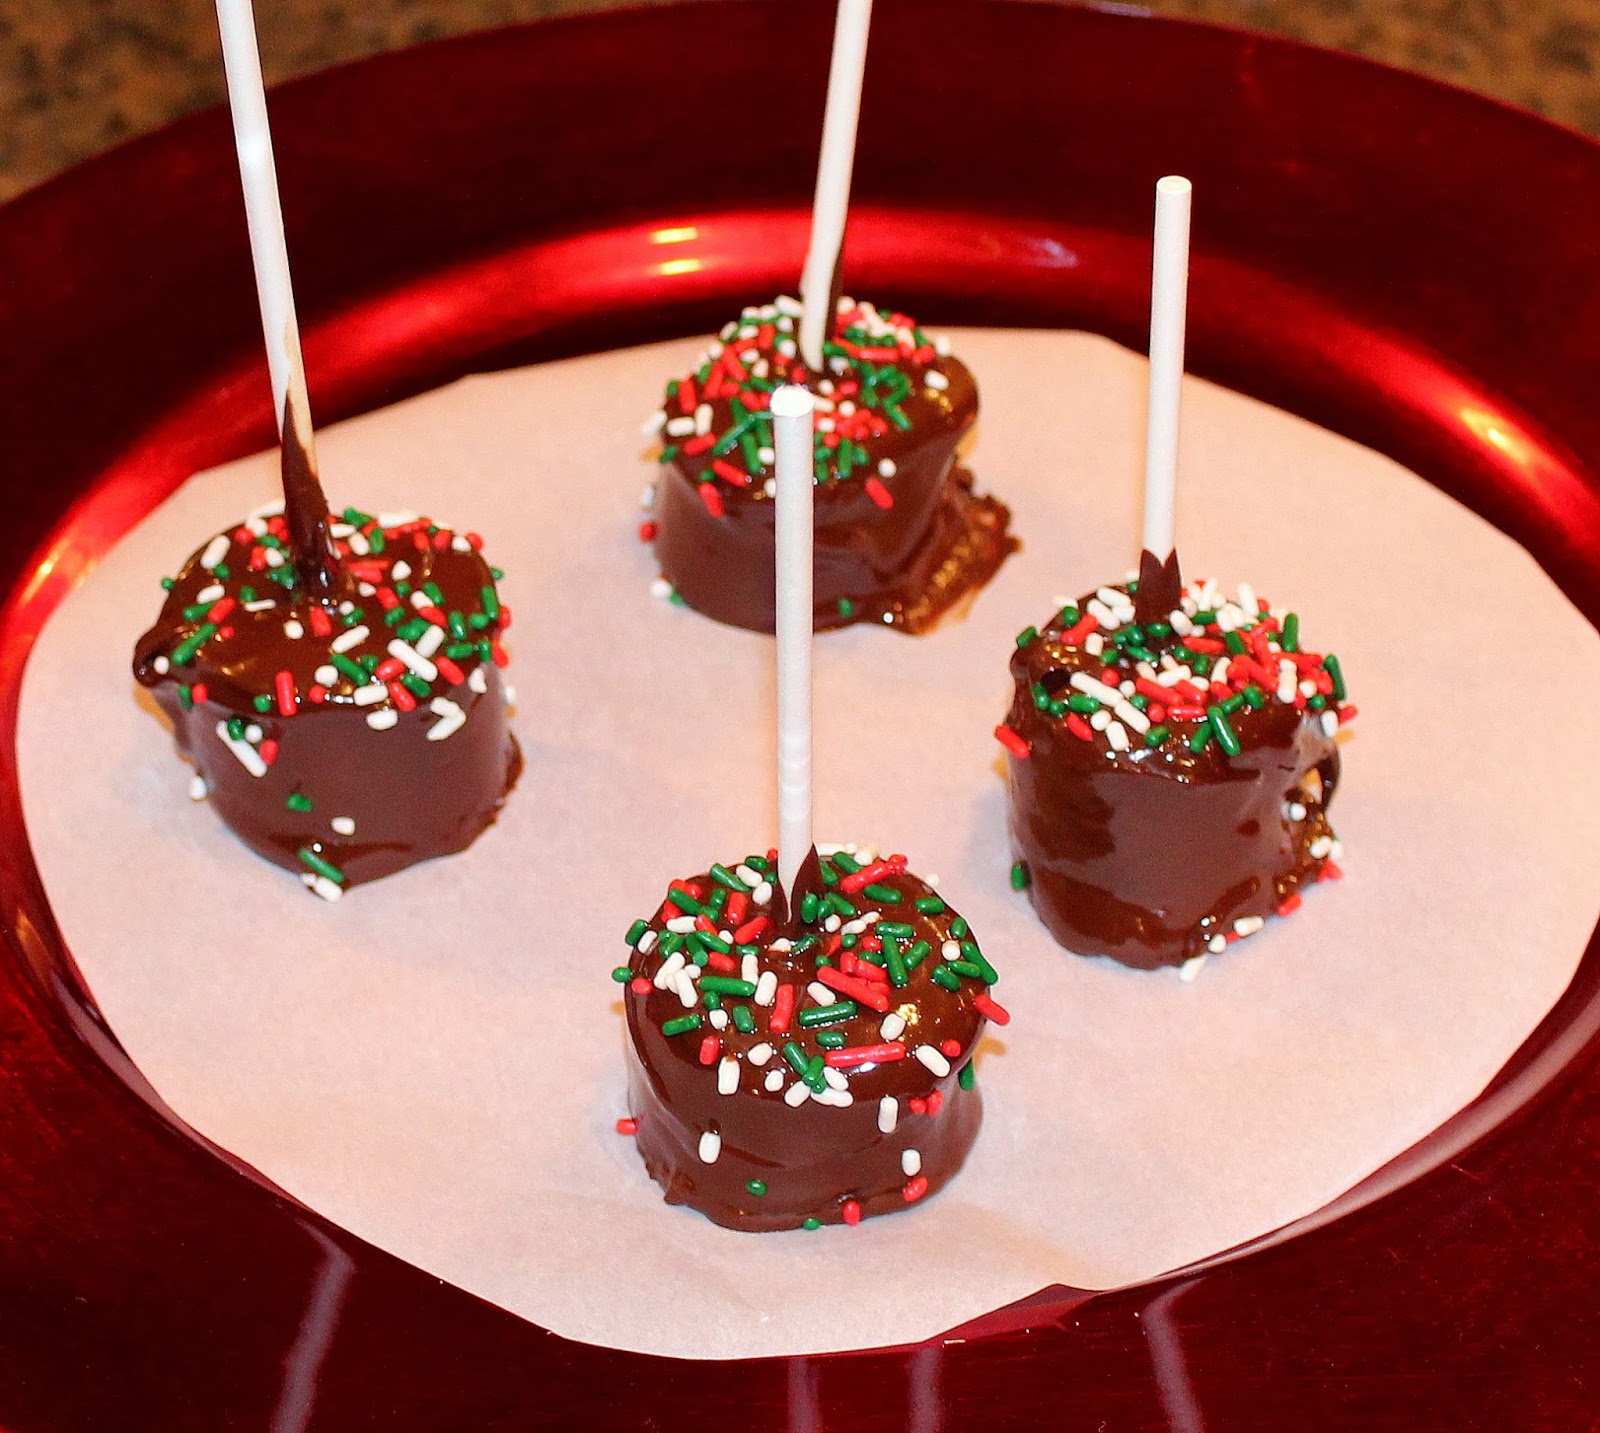 |
| Easy Chocolate Pops! |
For the pops, you’ll need the following ingredients. Two bags of generic chocolate chips (the cheaper chocolate melts easier due to the increased oil content), one bag of regular marshmallows, colored sprinkles, and lollipop sticks. I purchased a bag of clearance extra long sticks and cut them in half to double the quantity. They cost $1 at Walmart. Tear a large piece of wax or parchment paper and place off to the side for the pops once they are coated in chocolate.
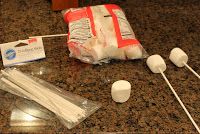 |
| Assemble the pops |
For the sleds, you’ll need two candy canes per child and stacker marshmallows. The candy canes cost $2 for 50 and the marshmallows are about $1.25 per bag.
 |
| Stacker Marshmallows |
Go ahead and prepare your marshmallows for either pops or sleds. For pops, place the marshmallows onto the end of the stick. For the sled, arrange the candy canes side by side ahead of time for simplicity in assembly.
 |
| Arrange your supplies |
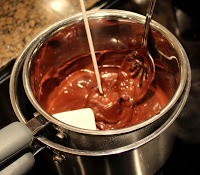
Melt the chocolate in a double boiler on the stove on low heat. If you don’t have a double boiler, don’t worry. I improvised stacking two different sized pots together. It isn’t pretty, but it is completely functional for our purposes. We are not professional chefs. Stir the chocolate as it melts and continue to periodically stir it so it doesn’t stick to the bottom or the sides of the pot.
 |
| Melt Chocolate |
Dip the marshmallows on the stick into the chocolate. Tap off any excess on the side of the pot. Place upright onto the paper. Dip all of the marshmallows.
 |
| Dip in the chocolate |
If you are making sleds, dip the stacker marshmallow quickly into the chocolate. I did it by hand, holding a small corner of the marshmallow. One quick swipe through the chocolate on both sides will be enough. With the other hand, roll the two candy canes with the canes pointing upright. Place the chocolate coated marshmallow straddling the candy sticks. The chocolate will act as a quick adhesive and should hold the canes in place.
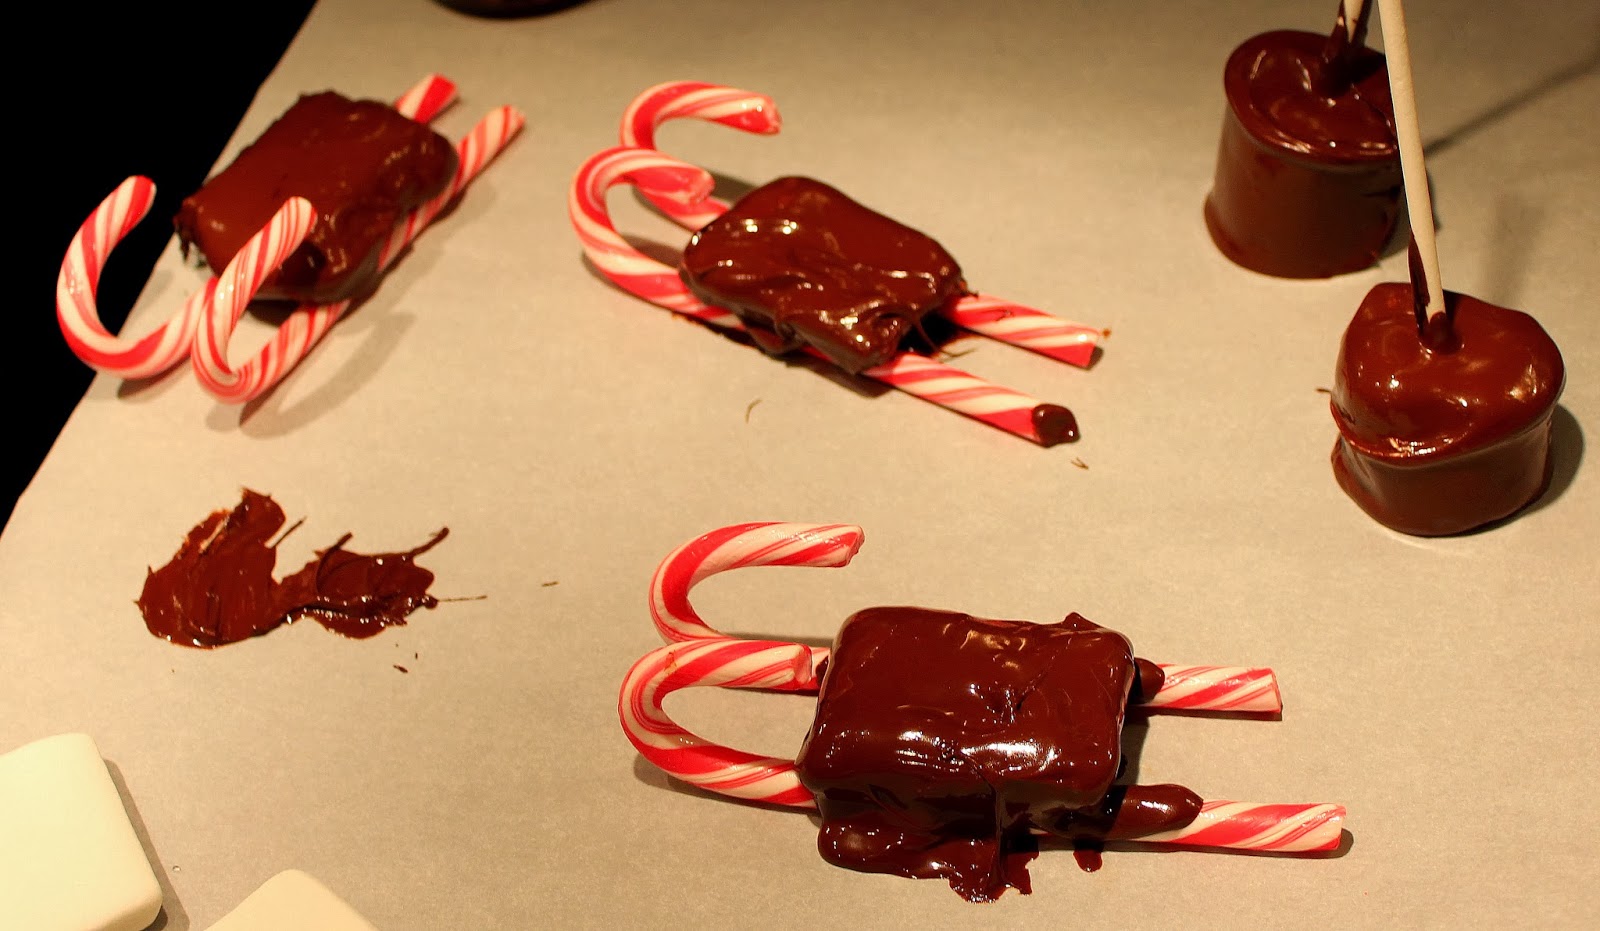 |
| Place Dipped Marshmallows on Paper |
Once the sleds are assembled or the pops dipped, sprinkle generously with colored sprinkles. Use as many as you’d like.
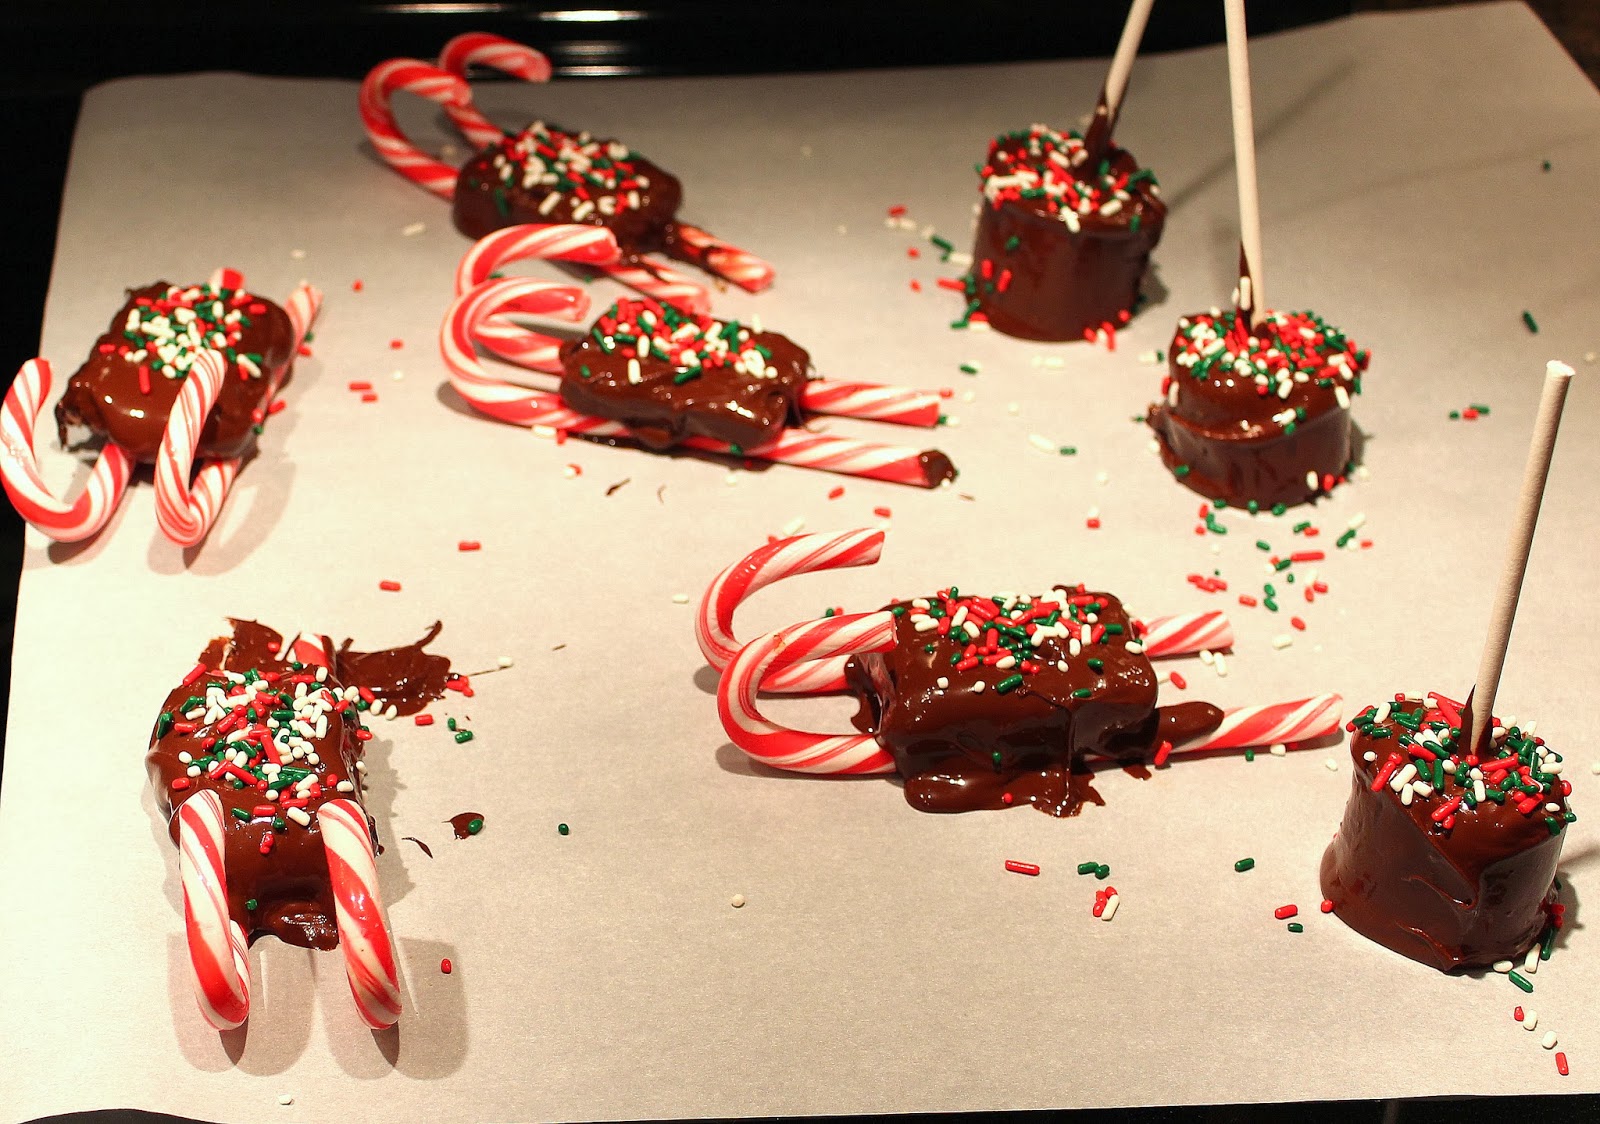 |
| Allow to Harden |
Allow the candy to harden overnight on a cool counter or the refrigerator. Once they harden, they will transport easily. You may layer the sleds in a pan with wax or parchment paper in between the layers. Good Luck, you’ll be the coolest mom in school!
 |
| Candy Sleds! |
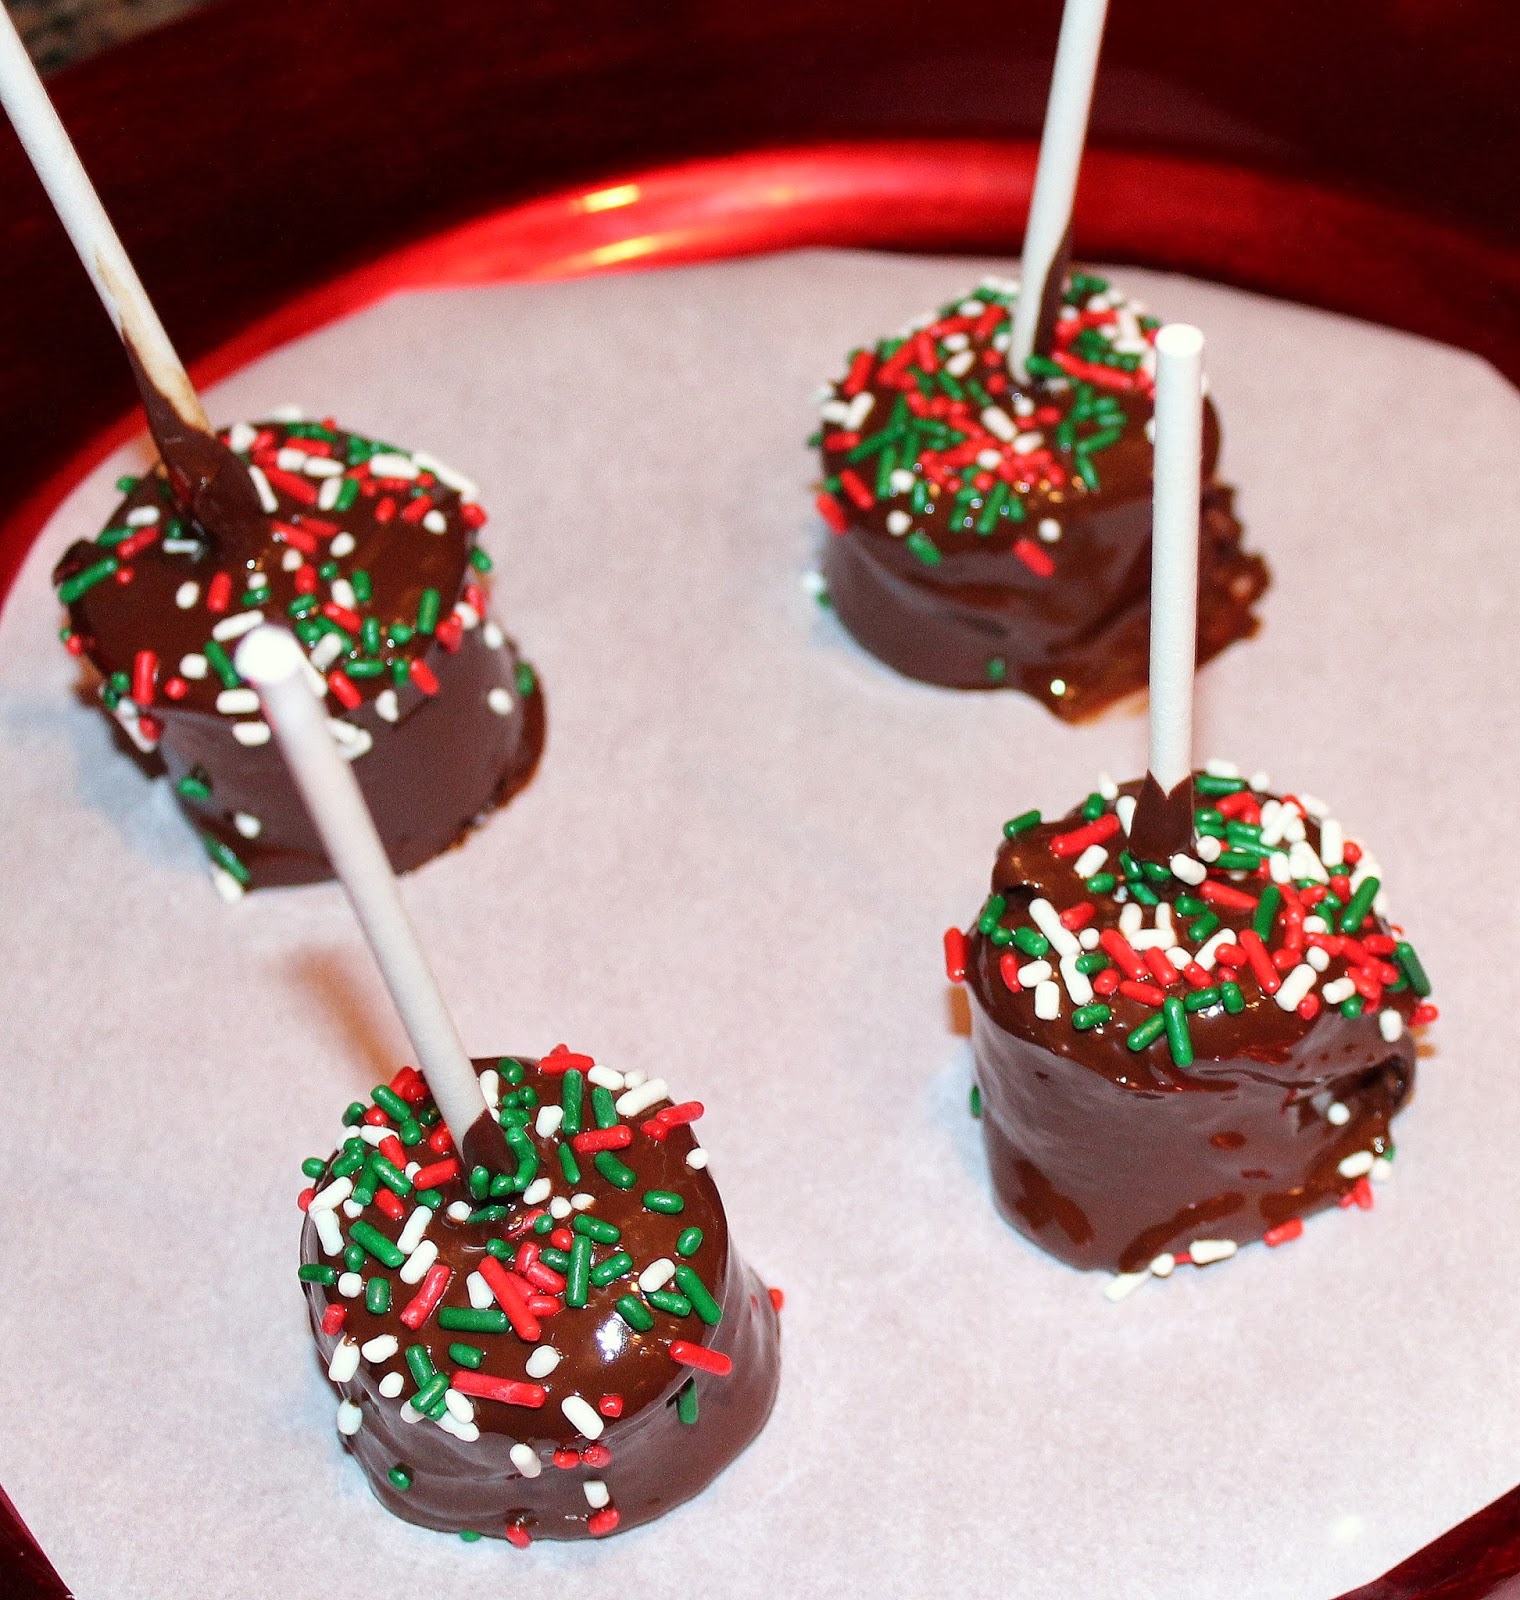 |
| Finished Pops |


