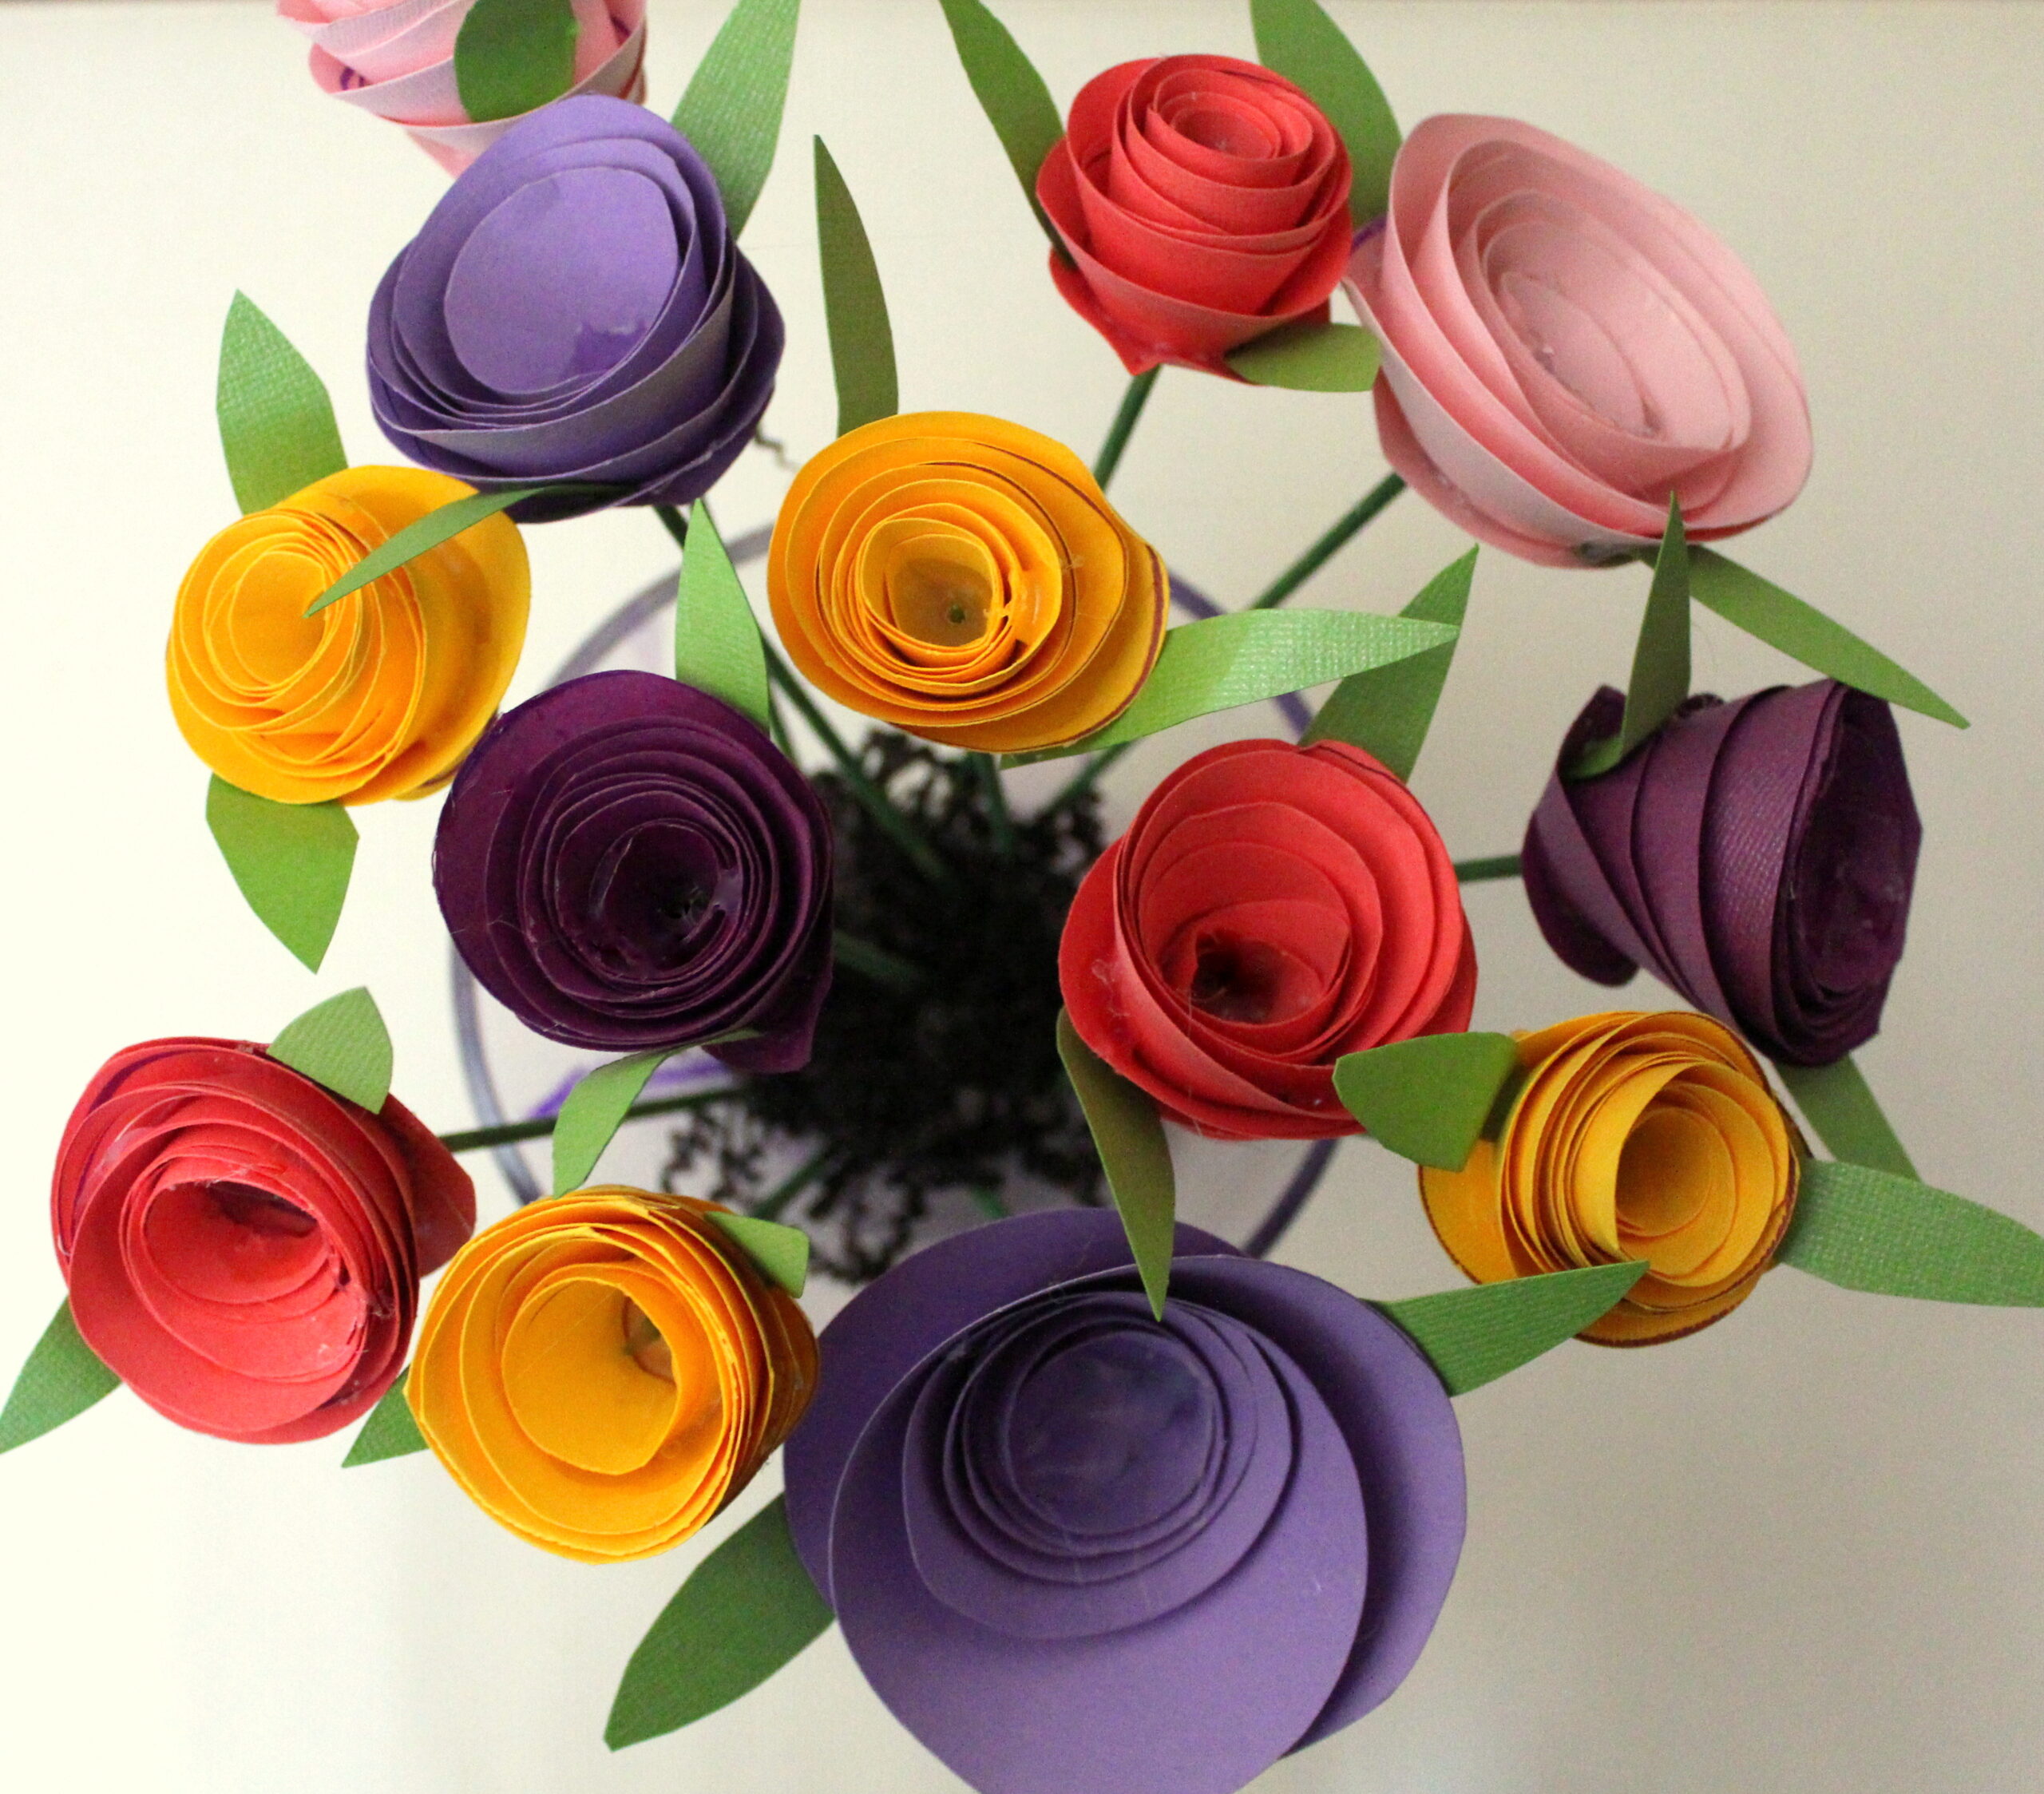
In honor of Mother’s Day and Spring, today we’re making Easy Paper Roses. These are quick to assemble and inexpensive. They make a super creative take on flowers for mom and they’re super simple to DIY. Each flower costs around 70 cents and the kids can get involved to help out with the crafting. Let’s go!
Materials:
5-6″ square pieces of card stock
Green Marker
Kabob Skewer
Glue (hot or regular)
How-To:
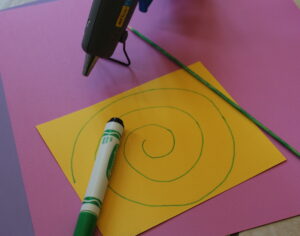
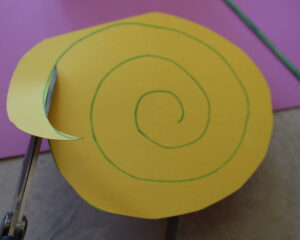
Start by tracing a concentric circle pattern on the card stock. Trim the square edges of the card until it’s a round shape. Begin cutting the paper on the lines you drew.
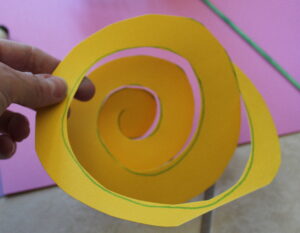
Cut until you’ve reached the center and leave a very small circle at the end. This will be the base of the rose.
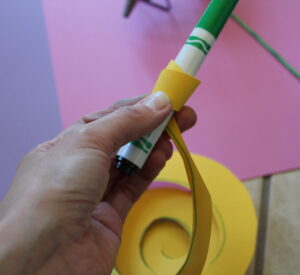
Wrap the end of the paper around the marker or a pencil depending on how tight you want the flower to be wrapped.
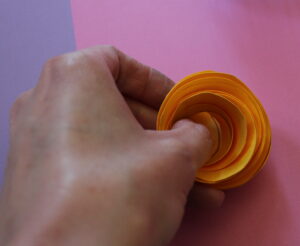
Wrap until you get to the center base. Cover the base of the flower with a dab of hot glue or regular glue and hold it firm until it adheres. You may want to put a couple of dabs of glue in between the petals for stability.
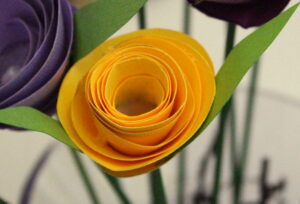
While the rose is drying, color the kabob skewer with the green marker. I quickly went over the skewer with the marker and the green color made a nice stem. Once the rose is dry, insert the sharp end of the skewer into the center bottom of the rose. I added some card stock petals to complete my flower – and that’s it….Easy Paper Roses!


