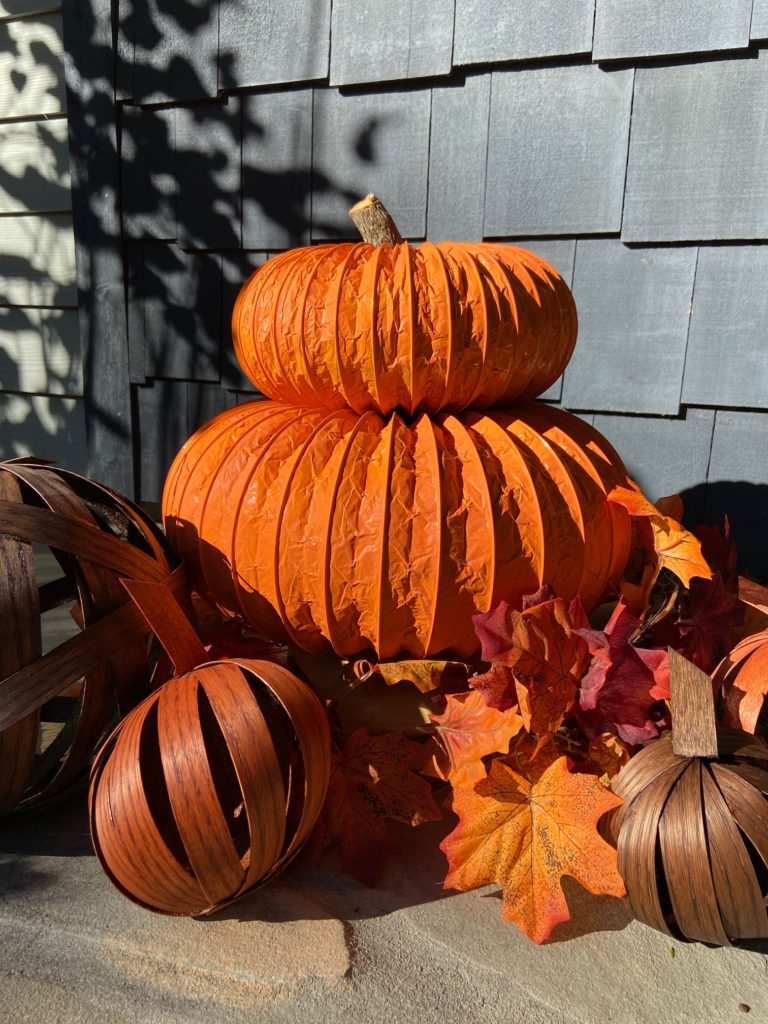
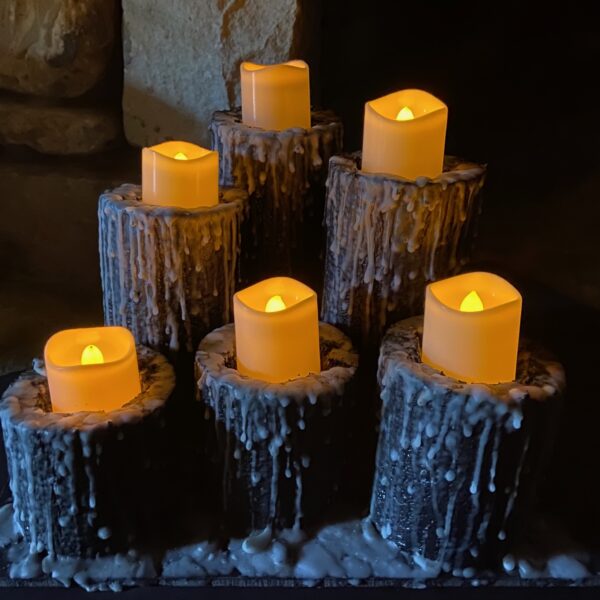
Today’s DIY project is easy – we’re making Easy DIY Pumpkins! The materials list is very short and simple. My favorite part about these pumpkins is that they are made from FLEXIBLE DRYER DUCT….what?? Yep, it sounds strange, but they turn out to be super cool and a super minimal effort and cost investment. This fall is crazy enough already and nobody wants a time consuming or difficult project, especially me. The cost is two to four dollars per pumpkin depending on the size and they literally take seconds to assemble. Once Fall is over, these pumpkins store SO simply! The video how-to is here and another one here. Let’s Go!

Materials:
Flexible Dryer Duct
Clear Scotch Tape
Heavy Scissors
Stick from outside for stem
Spray Paint (Optional)
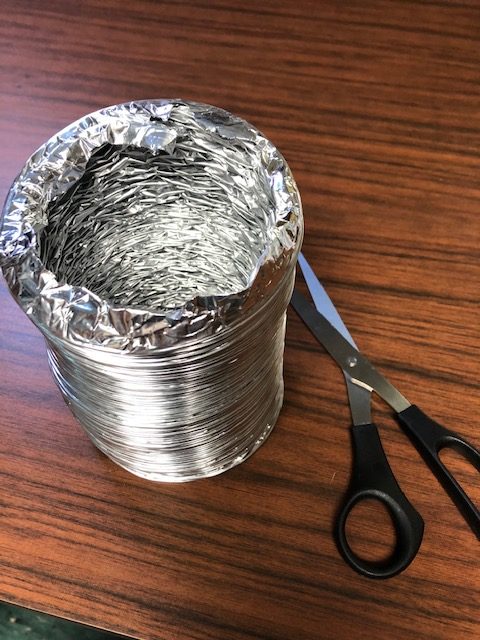
How-To:
Dryer duct comes in packages at any hardware store. Pull out enough dryer duct to make a circle (i.e. a pumpkin). Cut that length from the larger package. Smaller pumpkins will need less duct, larger pumpkins need more – you get the idea.
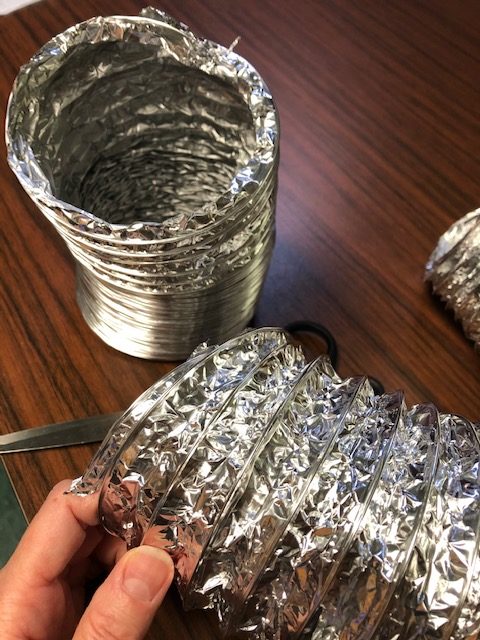
Bring the two ends of the circle together so they can be taped.
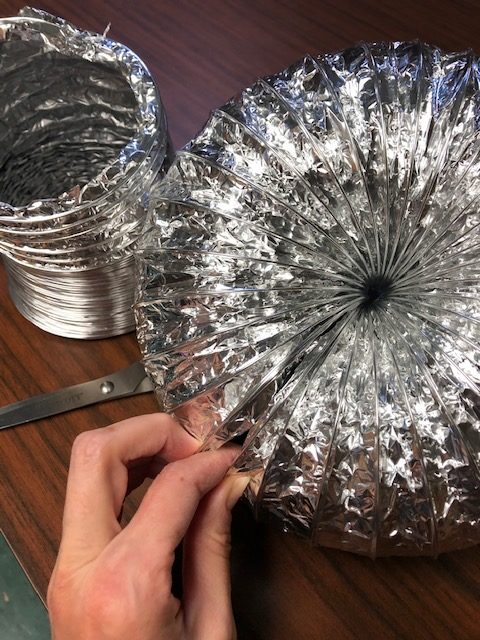
Using a piece of clear scotch tape, tape the two edges together. One or two pieces will be plenty.

And that’s it, you’ve made your pumpkin. Now you may paint it or leave it silver for a chic fall pumpkin – it’s up to you. If you spray paint the pumpkin, make sure you spray in a well ventilated area and allow a couple of hours (at least) for the paint to completely dry.
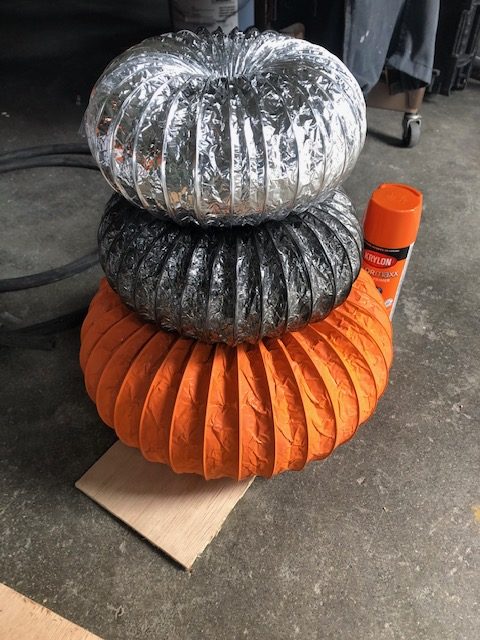
There are several paint colors I used. Some I sprayed lightly and others got a heavier coat of paint. The one I sprayed lightly had a super fun affect because the silver showed through the paint for a two tone pumpkin. Once the paint is dry, add the stick for the pumpkin stem.

When Fall is over, remove the piece of scotch tape and collapse the pumpkin back together like a Slinky and store for next year. And there you have it….Easy DIY Pumpkins!
