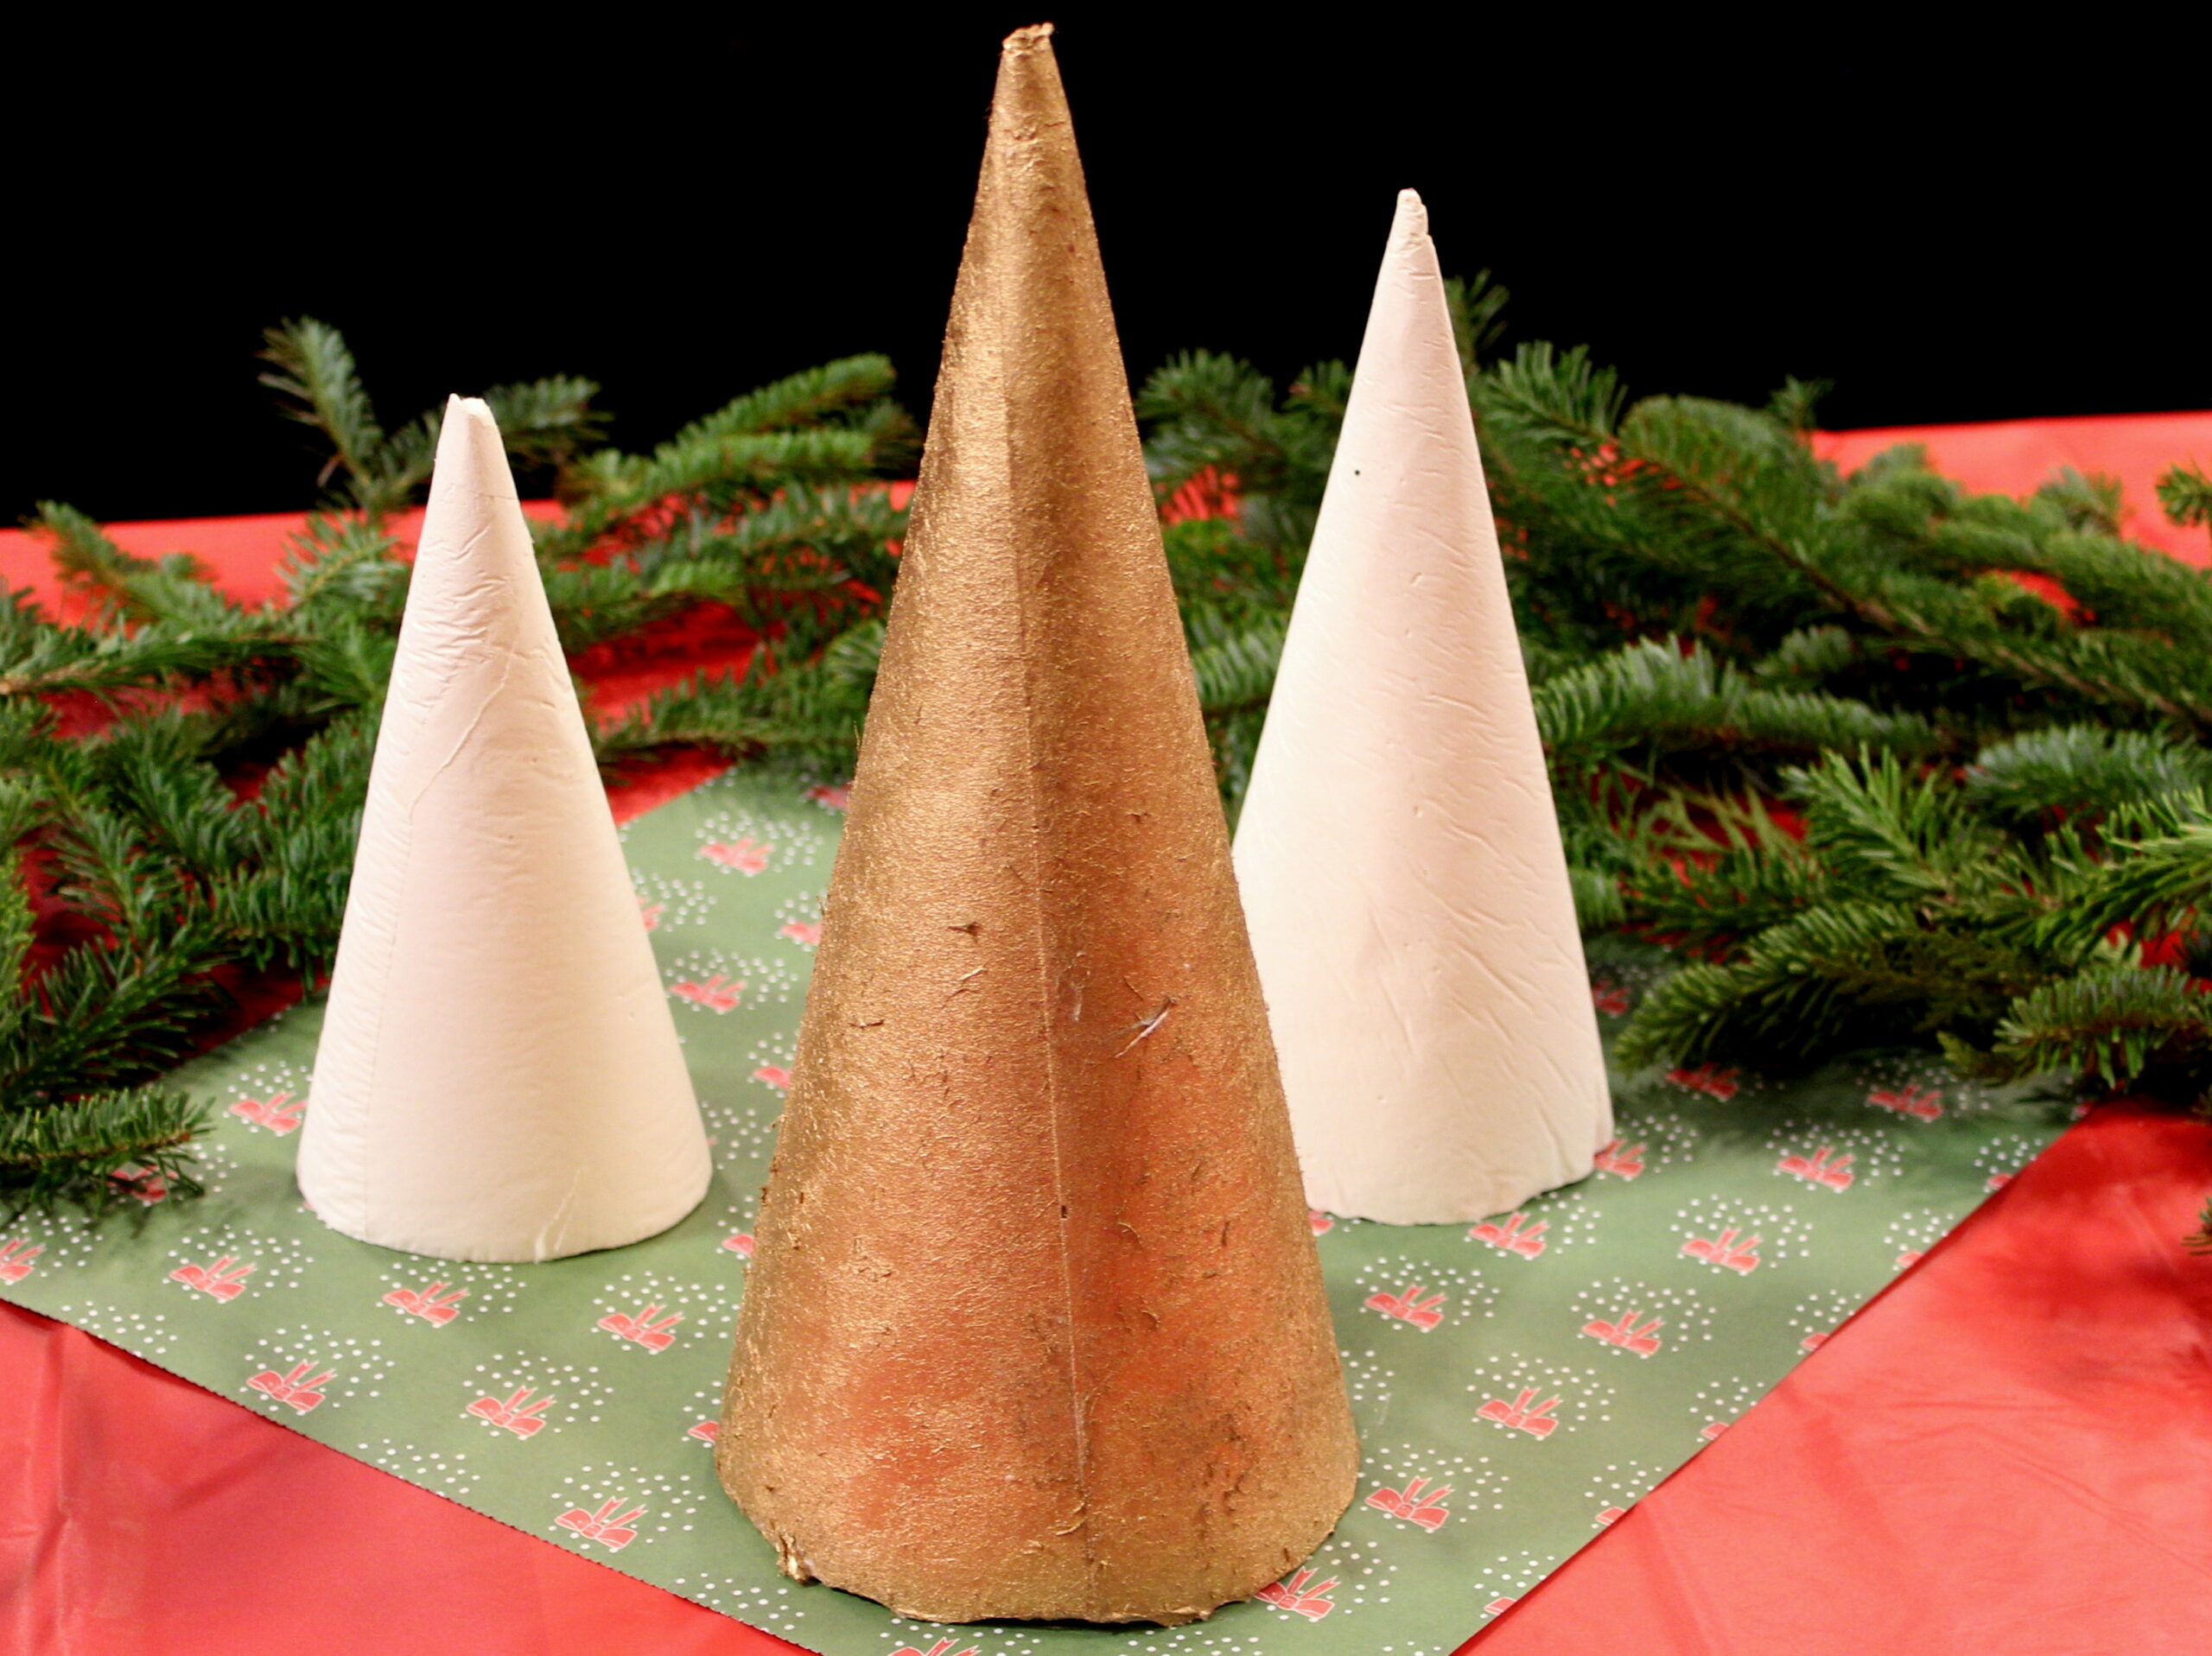
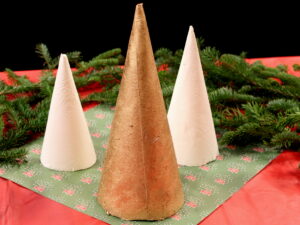
I love Christmas but I’m getting to the point in the season that if it isn’t easy, I’m not interested. Thus, Easy Christmas Trees are my jam. I love an elegant Christmas dinner centerpiece, but I don’t love the hefty price tag. So with my dad as my construction coach, we made unique Christmas trees decor from Plaster of Paris. I love the look and I’m really excited to display them on Christmas Day!
Materials:
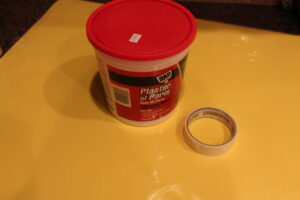
These are easier than you think. You’ll need about 4 pounds of Plaster of Paris for 3 trees. You could make 4-5 smaller trees with 4 pounds of Plaster, but I made one large and two small. The cost is about $6.50 for a 4 lb container. You’ll also need a piece of poster paper and some masking or duct tape.
How-To:
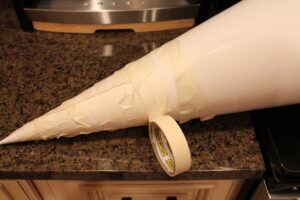
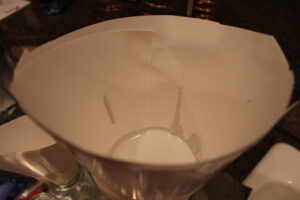
Fashion a large cone with half of the sheet of poster paper. I made my cones extra large because I didn’t want a big clean-up. You have choices here on the texture of the cone.
1. For my large cone, I did not line the cone with wax paper. Some of the poster paper fibers stuck to the plaster and left a fiber-textured cone once I removed the paper from the dry plaster the next day -which I loved.
Or
2. Line the paper cones with wax paper. This creates rippling in the plaster as it drys. The paper doesn’t stick to the plaster tree but instead makes lines on the outer surface of the tree – which I also loved.
So you have choices about lining the paper cone or not. Wrap masking or duct tape around the outside of the cone to reinforce the paper.
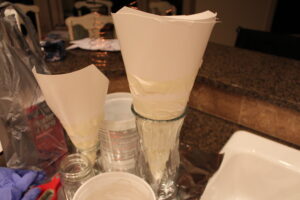
Place the cones into jars or flower vases to keep them upright.
Mix the plaster according to the directions and add to the paper cones. You may fill them depending on the size of tree you’d like to create. Allow to harden and dry overnight and remove the outer paper cone. You may paint the trees or not – I like both the painted and the bare white look so it’s up to you and your table colors.
Merry Christmas!


