Anyone planning a party, wedding, bar mitzvah, or shower knows there are too many invitation choices. There are literally thousands of color, pattern, paper, or print styles to choose from. Your budget can range from reasonably inexpensive to mortgage level spending depending on what you select. It gets exhausting, especially since invitations are usually the first item to pick in the planning stages. I would’ve done better planning my wedding with a strong sedative or maybe a borderline alcohol dependence. That subject is probably another blog post in itself…I wanted a specific invitation but I did not want to spend what it cost to have it made. By making the invitation myself, I spent less than $2 each including postage. Here is the process, feel free to comment and let me know what you think!
My wedding invitation
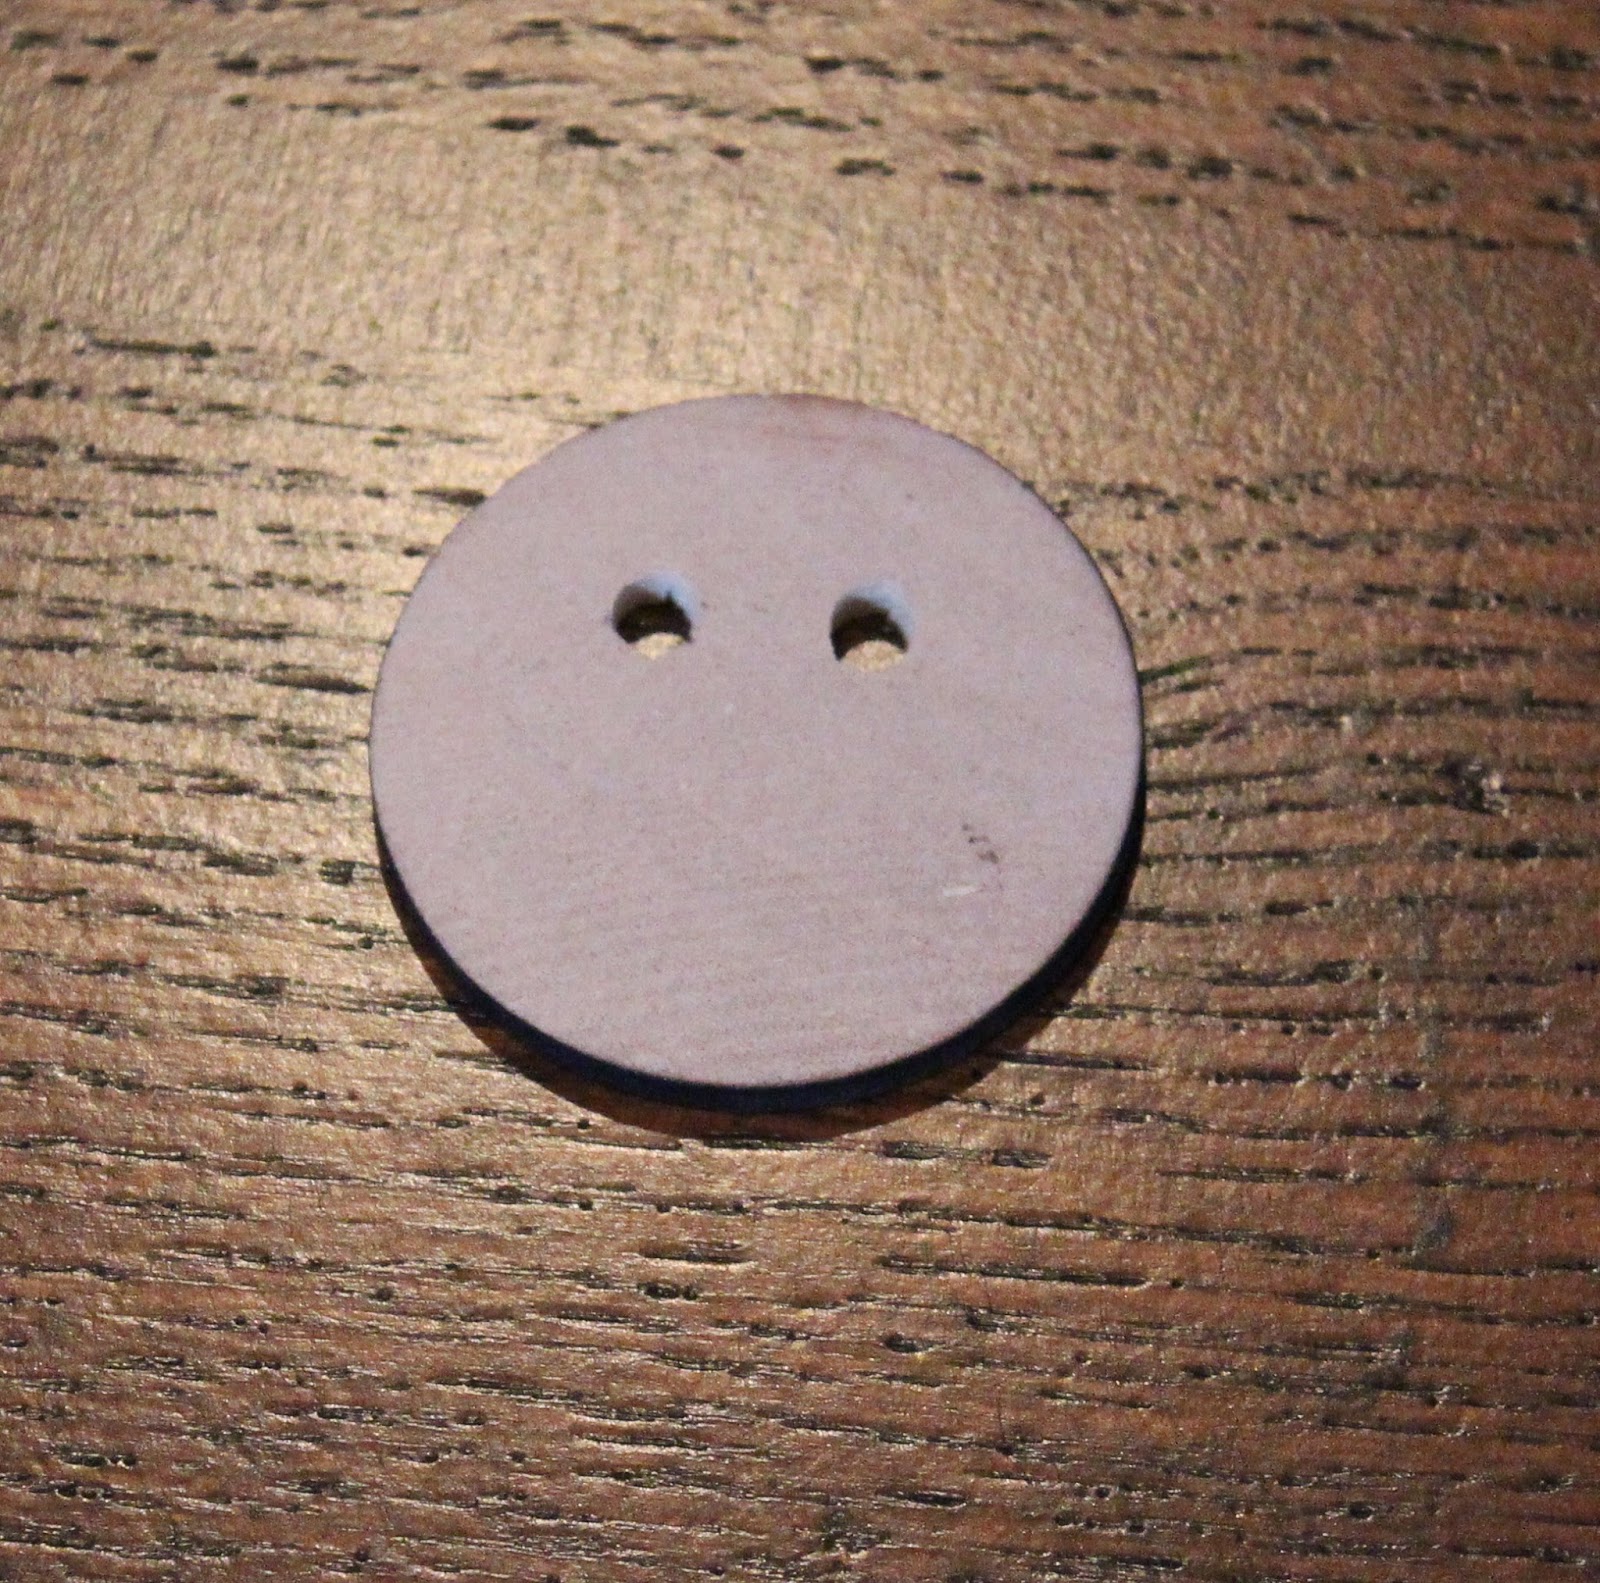
I started with my wedding concept which was rustic elegance. We were married in the Appalachian mountains and we incorporated nature and rustic wooden items throughout the wedding. To add a keepsake on the invitation for our guests, I created a wooden medallion that was also a magnet. I purchased 1″ wooden discs from a wood crafters website for 7 cents each. The discs were drilled with two holes toward one edge.
Drill two holes in the wooden disc
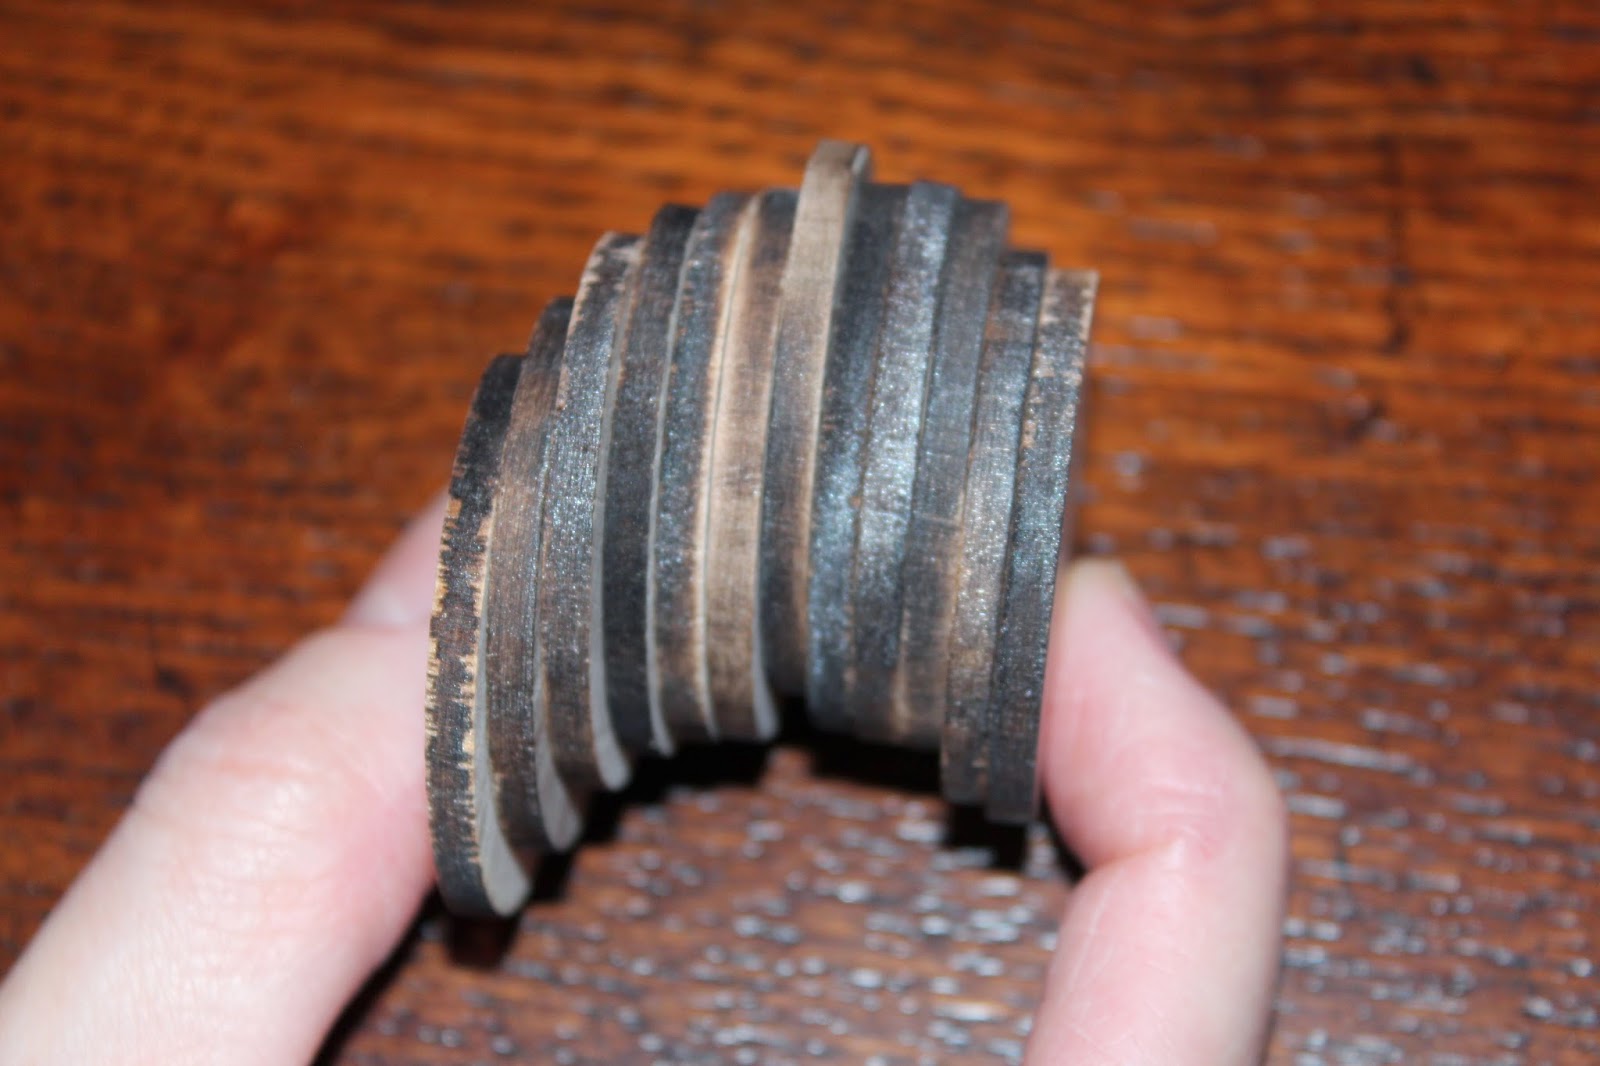
I wanted the discs to look worn and old. My dad burned the outside of them with a torch. It is much easier if you hold one stack of them while singeing them. You may use a lighter also but a butane lighter works best. Be extra careful if you do this because you can really burn your fingers!
Singe edges – be careful not to burn yourself!
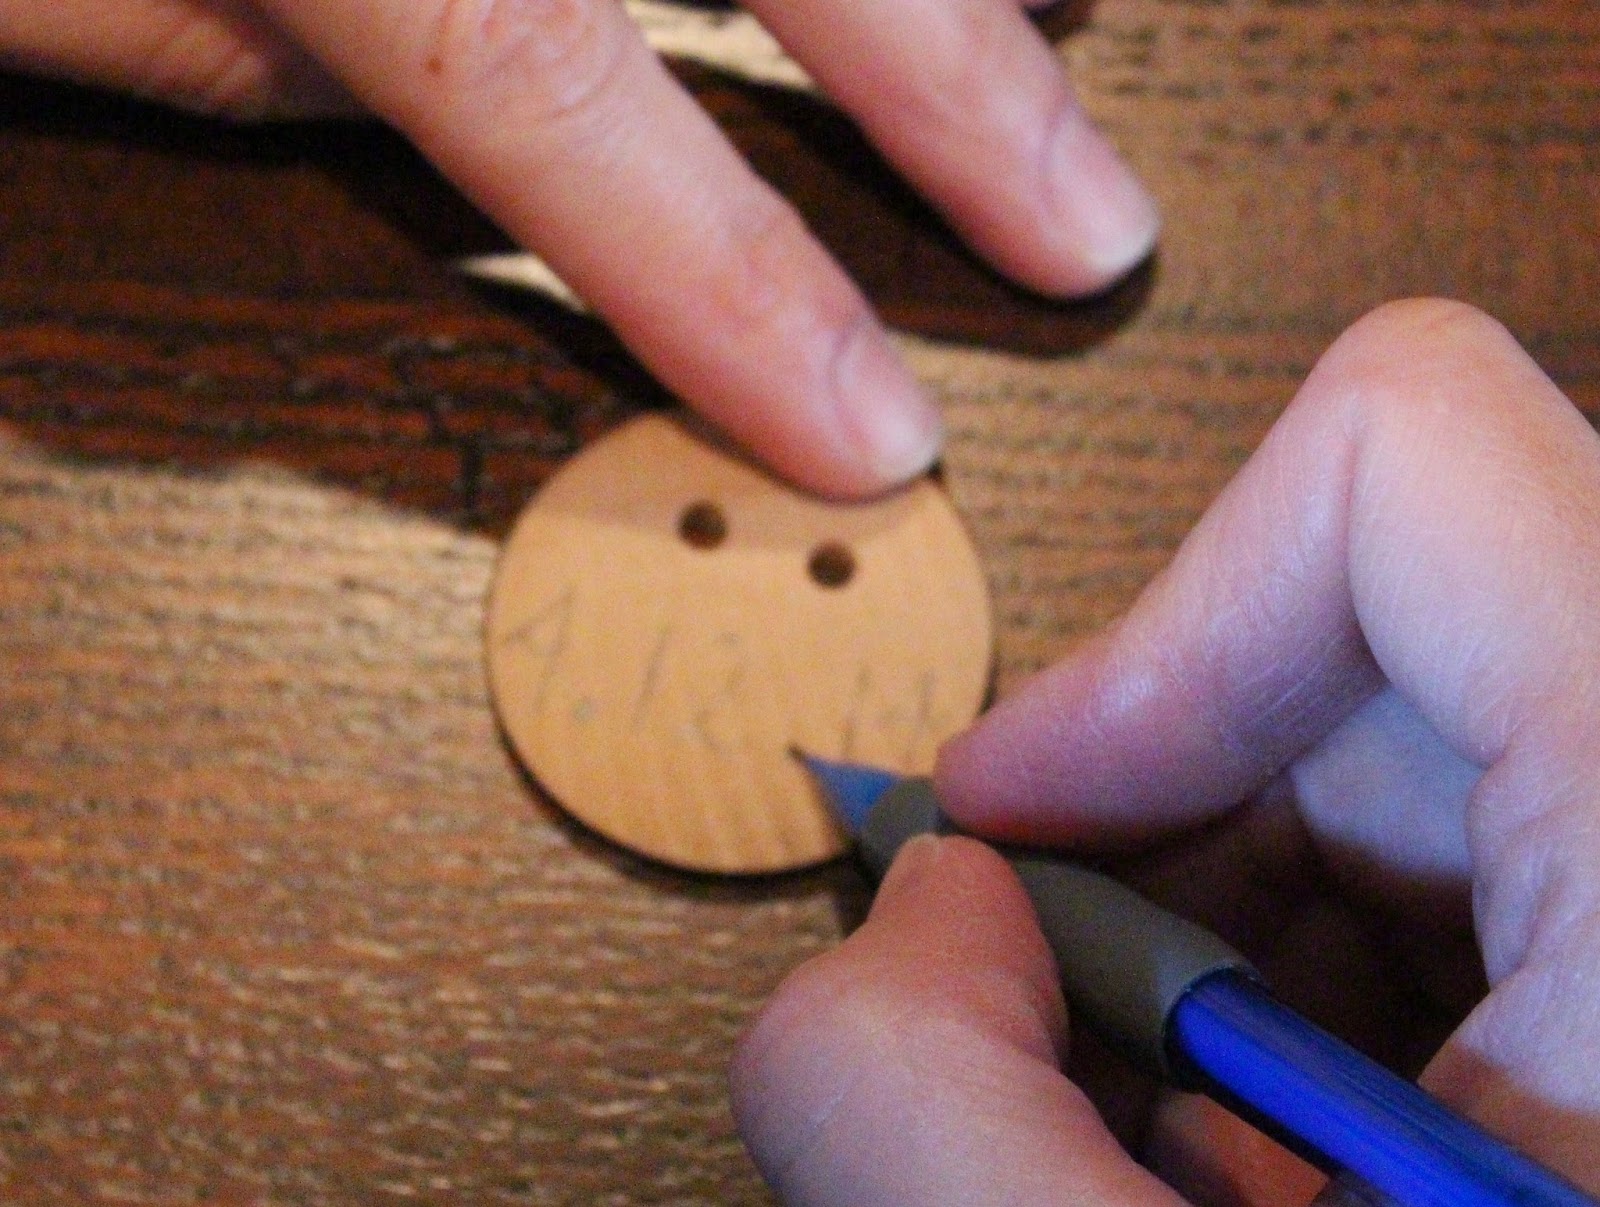
Next I wrote the date of my wedding on each disc in pencil.
Write your message with a pencil
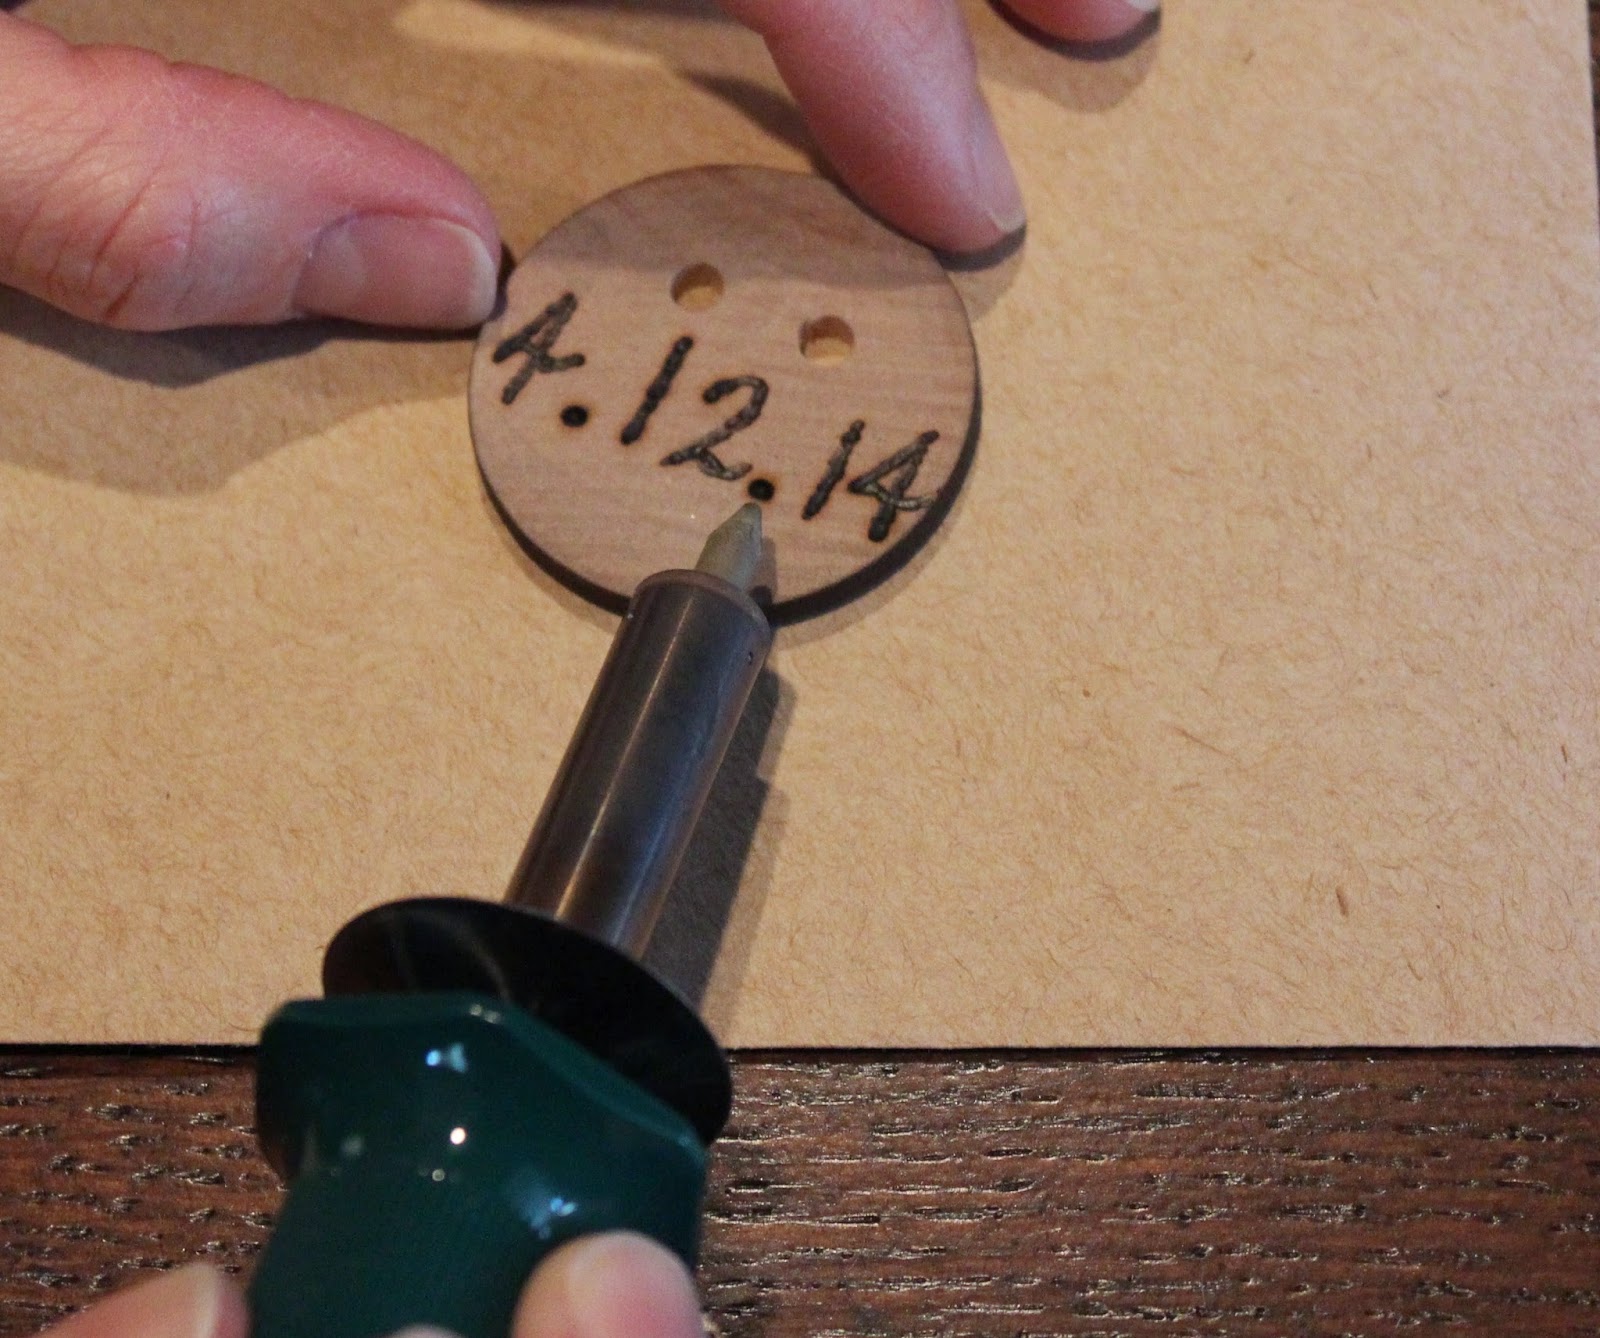
I purchased a wood burning tool from Walmart for $10. This takes a little practice to master, so you may want to try on some old pieces of wood before using it to craft letters.
Wood Burning Tool – it also gets HOT!
Then I traced the numbers with the wood burning tool. Be sure to put something like cardboard underneath the disc to protect the work space. It gets hot as you are burning it and can heat up the surface you are working on. I’m not going to lie and say this is easy. It took me a long time to do one for every invitation, but the result was what I wanted.
Success!
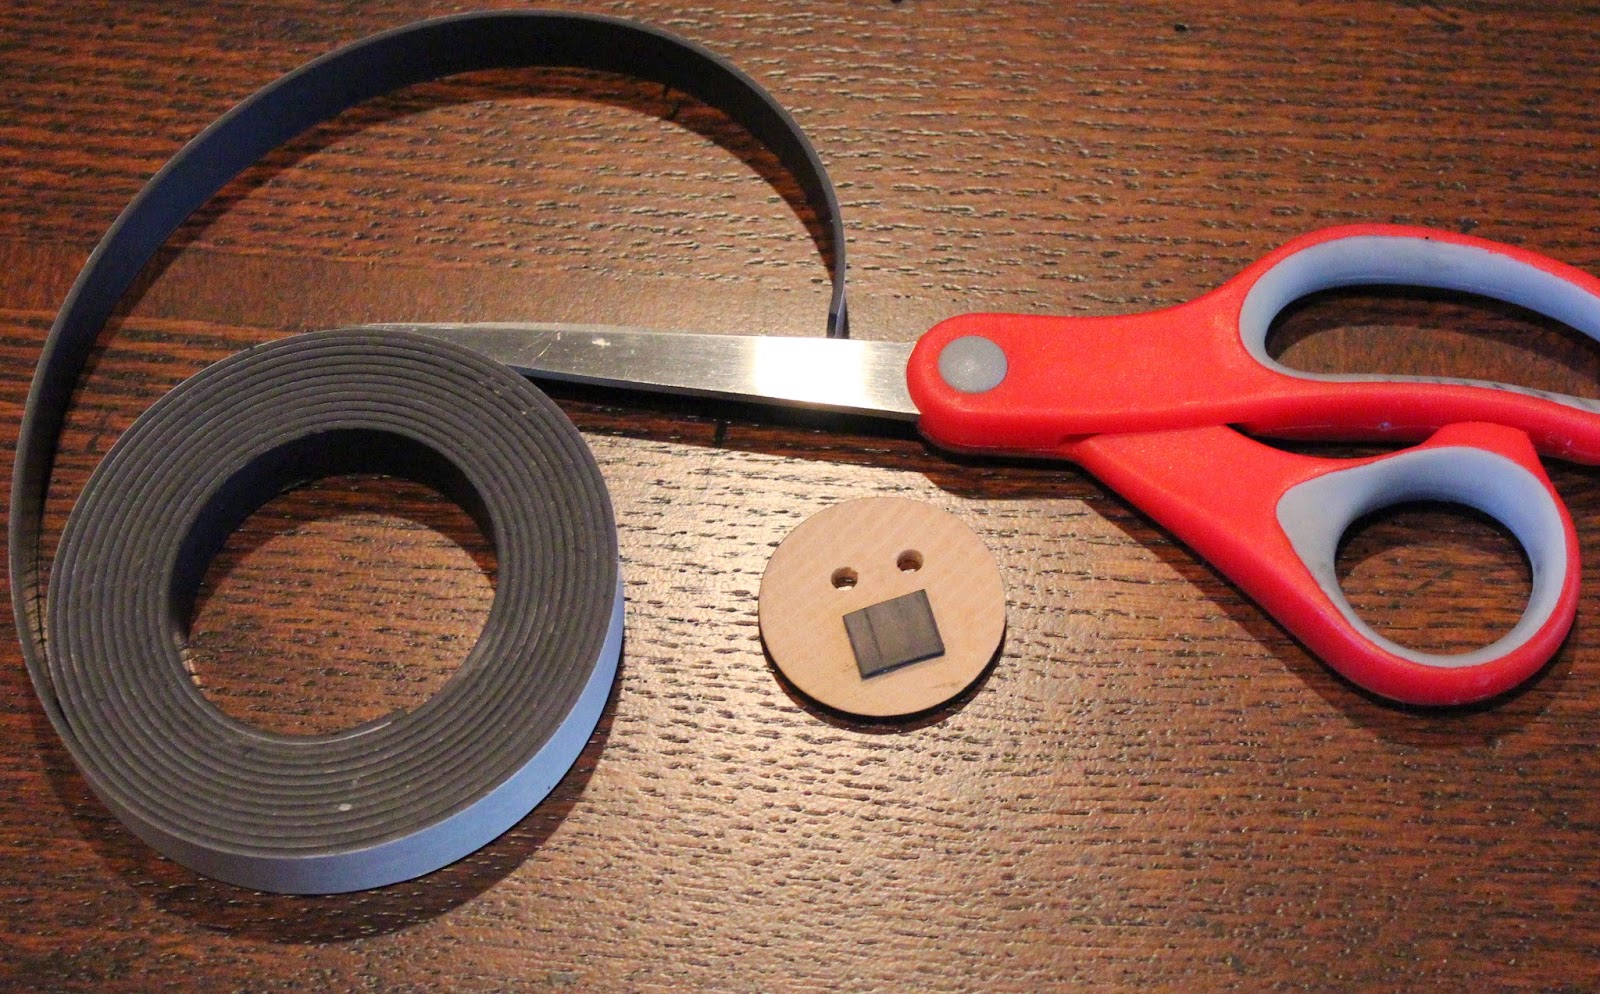
The discs were finished with a piece of magnetic tape on the back. You may purchase the tape from any craft store. I bought mine from Michaels with a 40% off coupon. It ended up costing about $3 for a ten foot roll. There will be extra left over…
Materials to make the magnet
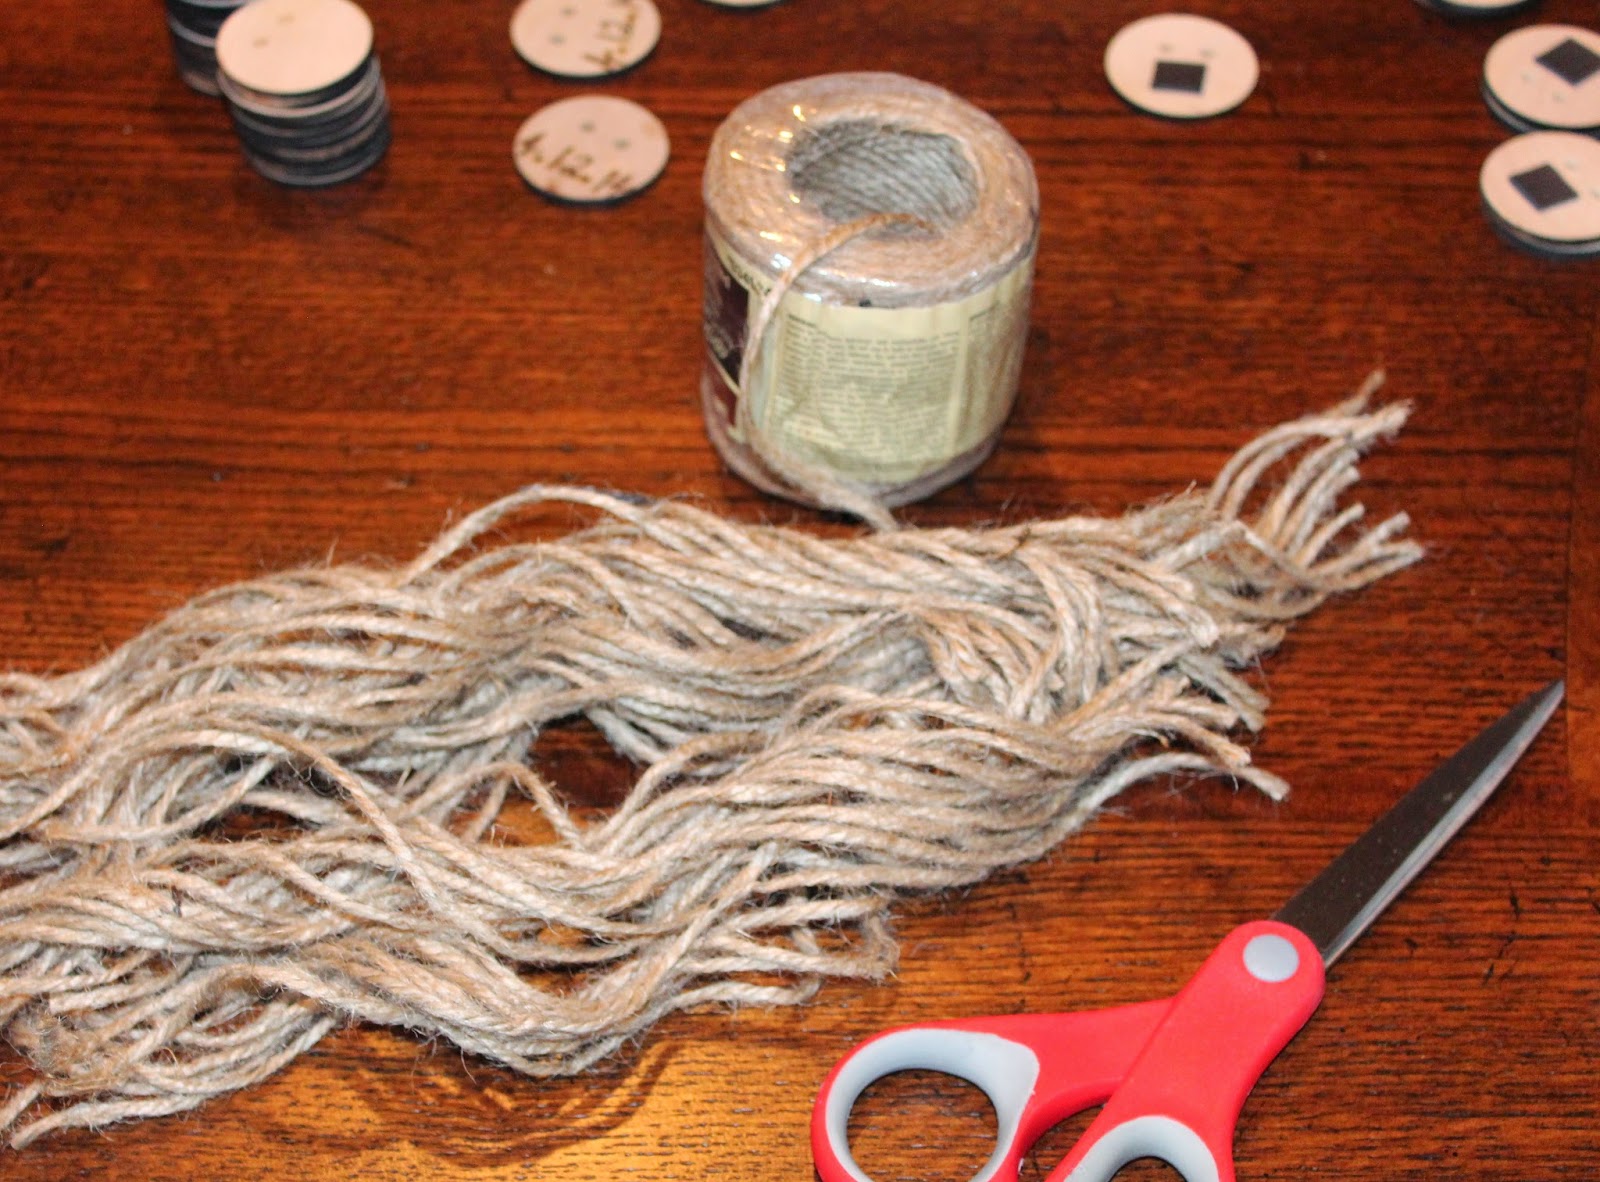
I used twine to thread through the two holes and tie the invitation shut.
Cut pieces of twine ahead of time for speed
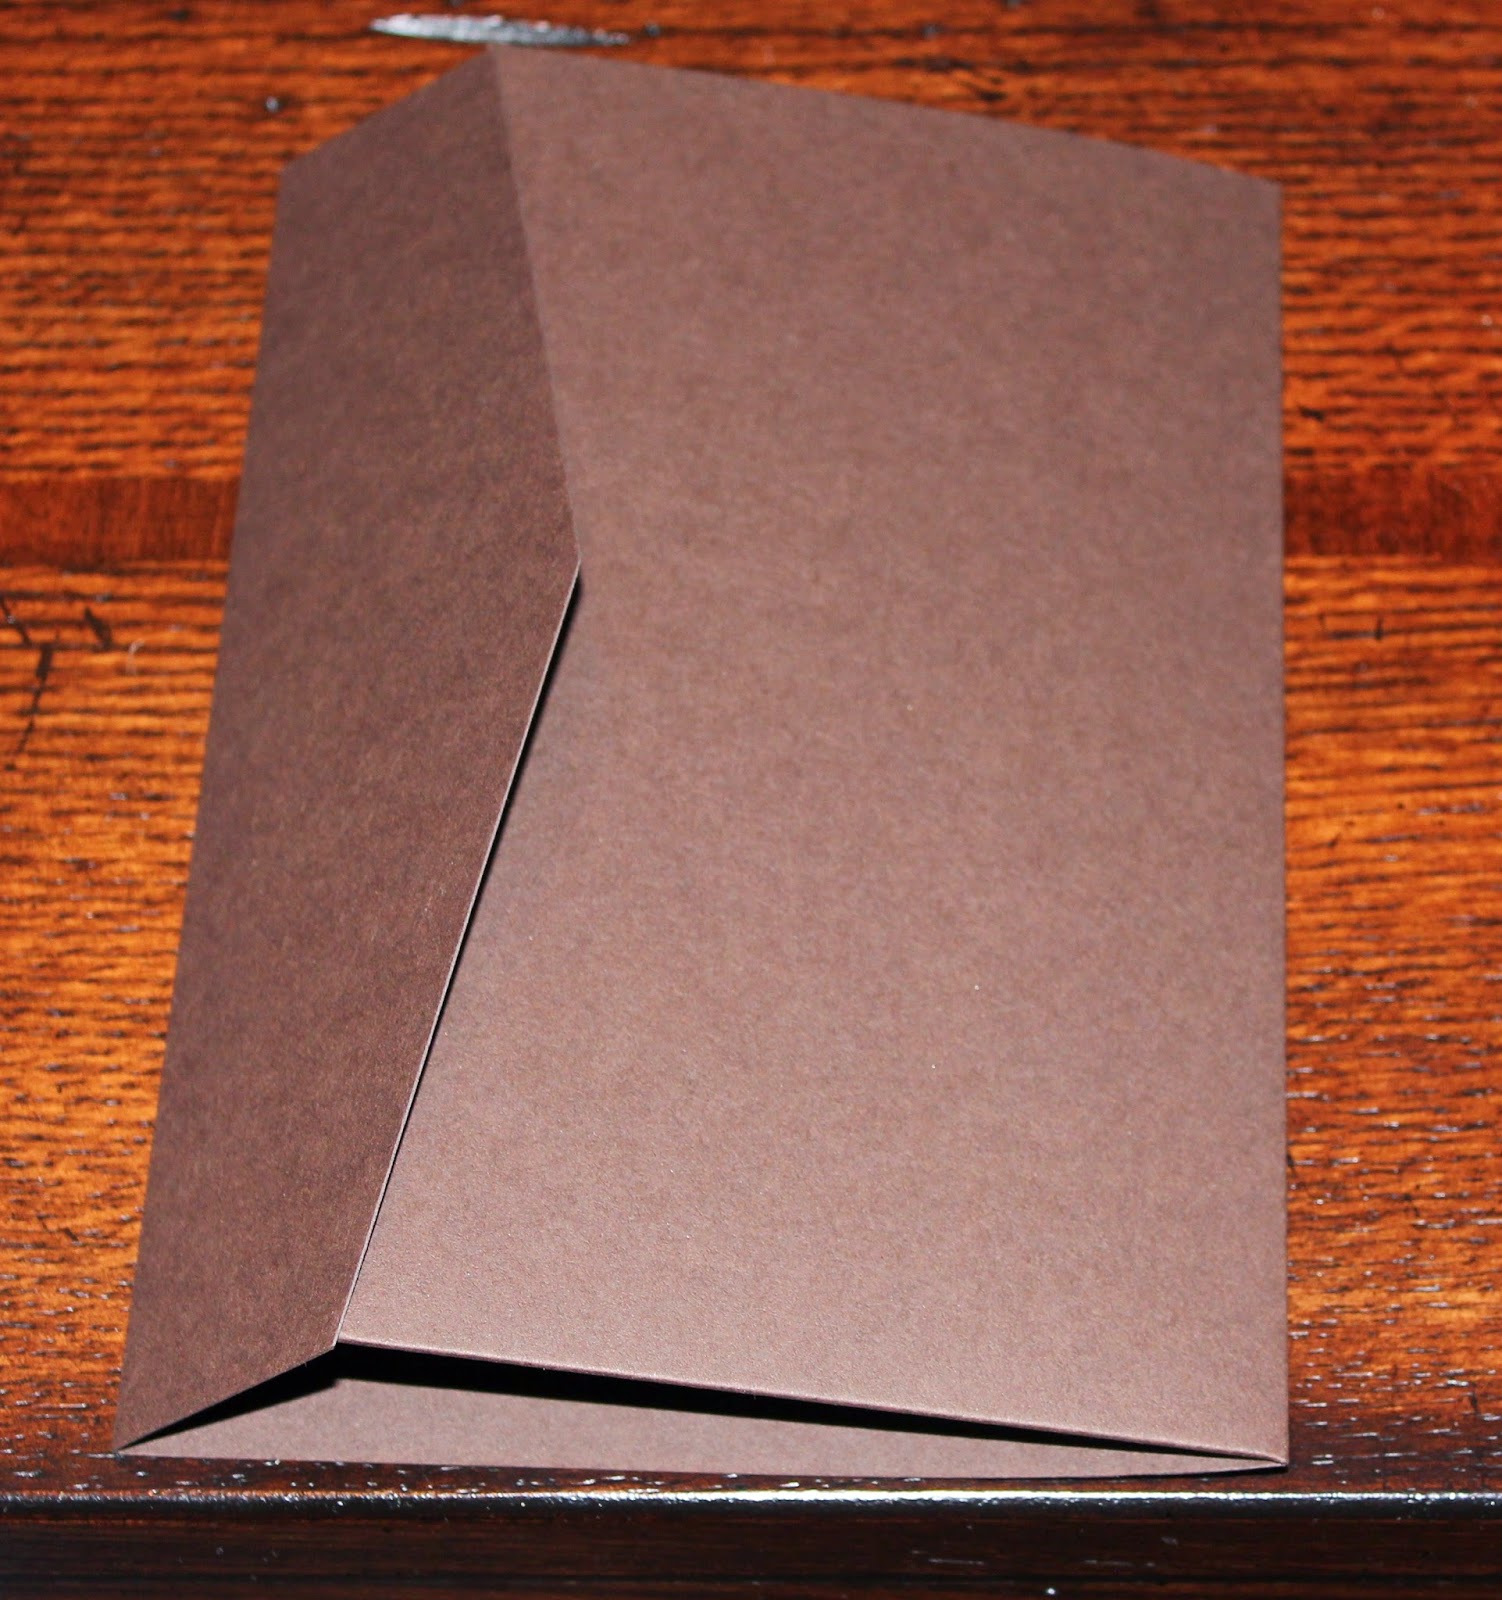
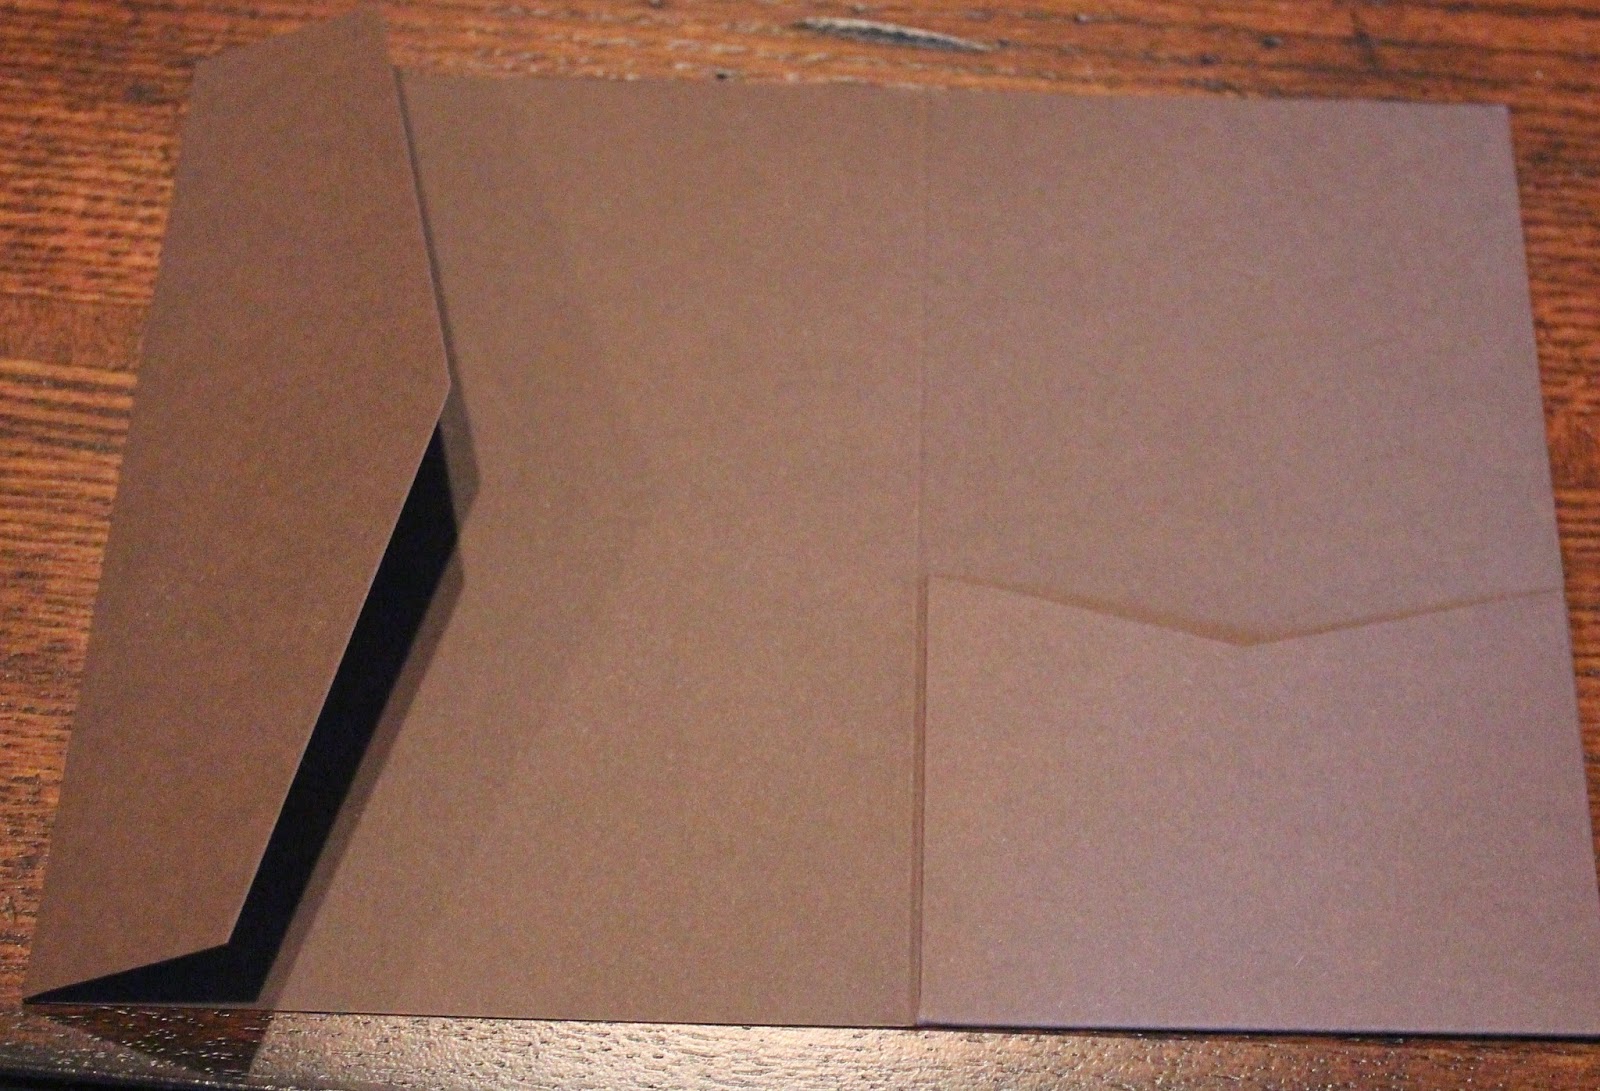
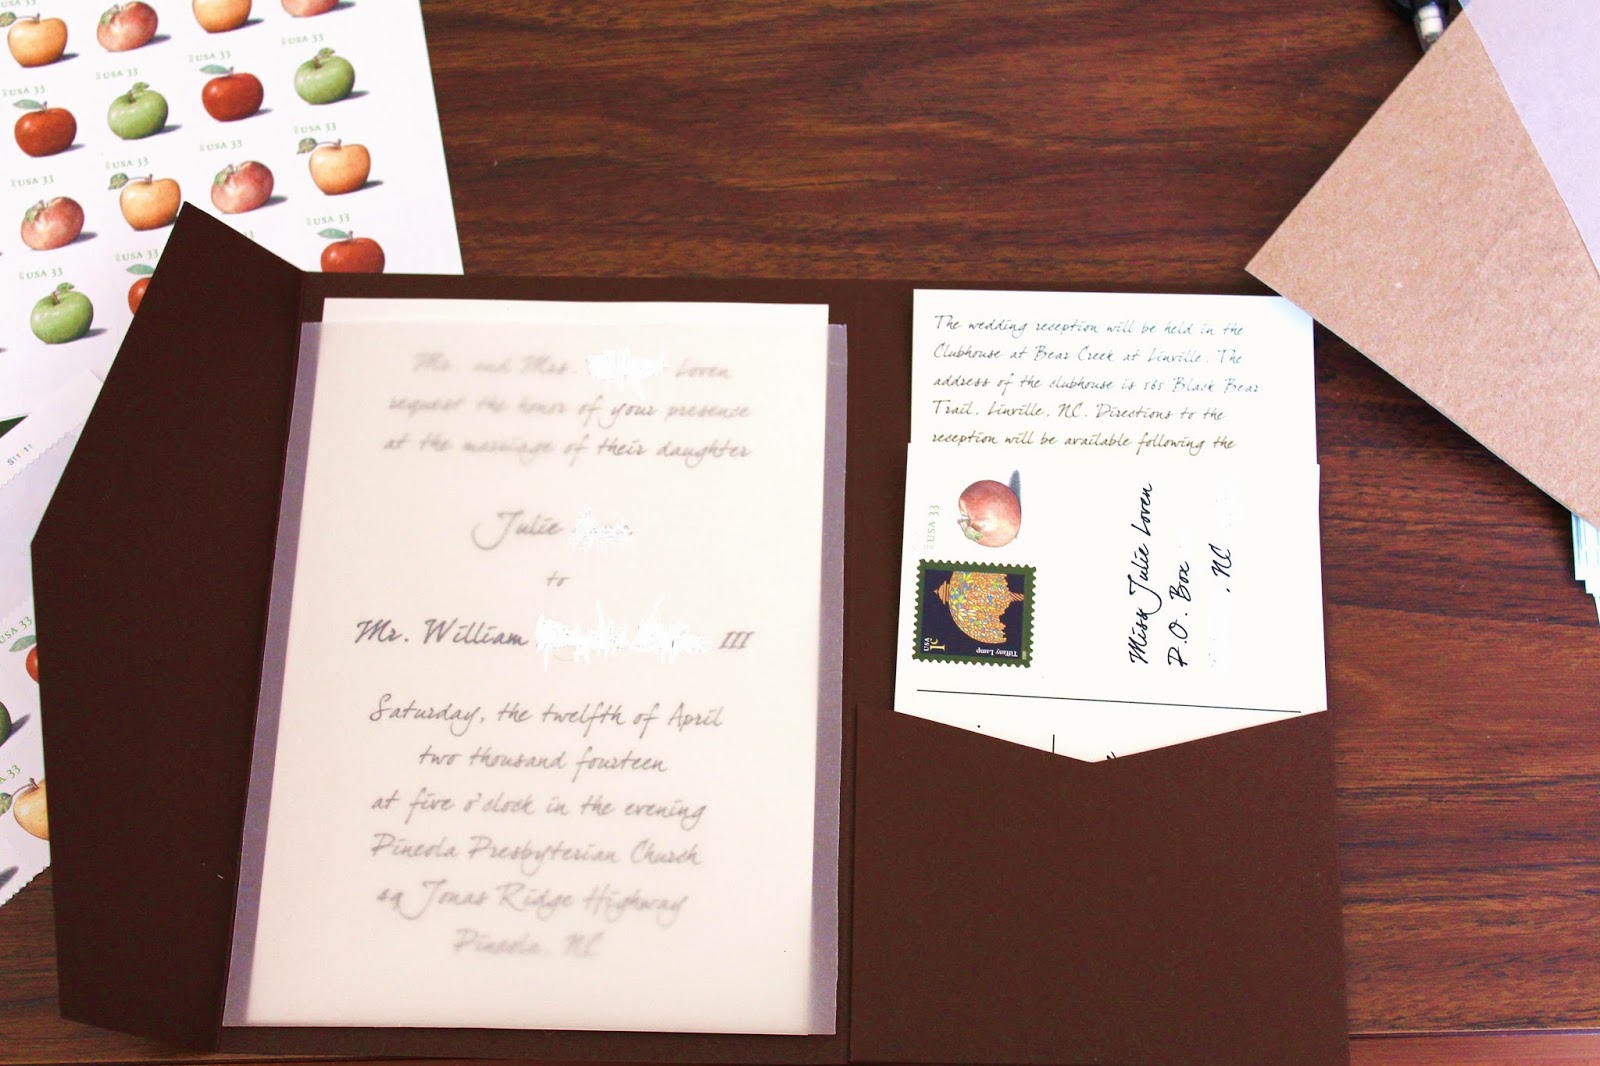
I purchased invitation paper from CardsandPockets.com. You may find them here. This particular card is the brown signature pocket envelope. They were 69 cents each.
Brown Signature Pocket Envelope
It has an inner pocket inside to store the invitation inserts for RSVP cards and event information.
The open envelope
I purchased three sizes of paper to fit the envelope. One for the invitation itself, one for the insert, and one for the RSVP card. I decided to save money by printing the RSVP card as a post card so it wouldn’t need an additional envelope and the postage costs less. The three sizes of paper cost $5 for packages of 25 each. If you are going to print them yourself, get a paper with no grain. The textured paper does not print properly in a laser printer. Been there, done that. The non-textured paper costs less also.
Three paper sizes
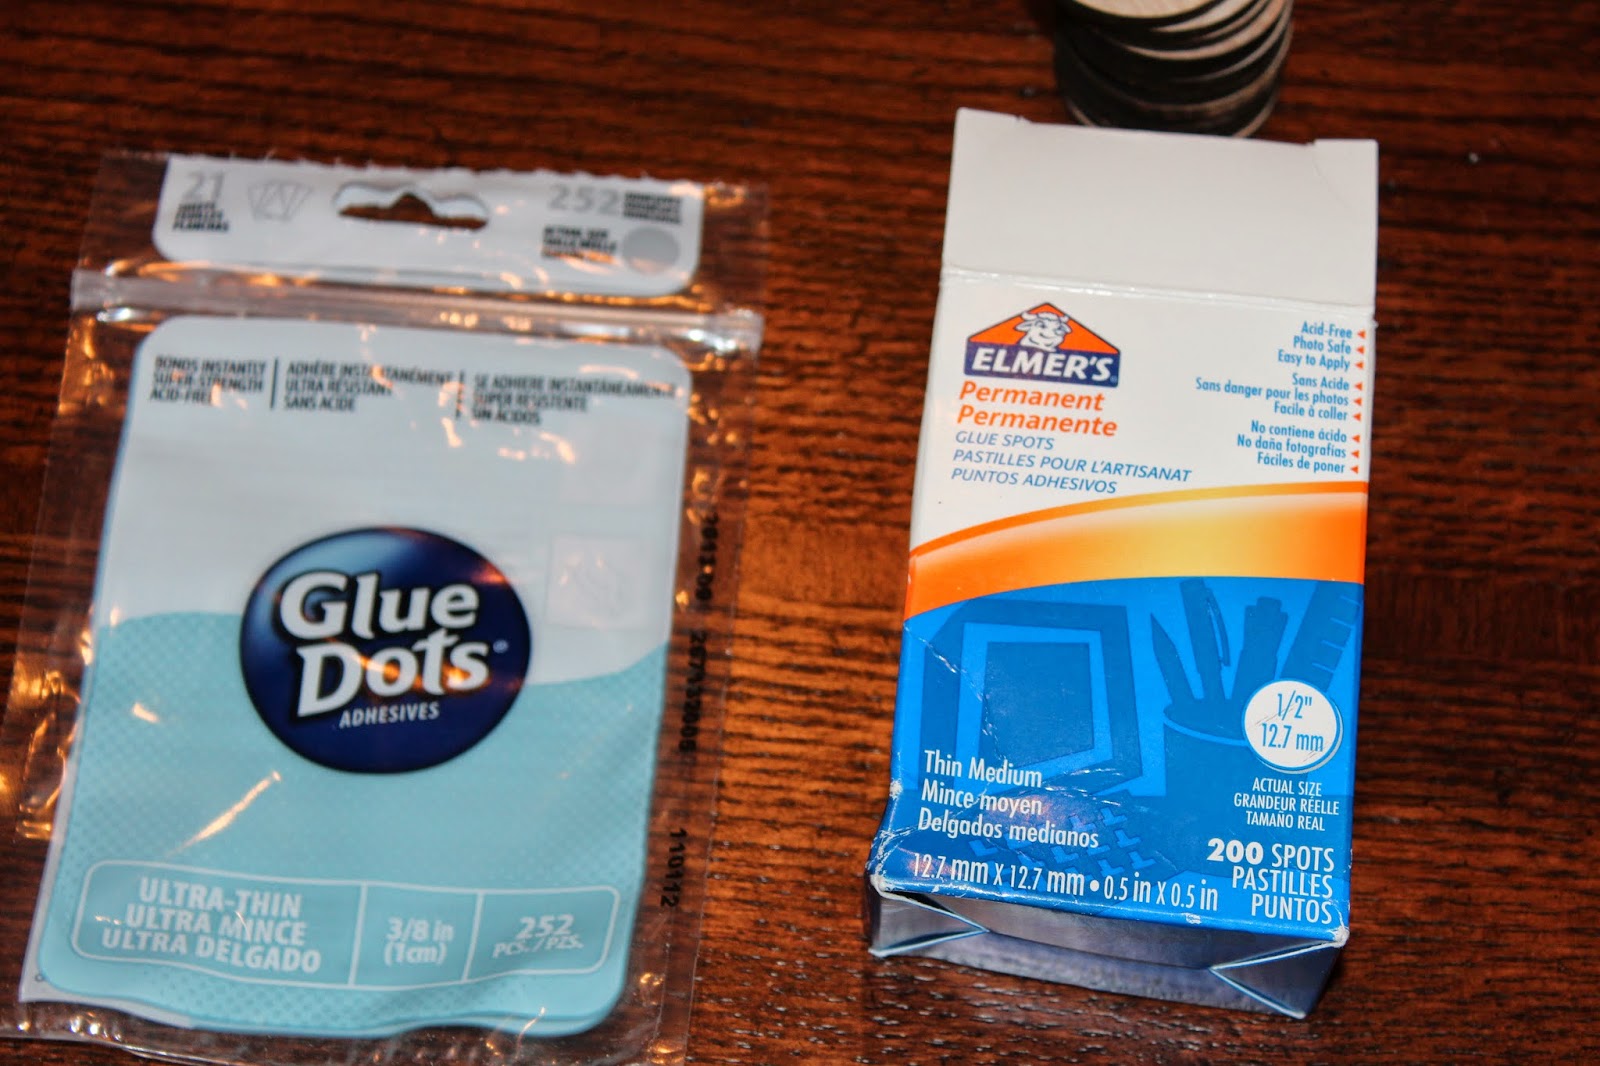
I printed the invitations using a font that I thought was beautiful. It looked exactly like handwriting. There were even places at the end of letters where the ink trailed off so it looked like it was written with a pen. They were printed on a laser printer. You will need to purchase glue dots from a discount or craft store to affix the paper to the envelope.
Glue dots make life easier
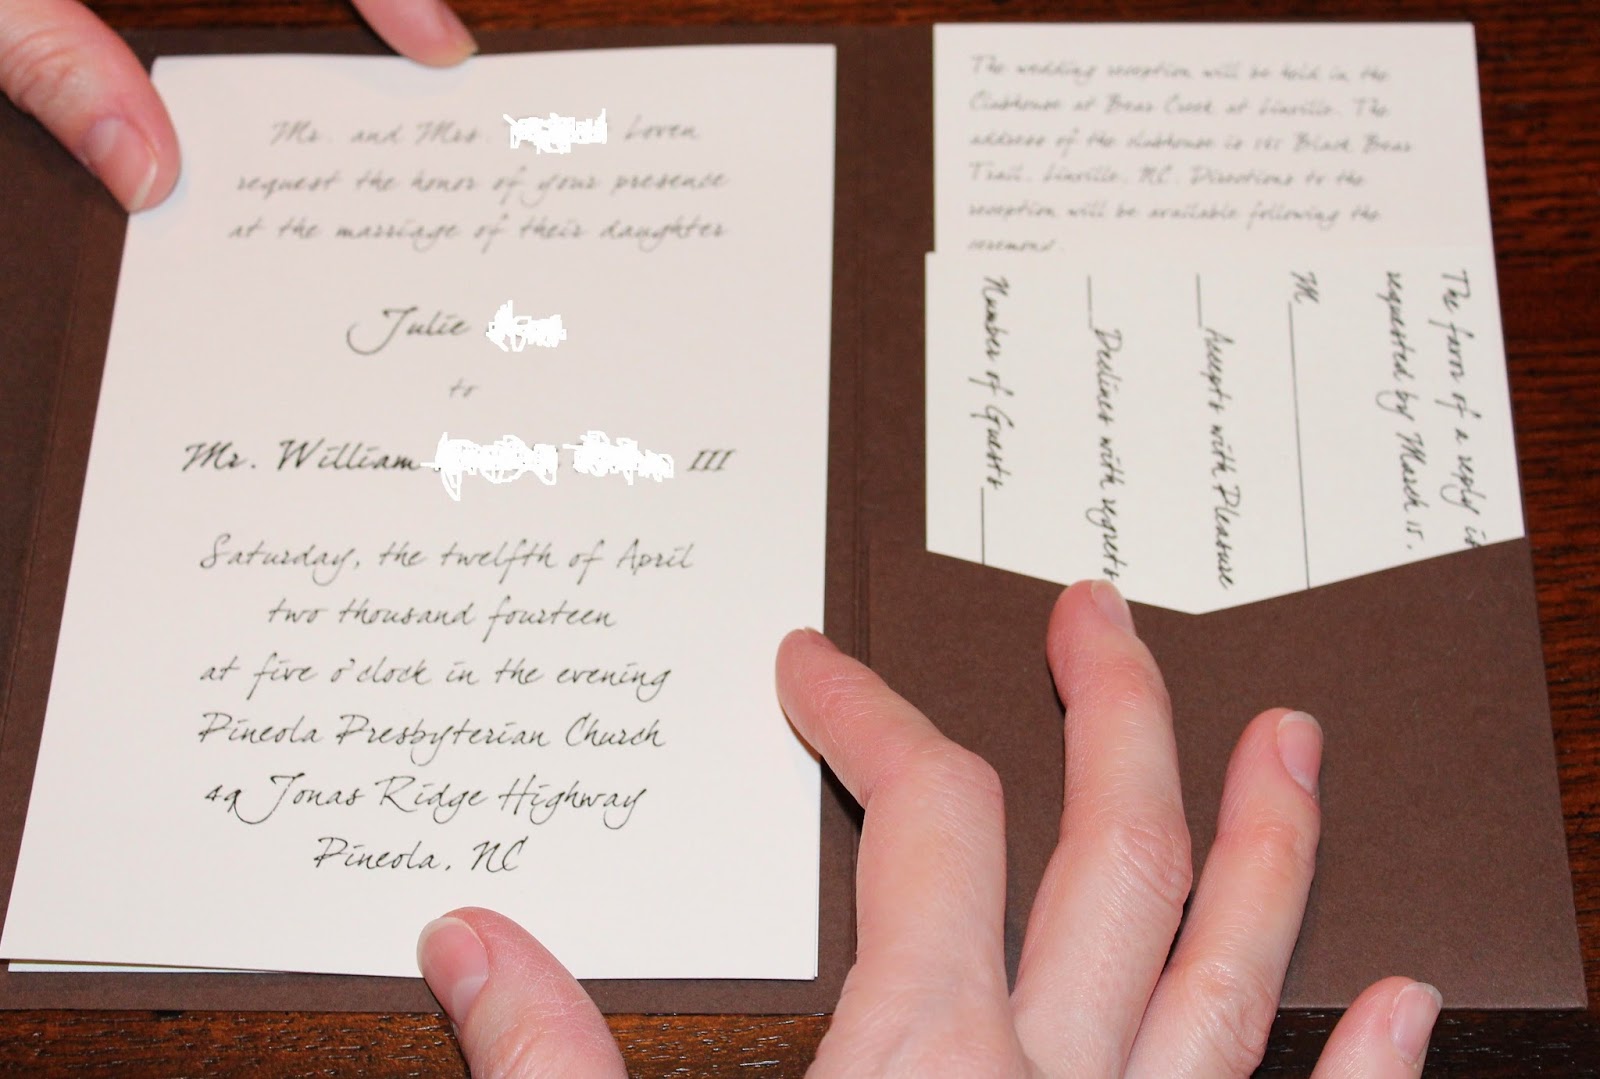
Glue invitations to the envelope. The glue dots are super easy and the paper sticks very well without lumps underneath.
Lining up the paper
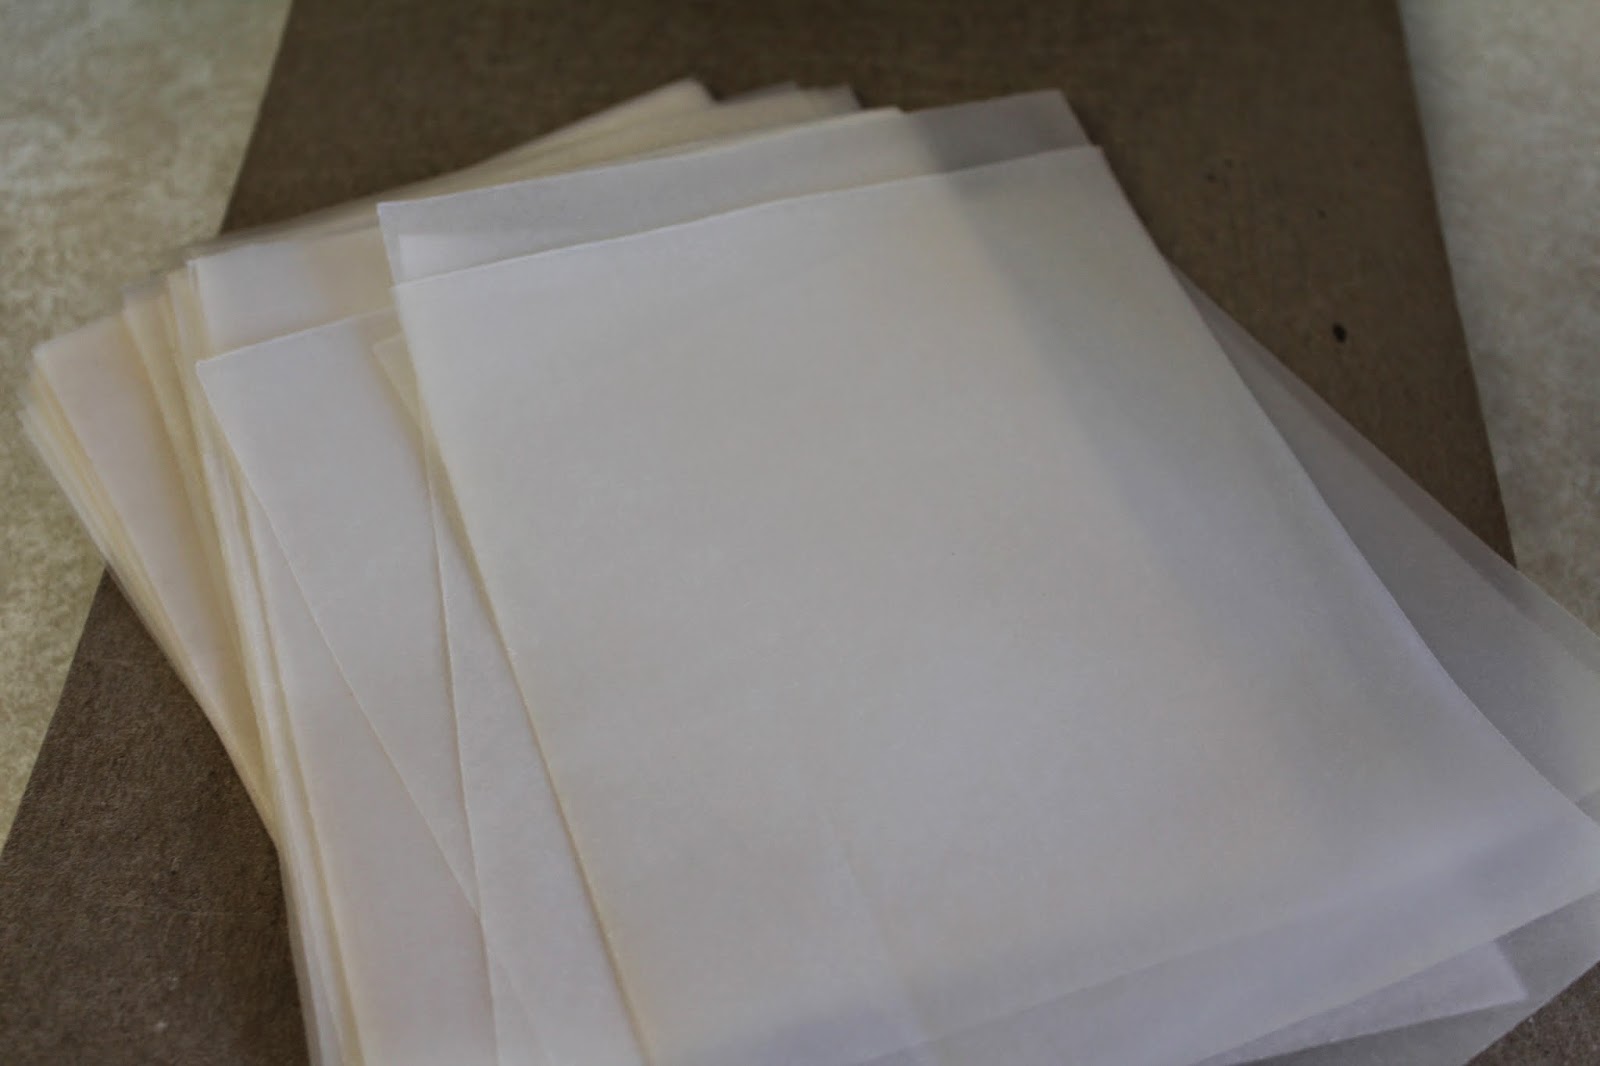
I used a piece of vellum in the envelopes to help keep the ink from smearing. You may also use onion paper. My father is an engineer so he keeps vellum handy and I cut mine to size from large sheets. Wax paper from the supermarket will also work, cut it to just shorter than your largest paper size.
Vellum
Place the vellum over the main invitation and the event inserts in the pocket. I printed a list of wedding activities, directions, lodging information, and area attractions for our guests. I also put a stamp on the RSVP card to encourage everyone to RSVP. Most of your guests will RSVP, but the ones that don’t, #extremestress. Moving on…
Almost ready
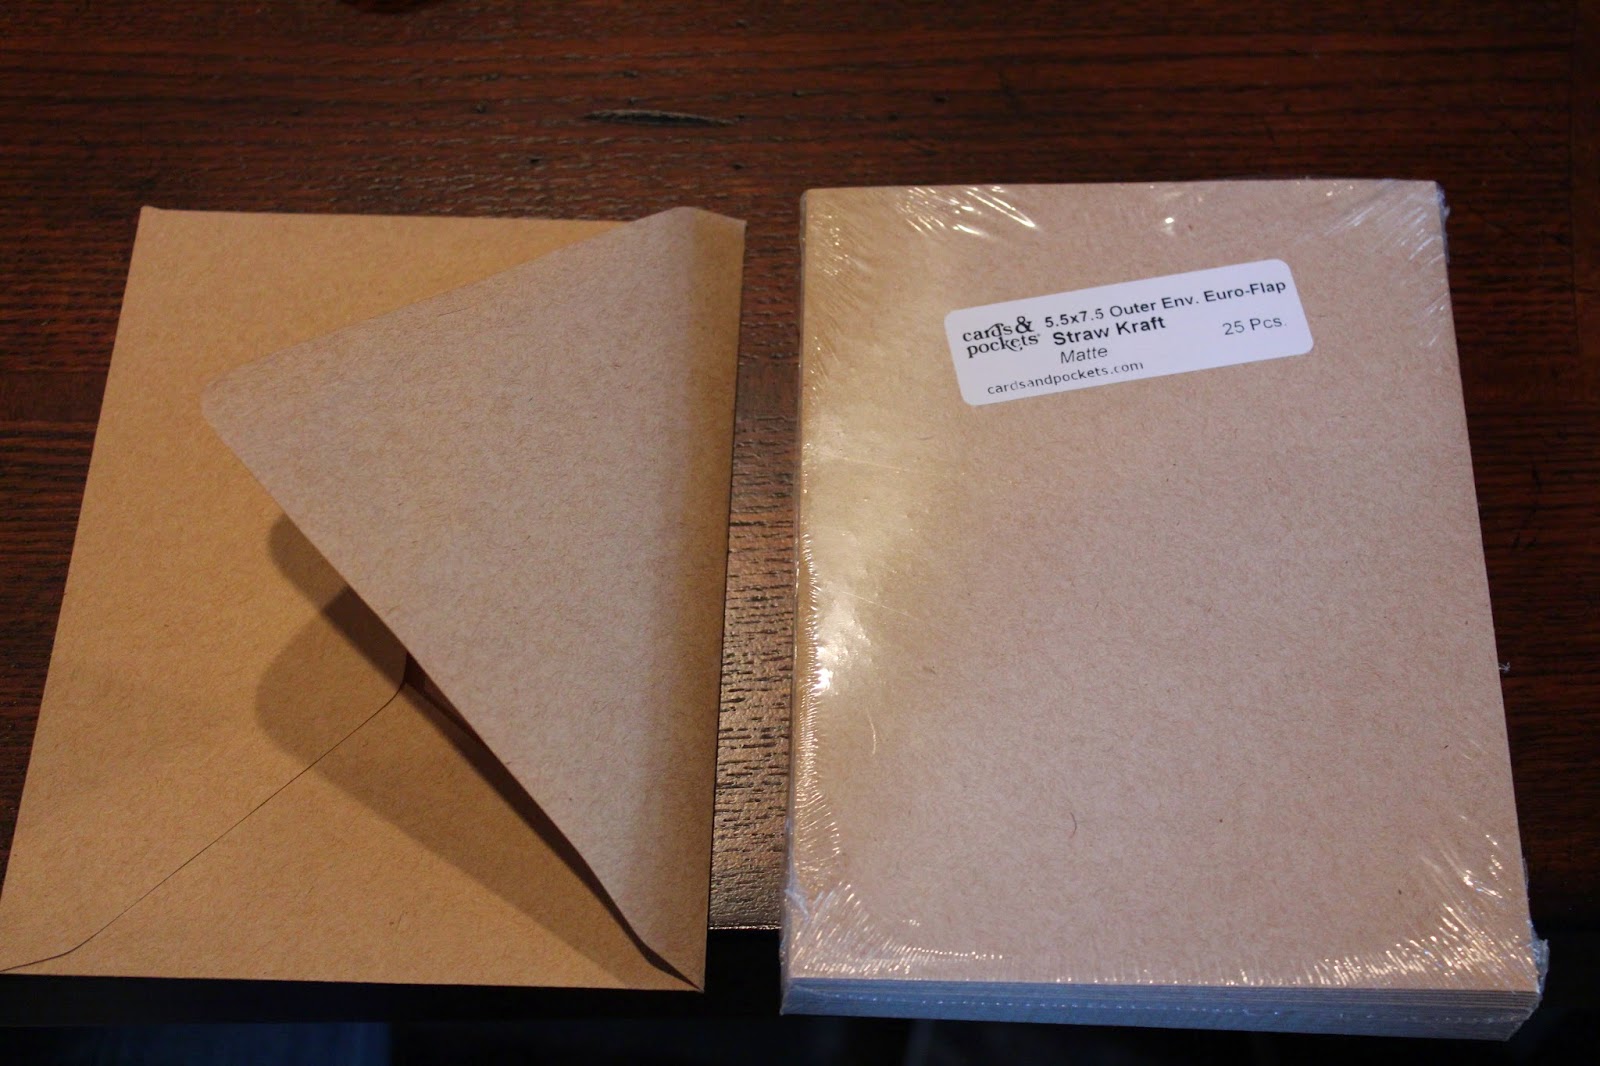
I purchased envelopes also from Cards and Pockets in another color that was used in the wedding. I wanted to set the tone in the invitation by using the colors and textures that would be in the wedding so everything would tie together nicely.
Mailing envelopes
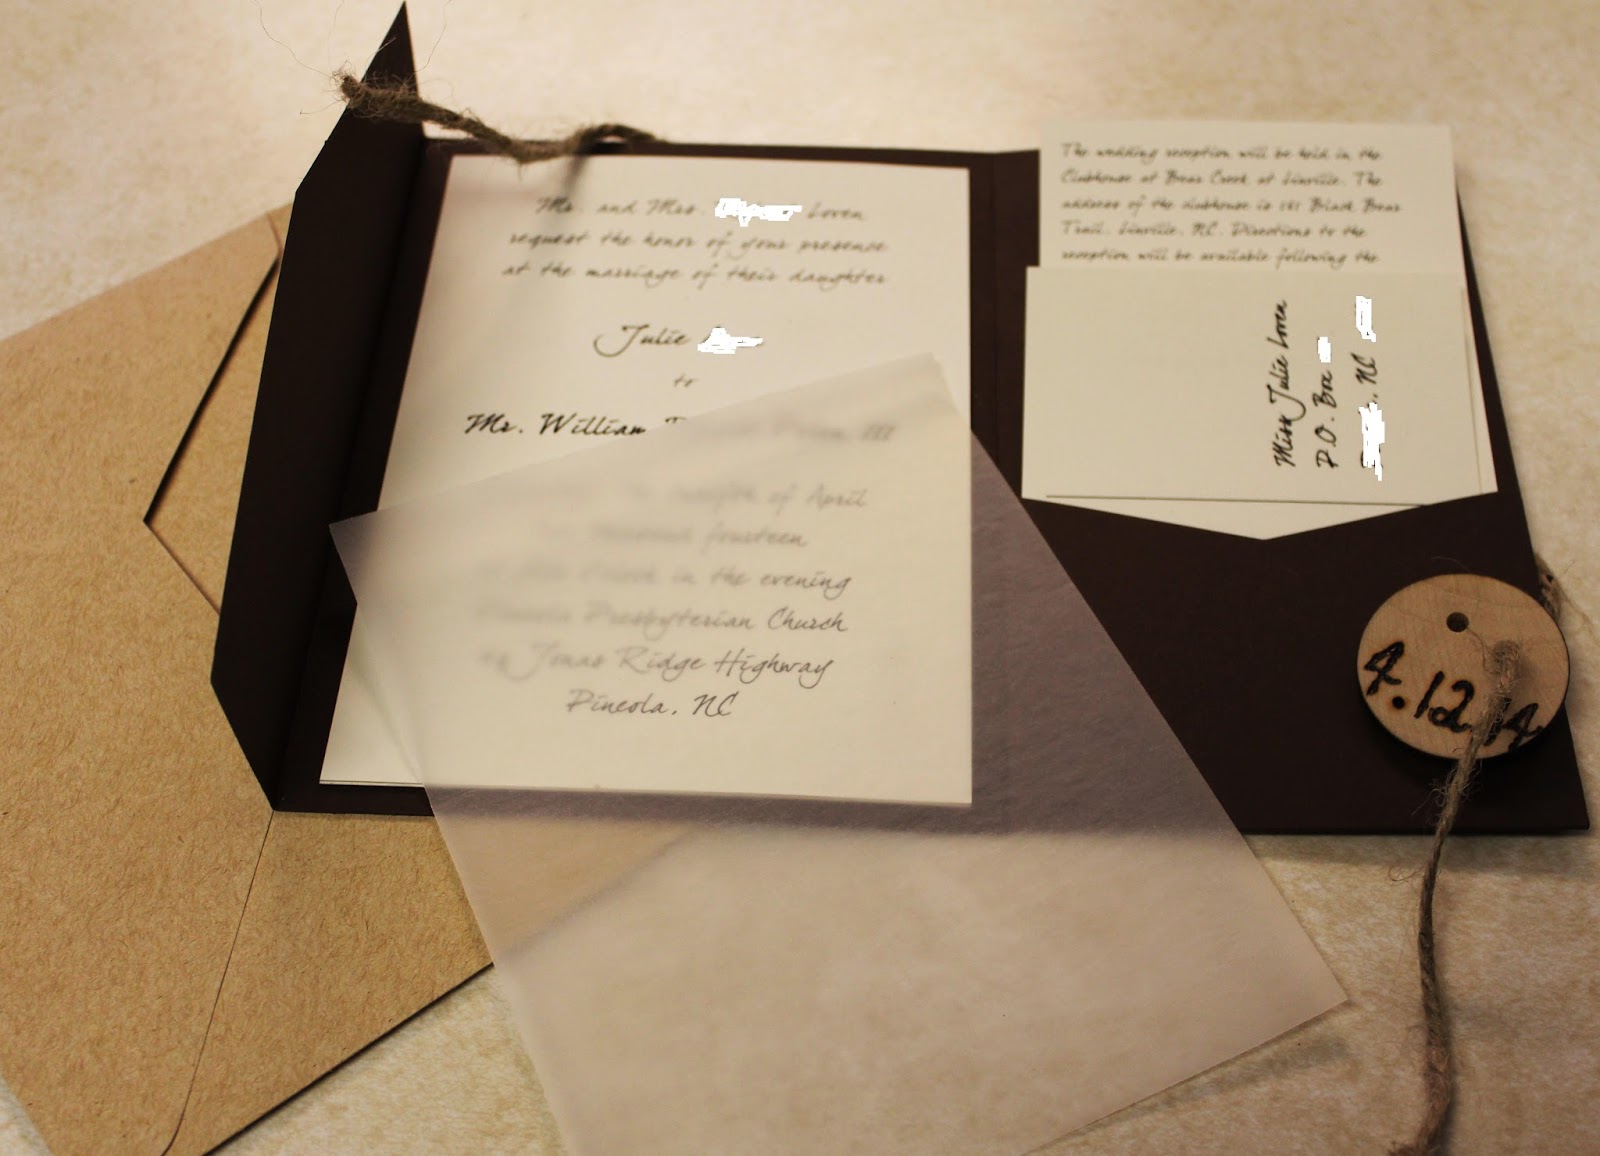
Once the invitations are completed, the package looks like this –
The completed project
Tie everything together and go to the post office!