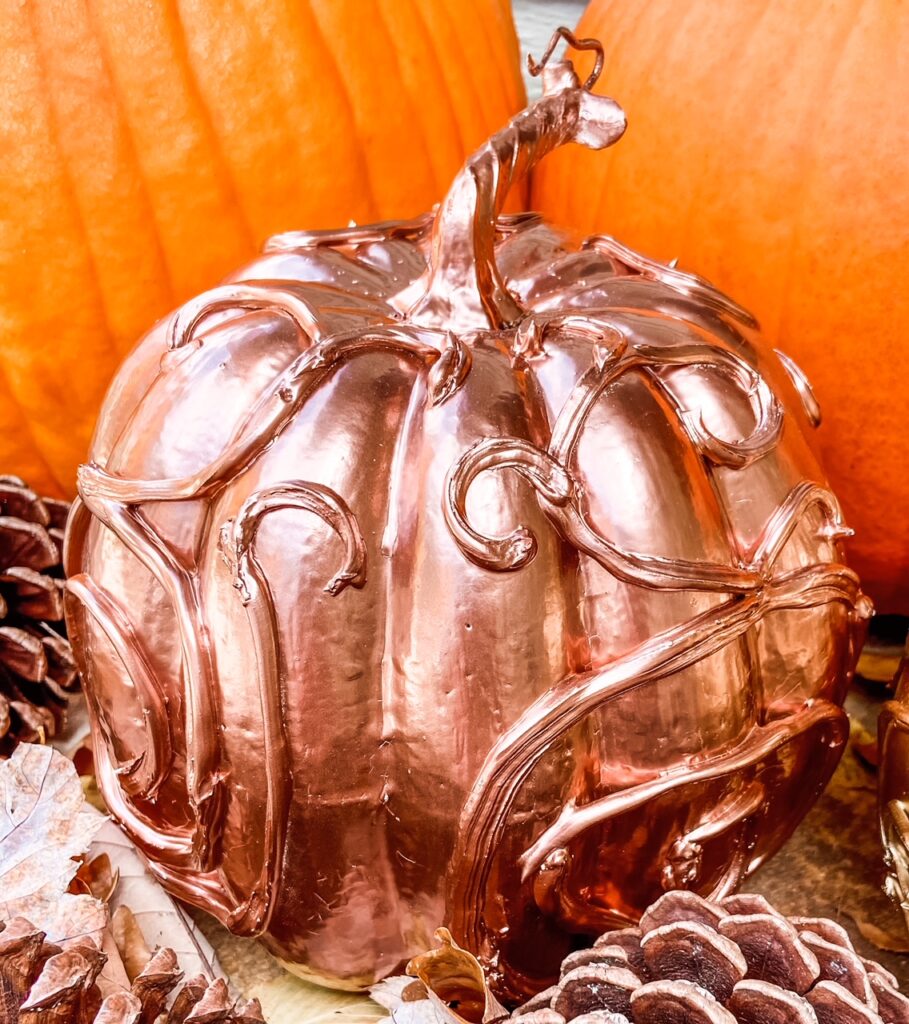
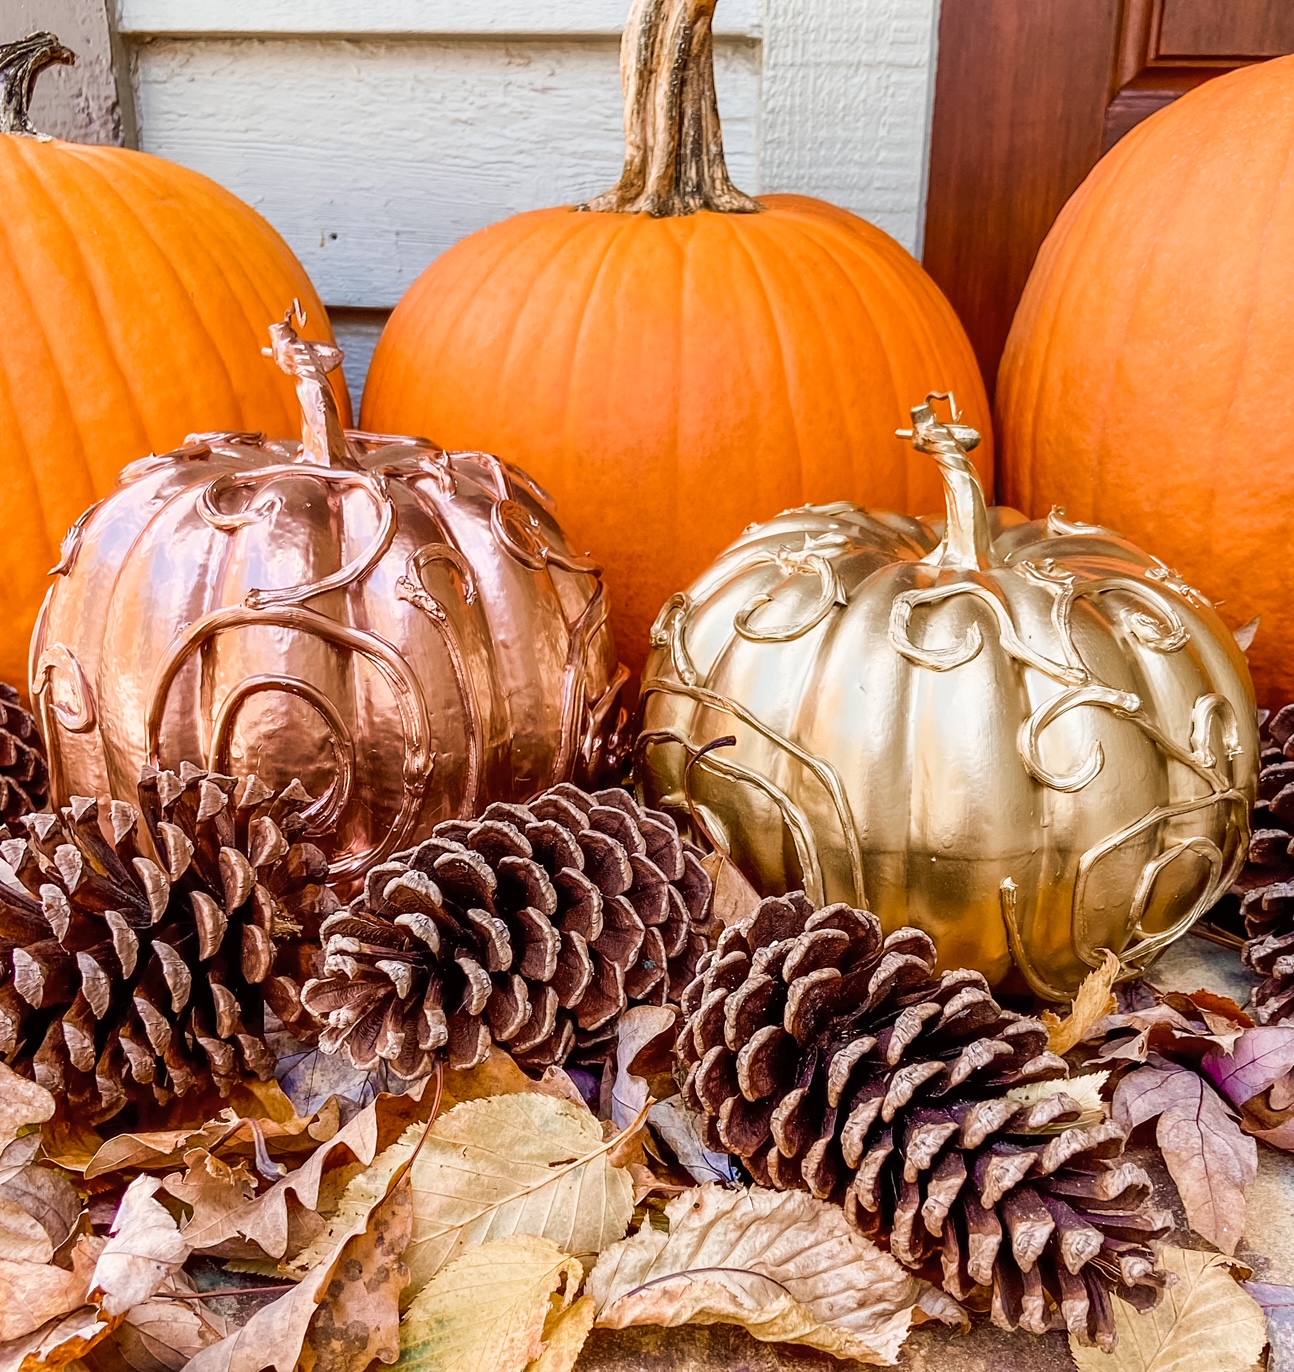
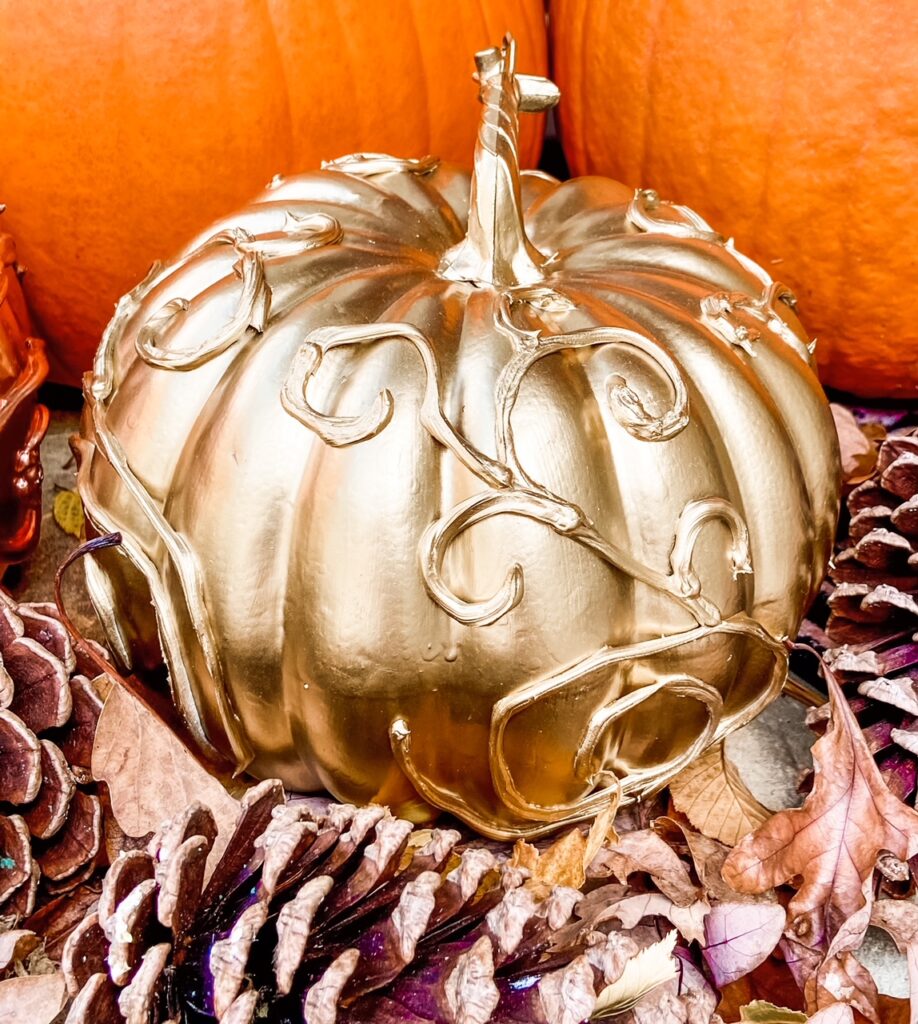
I’ve never really thought about decorating pumpkins with caulk. However, this Caulk Pumpkin DIY adds a bit of zhuzh to pumpkins you may already be using in your decor. You could make swirls, circles, or all sorts of shapes for the design using the caulk – and it’s quite simple to create these. I think they’re unique and beautiful and would be PERFECT for Thanksgiving decor……Let’s repurpose some fall pumpkins! There’s a video how-to here and here and here!
Materials:
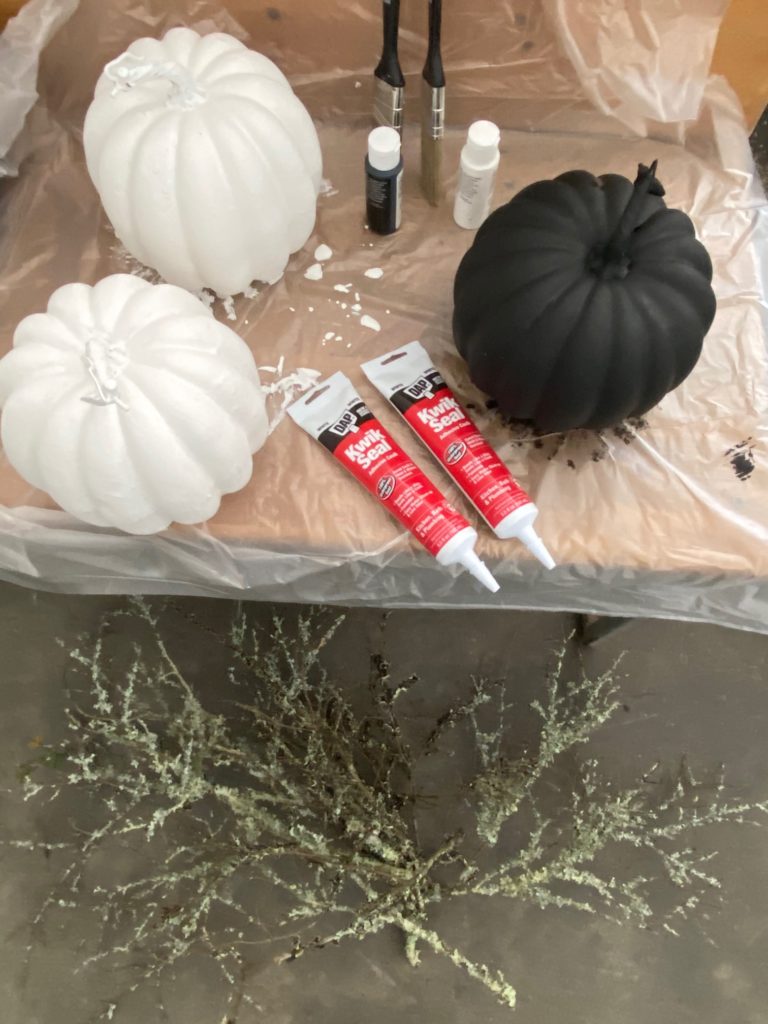
Pumpkin – real or artificial (I used artificial)
Squeeze Caulk
Spray Paint
How-To:
For Halloween I decorated these pumpkins in a white and black color scheme and used mossy sticks to make the display. Making pumpkins into caulk Fall / Thanksgiving pumpkins is simple. Start with a pumpkin and a tube of squeeze caulk – it doesn’t matter if the pumpkin is painted or not. The caulk costs about $4 per tube. One tube makes 2-3 pumpkins. Begin by dividing the pumpkin into quarters. The lines on the pumpkin make this easy.
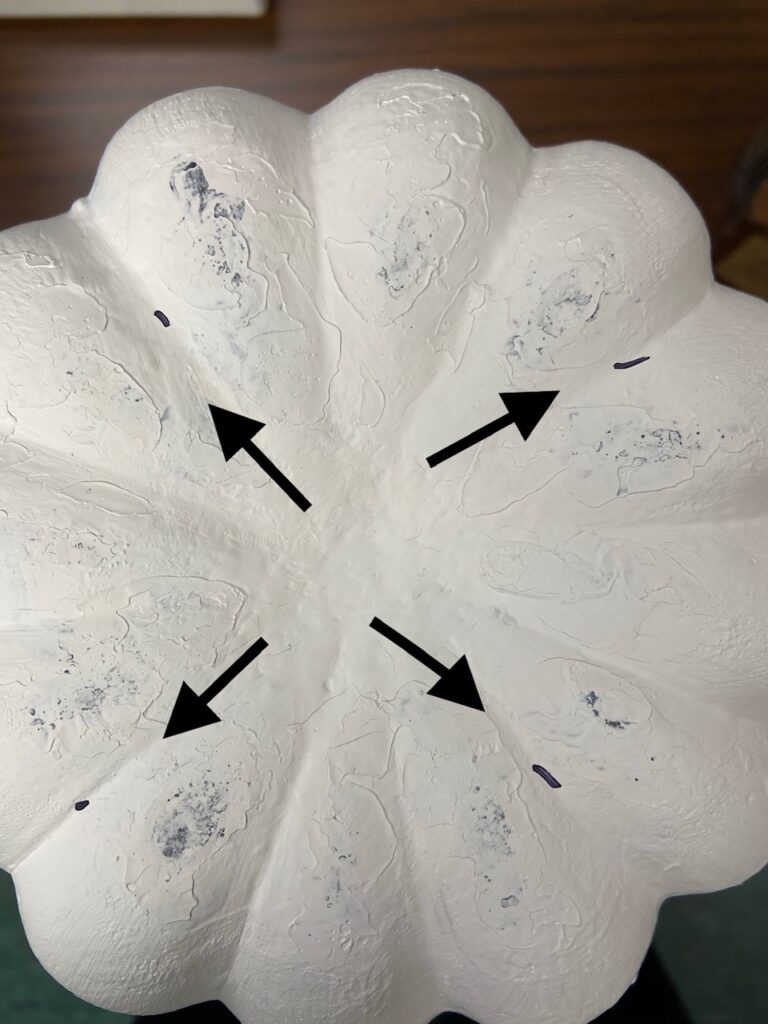
You’ll be decorating the pumpkin a quarter at a time. I made the same design in each quarter but it’s fine to make different designs, monogram initials, or be as creative as you’d like. Squeeze a design (I made concentric circles) in the middle of the first quarter of the pumpkin – from edge to edge of the quarter.
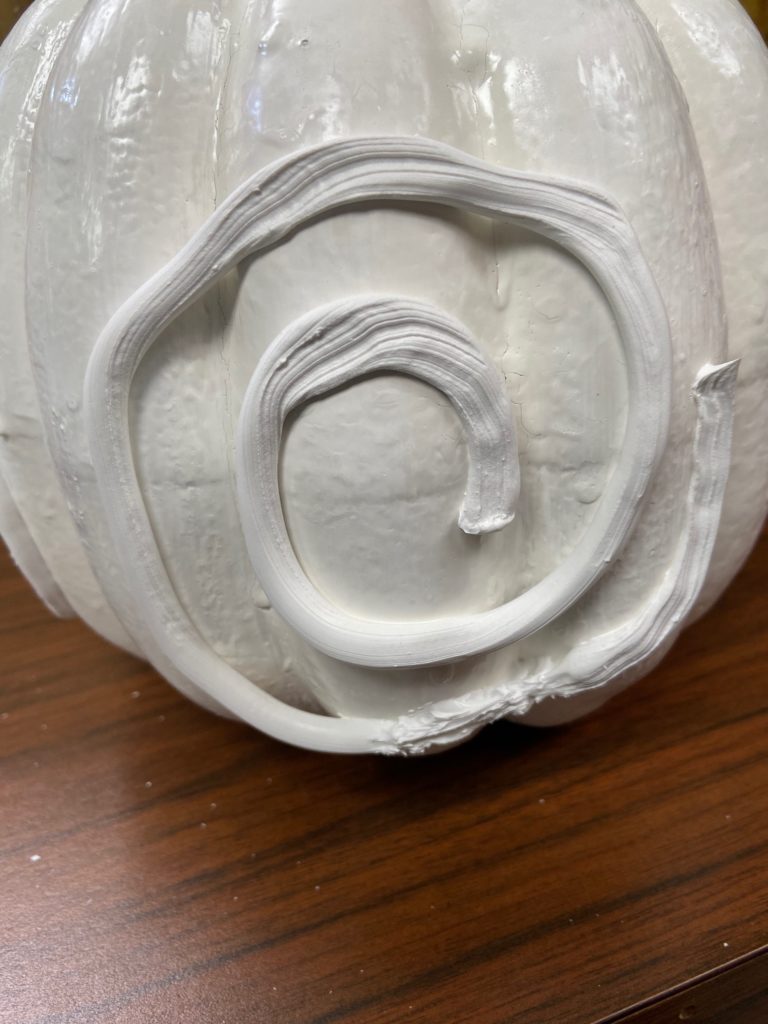
After the concentric circles, I added curly-q’s and swirls to the top up to the stem. Do whatever you’d like but I imagined growing vines and swirls. Make the design yours.
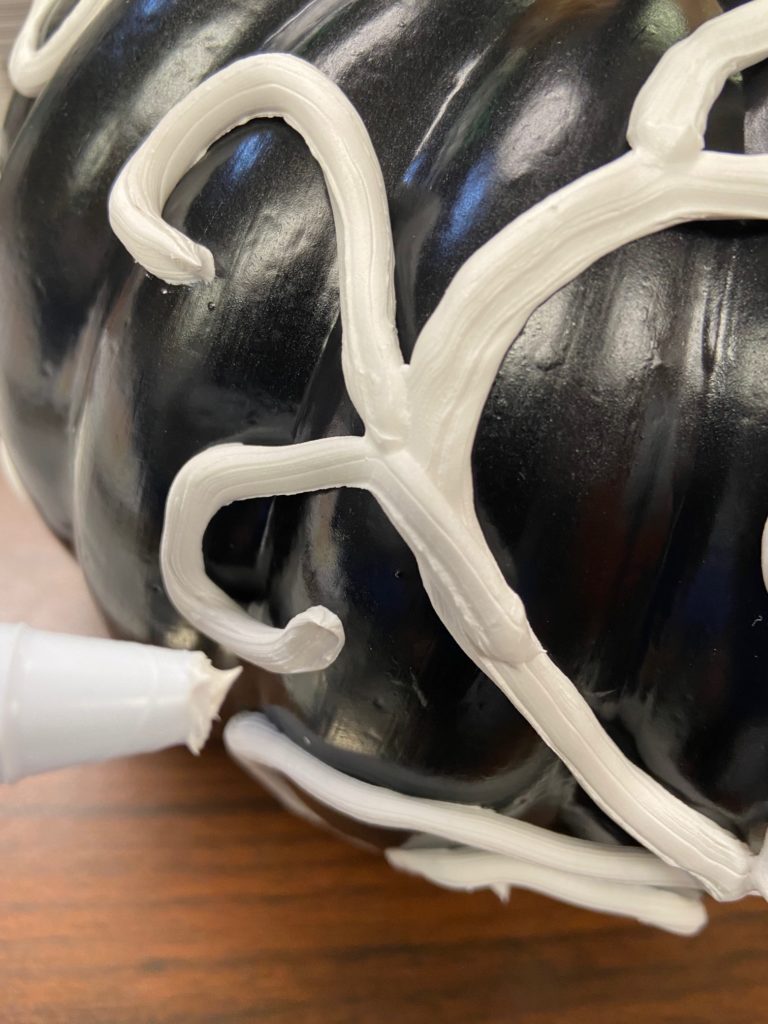
Once you’ve decorated the pumpkin, allow the caulk to dry for about 2 hours. It will be hard once it’s dry. If the caulk doesn’t completely dry it will smear or come off on your hands, so be careful. When the pumpkin has dried completely, paint it to match your Thanksgiving table. Spray paint is the easiest and will dry in an hour and be ready to use. This Caulk Pumpkin DIY also makes a beautiful and unique last minute Thanksgiving Table Decor.
