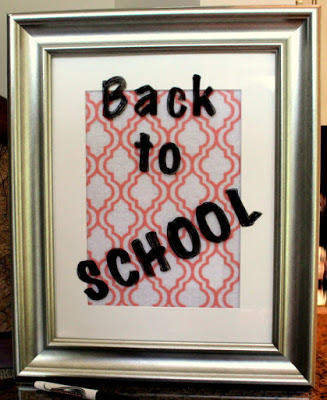
It’s time to go back to school. I had a love hate relationship with Back to School season. It’s filled with so much promise and anticipation and yet so much responsibility and homework. This week we’ll show you simple and really, really inexpensive ways to ease some of the stress – on you and on the budget with simple Back to School DIY tips. Today we’re making Back To School Easy Dry Erase Boards. Many of the materials you’ll need are already around the house so let’s get busy.
Dry erase boards are a must have for dorm rooms, study desks, and beside the kitchen door. They’re a great way to jot down everything from the empty milk bottle to a quick message to a roommate. Sure you can buy one like everyone else has from the office supply store…..or you can make a super amazing personalized board for free (or pennies).
 |
| DIY Dry Erase Board |
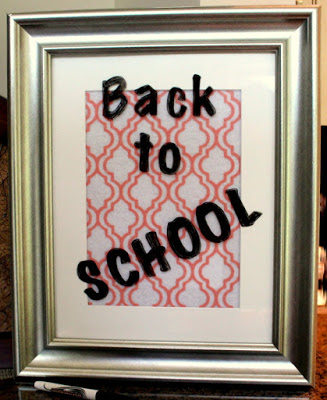
This dry erase board came from a photo frame I already had. I also already had dry erase markers. If you don’t have the markers, they may be purchased from a discount store in packages of three for $ 1.50 per package. This frame would cost about $5 at a discount store. You’ll need a piece of printed or colored paper or fabric of your choice that fits the frame. This allows you to perfectly match your room or study area.
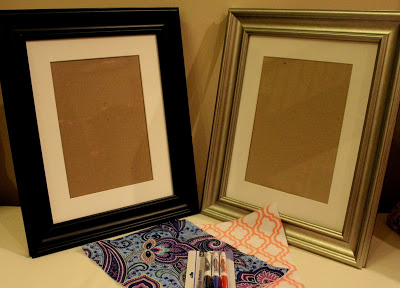 |
| Materials |
This assembles in seconds. Place the fabric or paper into the frame where the photo would normally go. Once the the material is centered, put the back of the frame in place. That’s it, you’re done. What’s nice about using a photo frame is that the hanging hardware is already attached to the back so it’s ready to frame without extra effort.
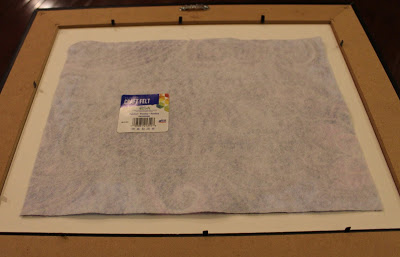 |
| Center your material |
Now you’ve got the perfect personalized Back to School dry erase board!


