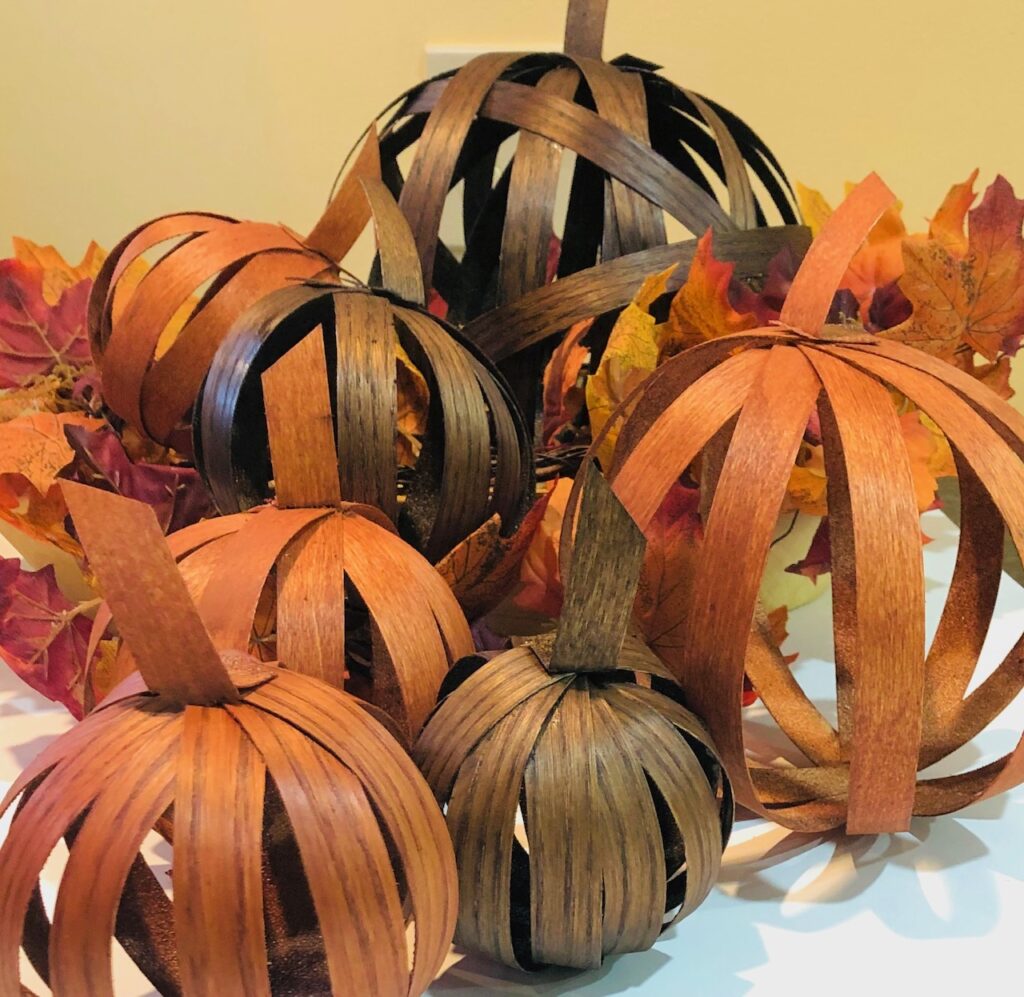


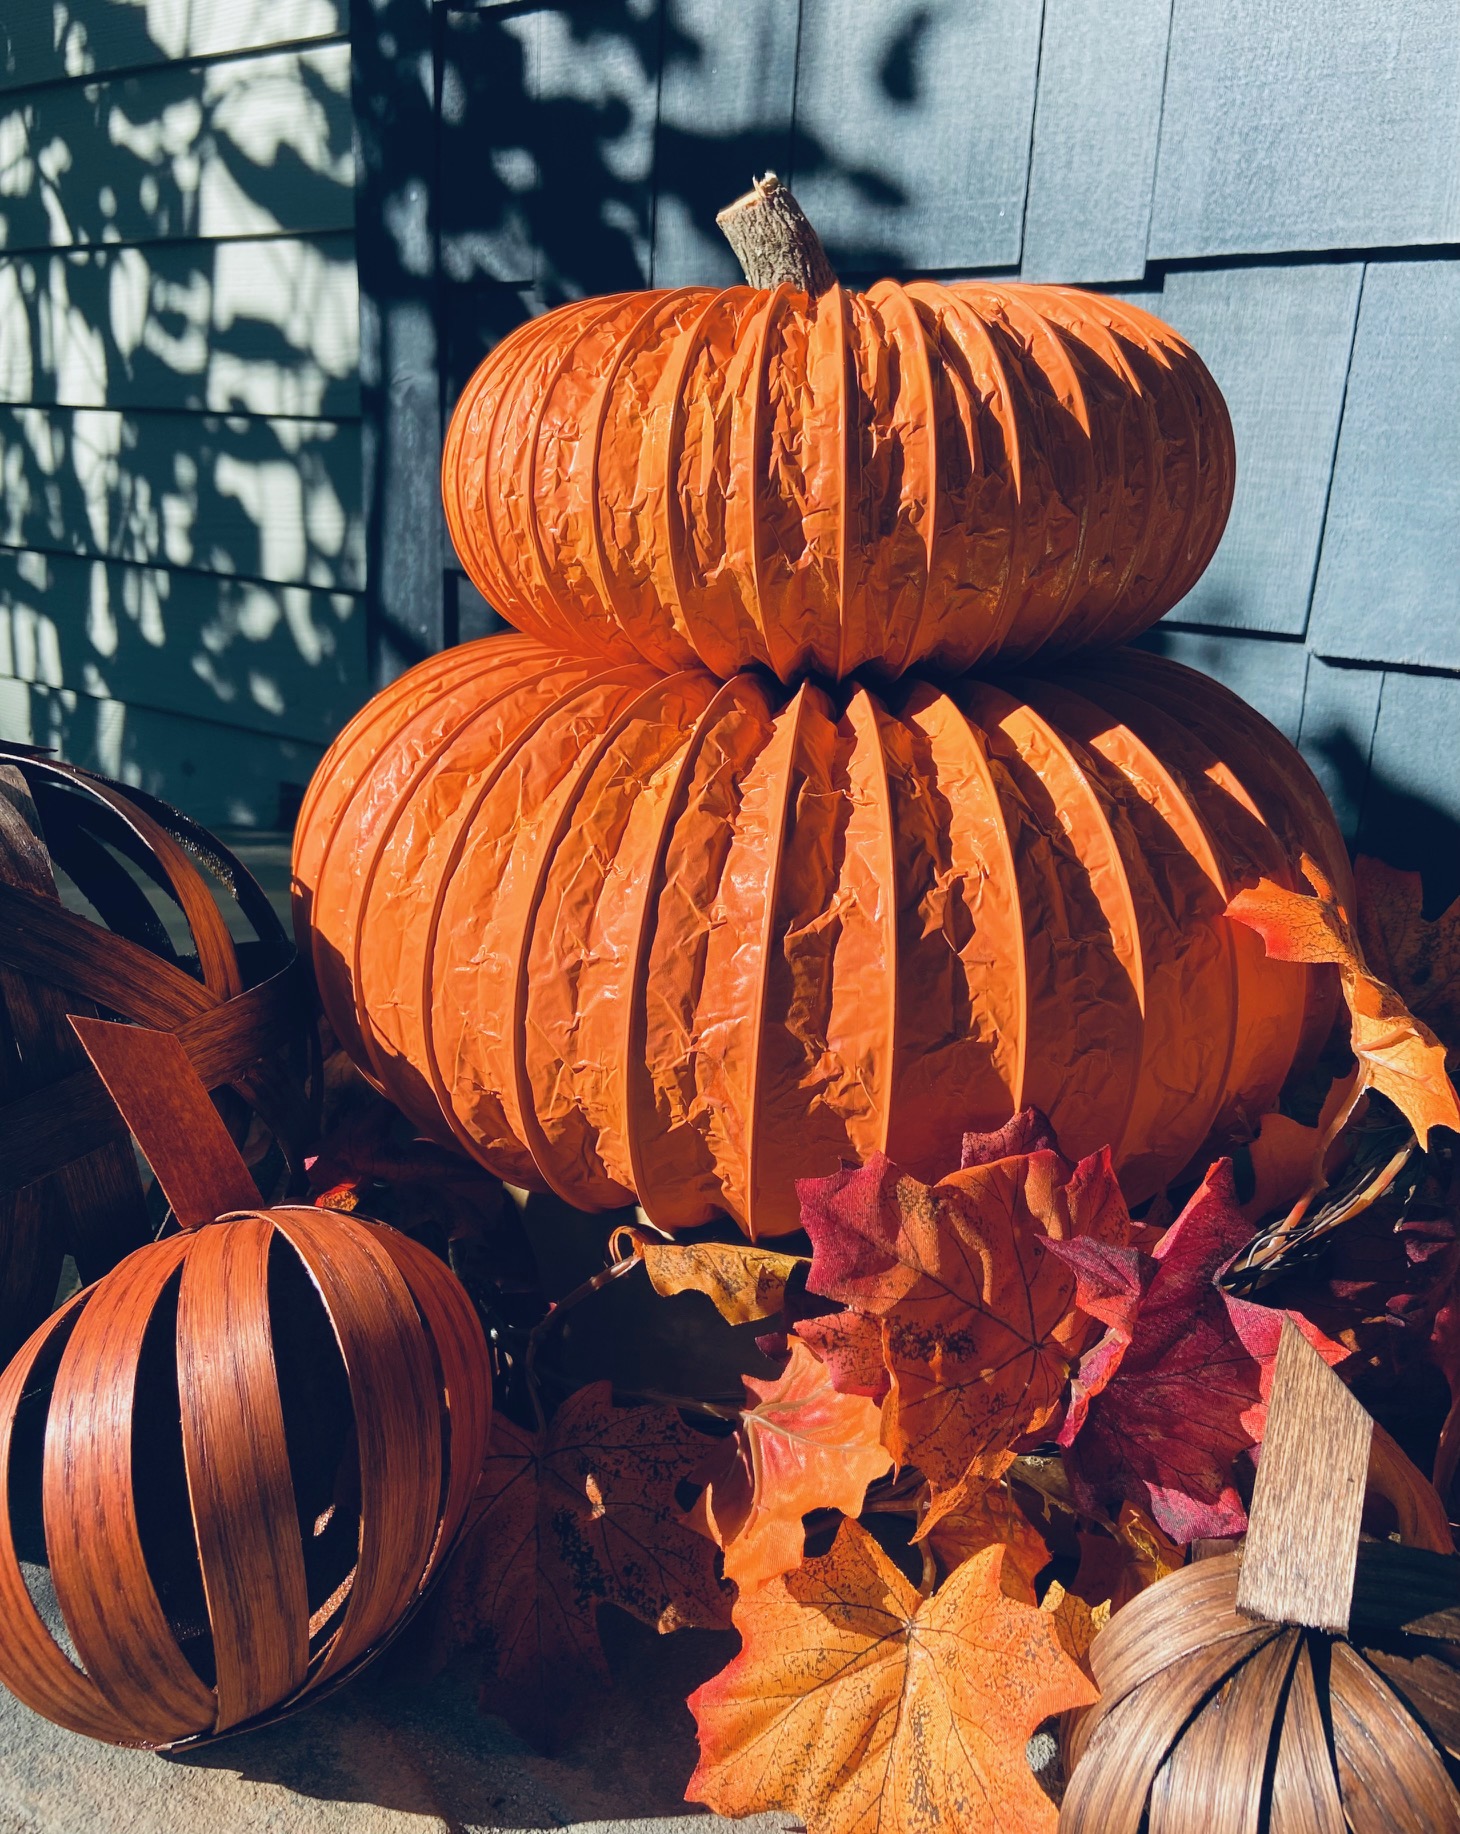

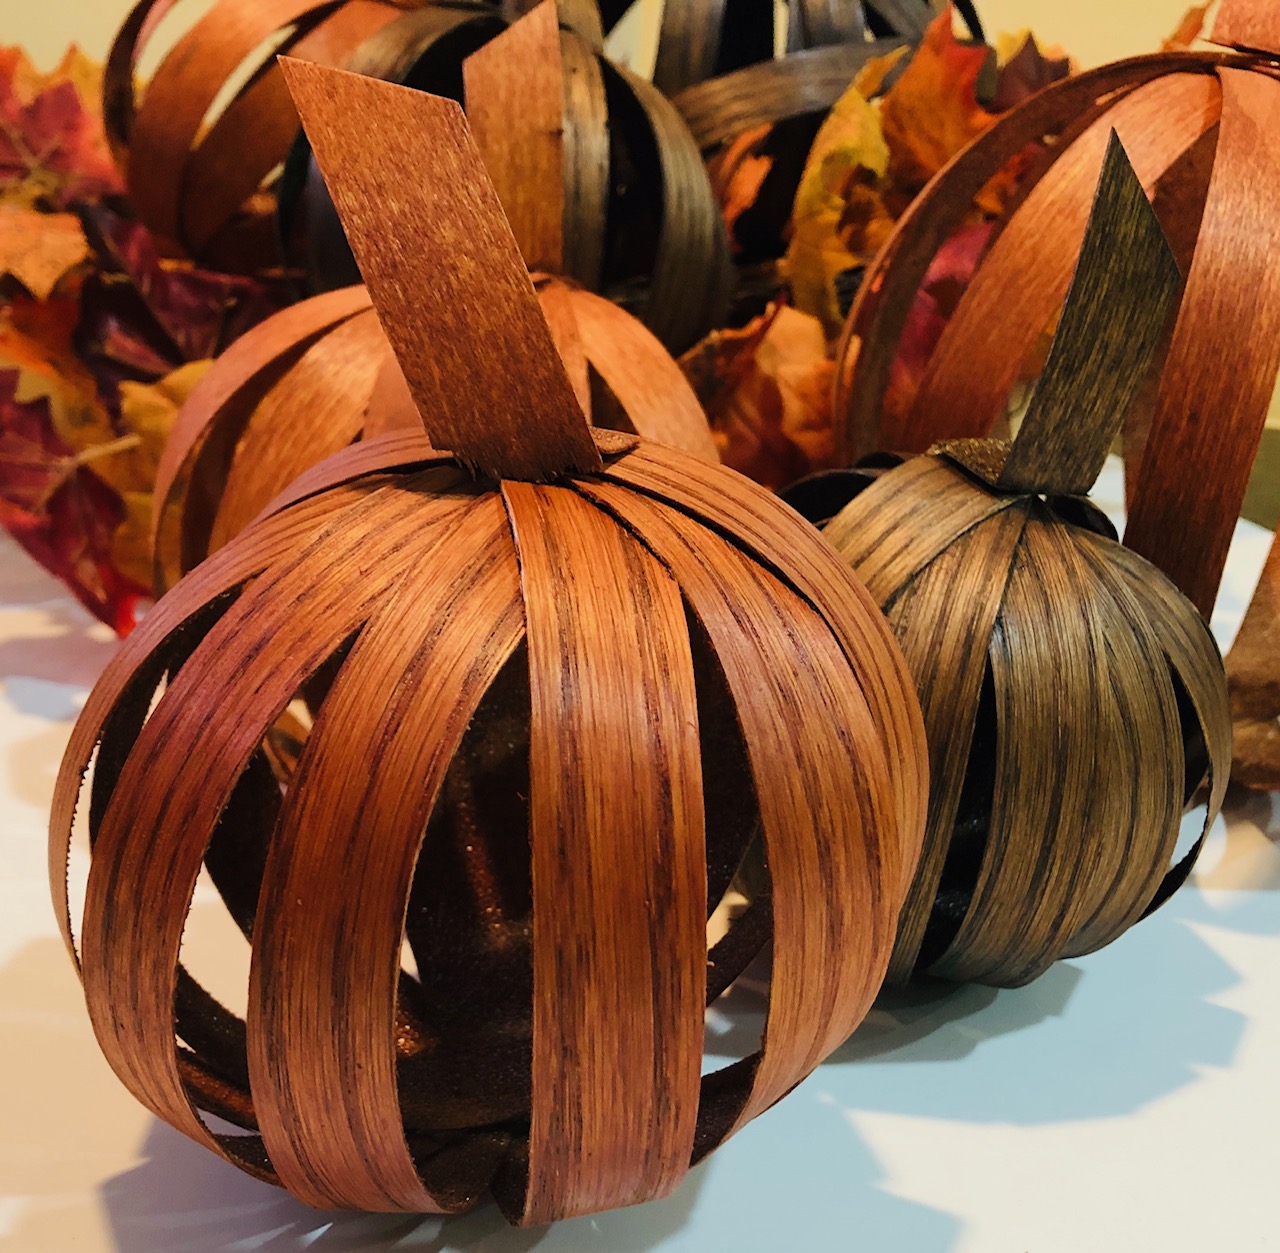
Fall is my favorite season and I love everything pumpkin! So today I’m making DIY Pumpkin Decor. These DIY pumpkins are made from rolls of wood veneer and glue. The cost is about $3 per pumpkin which makes them on trend and affordable. They’re a unique seasonal touch of the unexpected for home decor. A video How-To is Here and here.
Materials:
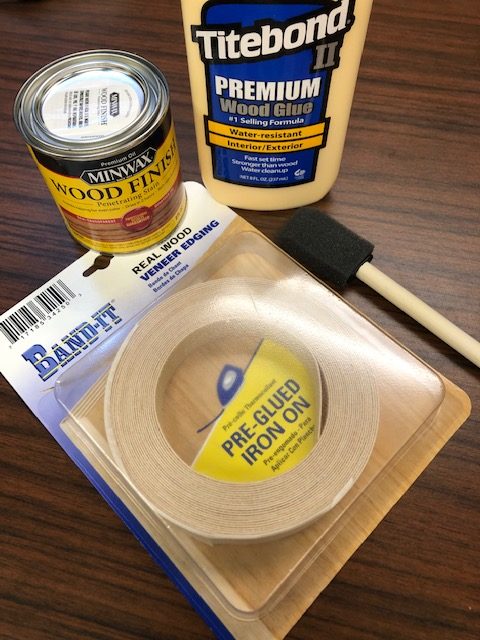
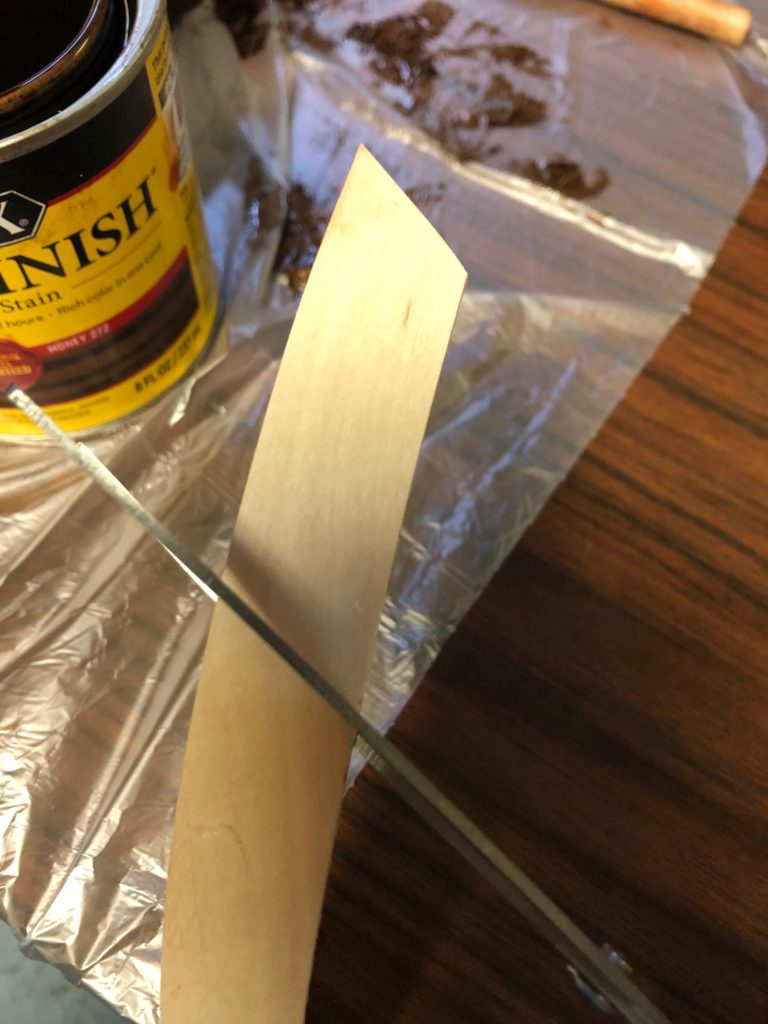
Rolls of Wood Veneer
Scissors
Wood Glue or Hot Glue
Wood Stain or Paint
There are all types of wood veneer. Using a veneer with some sort of wood grain like Red Oak adds texture to the pumpkins.
How-To:
Begin by making a loop with the wood veneer that is the size of the pumpkin you’d like to create. The pumpkins can be any size you’d like. Glue the loop together at the first connection. Then make another loop spaced a little apart from the last loop like you’re making a ball – and glue that connection. You will glue at the top and bottom of the pumpkin.
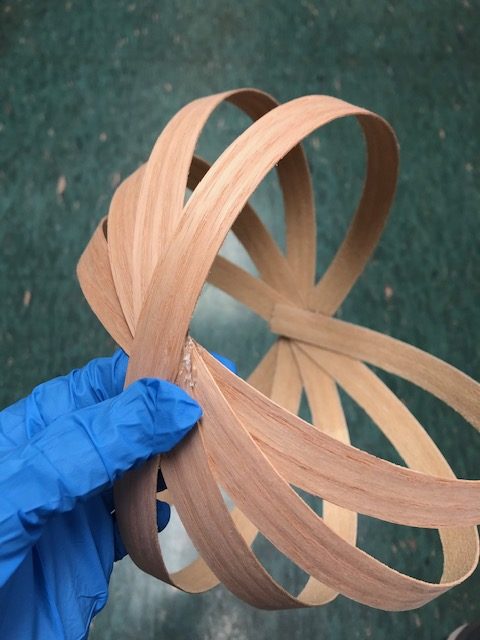
*I used hot glue because it dries faster. If you use wood glue, use paper clips to hold the glued pieces into place as it dries.Continue the process of making spaced angular loops and gluing at the top and bottom.
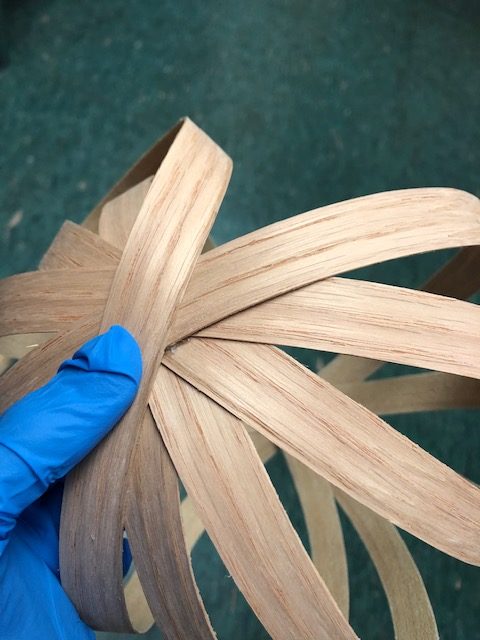
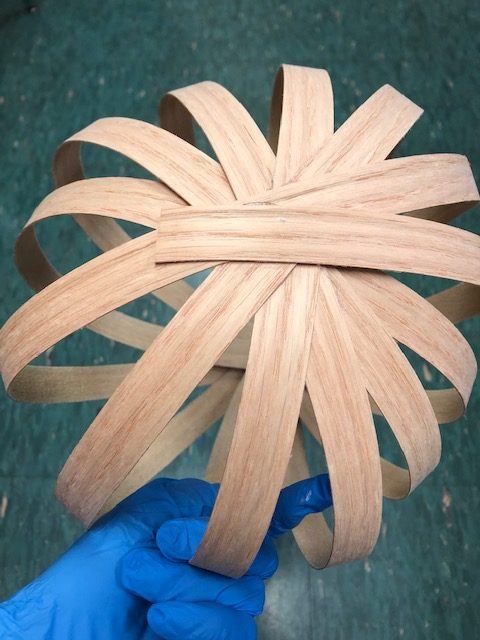
The final loop can be glued with just a little extra veneer for stability at the end. On larger pumpkins, wrap a couple of pieces of veneer in opposite circles from the pumpkin shape. This adds some stability and makes the pumpkin a little more interesting to look at.
Next, cut a stem out of a piece of veneer and glue to the top.
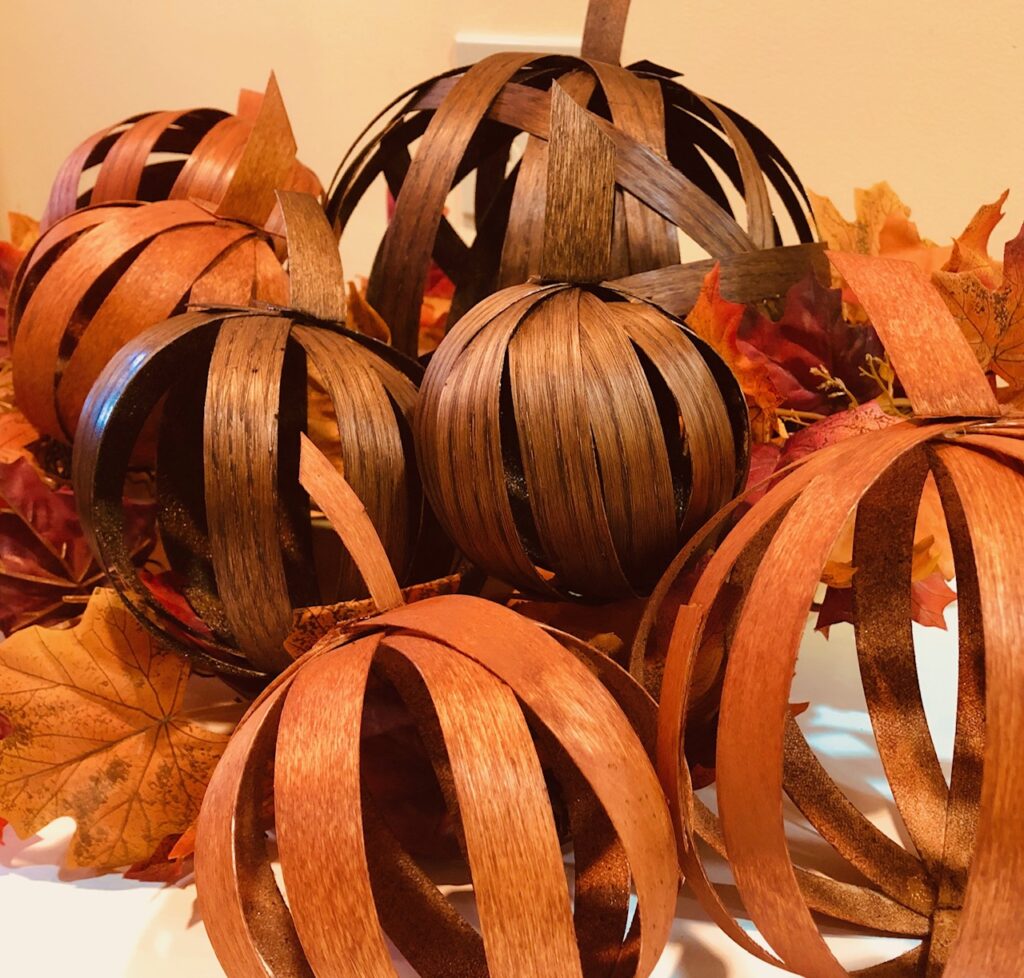
Finally, allow the pumpkin to completely dry. At this point you may decide to leave the pumpkin a natural color or stain or paint it. I used Minwax wood stain on my pumpkins and a sponge brush.
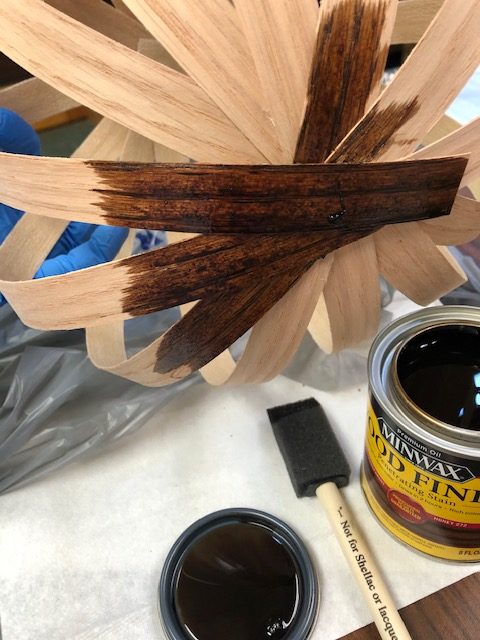
The biggest tip about staining the pumpkins (if you choose to stain them) is to stain the veneer on both sides first before you glue the pumpkin together. If not, you’ll be using a sponge brush and doing lots of tedious work. I learned this lesson the hard way. It’s messy trying to stain the inside of the pumpkin after it’s already glued.
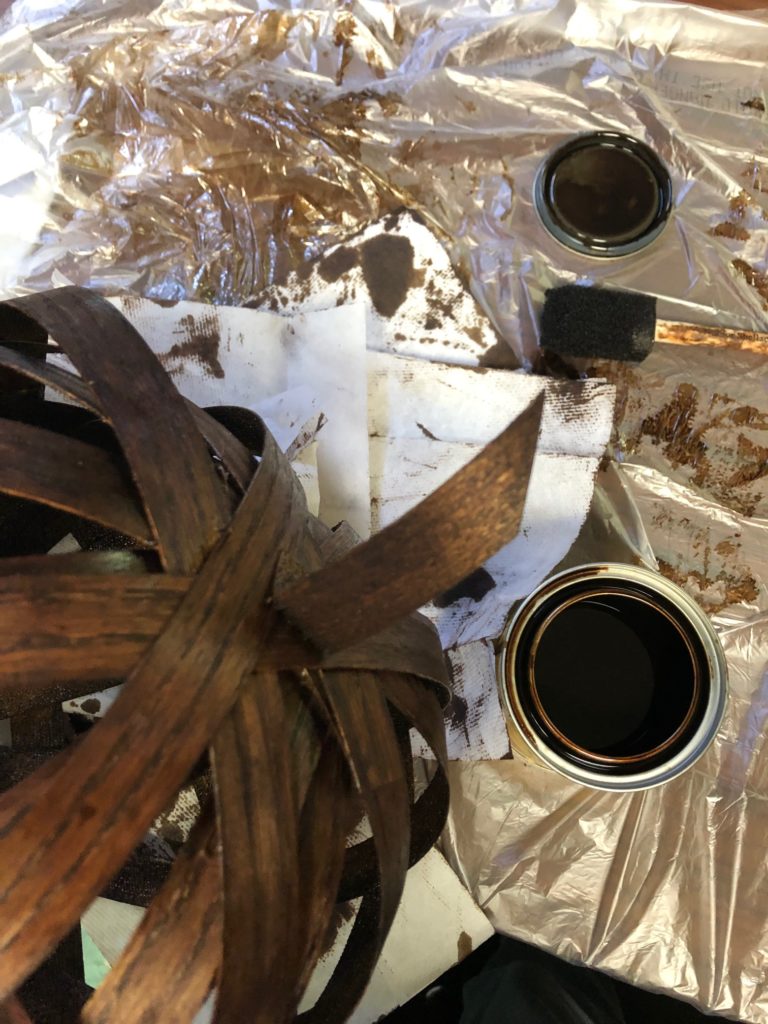
Again, allow the pumpkins to dry. Put wax paper or newspaper below them as the wet stain or paint will stain the surface the sit on to dry.
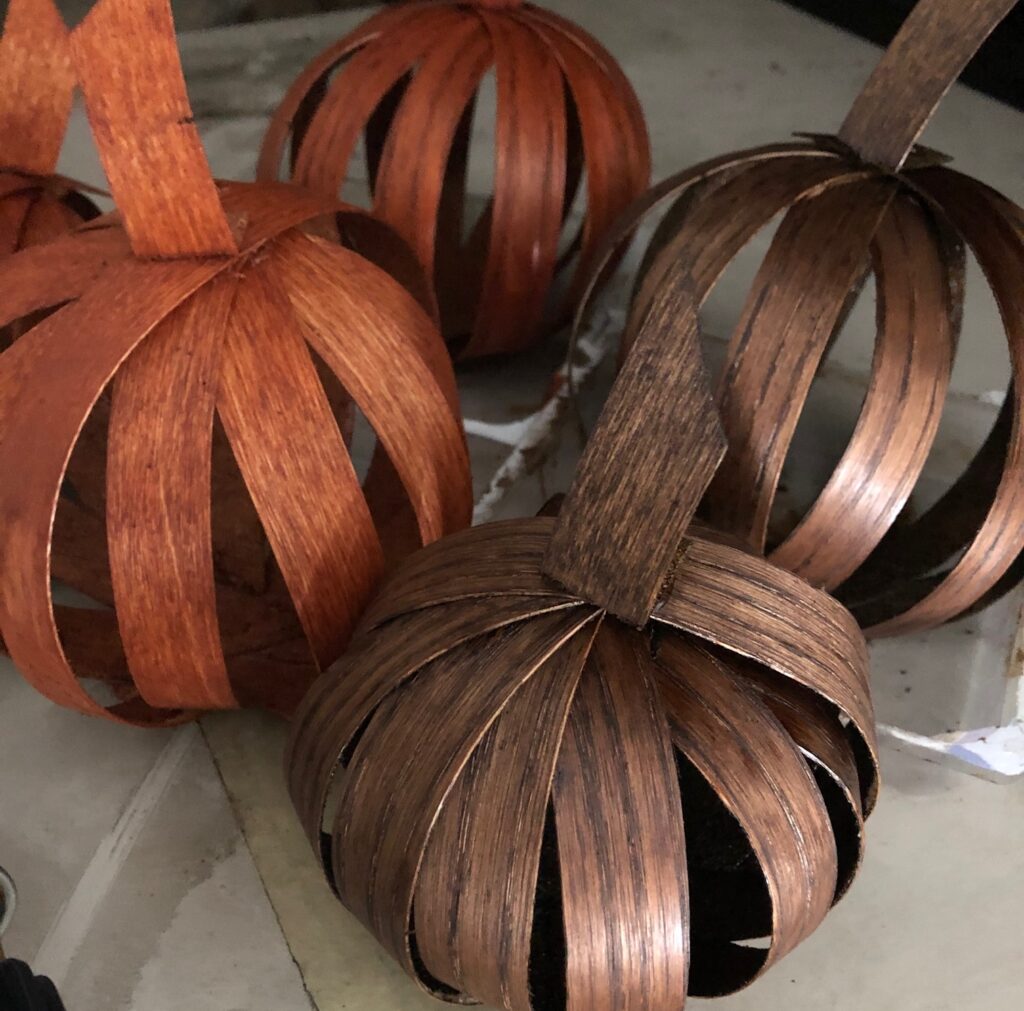
This project is the perfect DIY Pumpkin Decor! Create a beautiful fall centerpiece or autumn scape around your home with your new wood veneer pumpkins!