


I love elegant table settings. A beautifully decorated table makes dining become more of an experience than a necessity. Plus, doesn’t food taste better from an exquisitely set table? Now that fall is here it’s time to start thinking forward to the holidays. During the holidays, I think this is all the more important. It’s your time to put on a show and wow your loved ones and friends. But (and there’s always a but…), it can be really expensive to set these magnificent, magazine worthy tables. Most families shell out tons of money during the holiday season anyway – so can you afford fancy pants table settings on top of everything else? Yes. Your answer is yes you can! Today we’re making DIY Fall Napkin Rings for 75 cents or less – and the kids can help. They’re so elegant that nobody’s gotta know what you didn’t spend!
Materials:
The materials list is short. We’re making 10 napkin rings in this article. If you have to buy the materials, you’ll spend about $8.
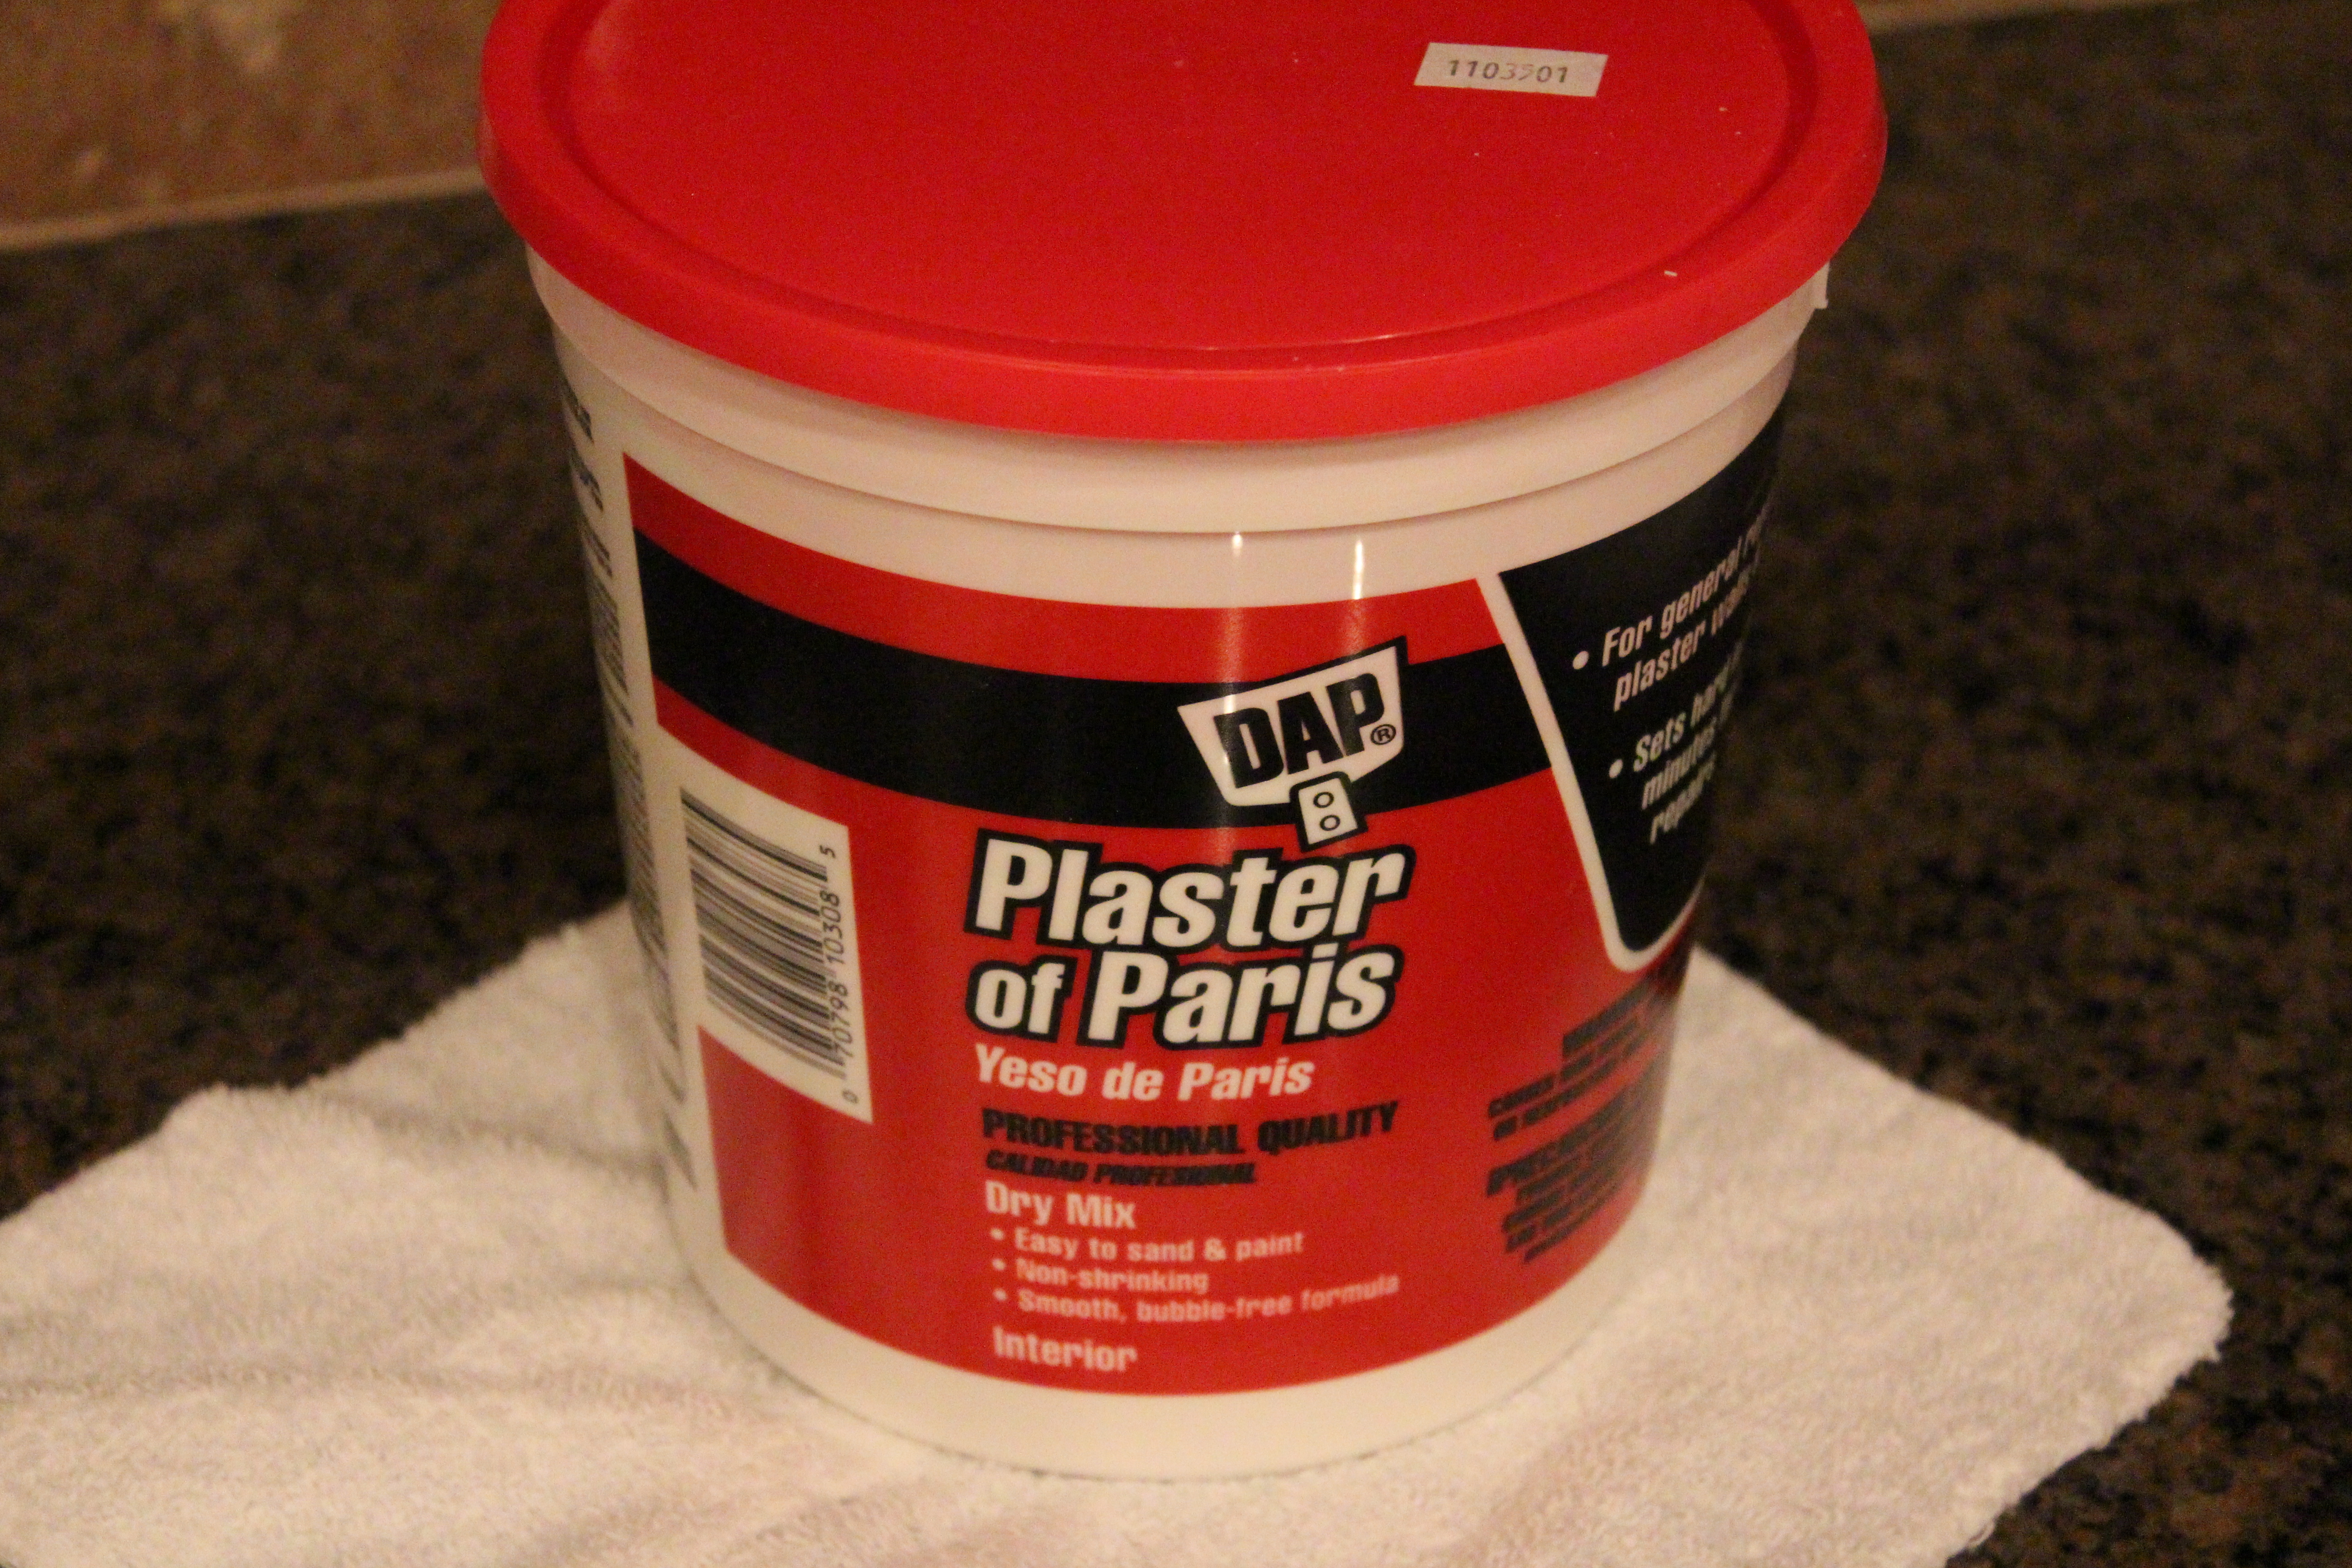
One tub of Plaster of Paris (I bought an 8-pound tub for $6. This is way, way too much. One four-pound tub costs about $3.50 and you’ll still have lots of Plaster of Paris left over).
1-2 Fall/leaf cookie cutters
Spray paint of your choice – two colors
5 toilet paper tubes
One plastic fork
Parchment paper
How-To:
Begin by preparing a work space on a flat surface. I use a sheet of parchment paper for EVERYTHING. It makes clean up fast and simple. Lay out parchment and then a cookie cutter or two for your napkin shapes. I used a disposable 4-ounce plastic cup to mix my Plaster of Paris. This is not scientific but this is what you do – spoon dry Plaster of Paris into the drinking cup until it’s about 3/4 of the way full. It equates to about 2.5-3 ounces of dry mix. Add enough water slowly until the mixture is mixed and the consistency of putty. Spoon the putty into the cookie cutter. You want the top to have rough texture like a leaf so don’t smooth the putty completely.

Allow this to dry for about 1-2 hours. It will be dry at 30 minutes, but not dry enough not to crack when you remove the shape from the cookie cutter. Listen to me. Gently release the shape from the cookie cutter and set aside.
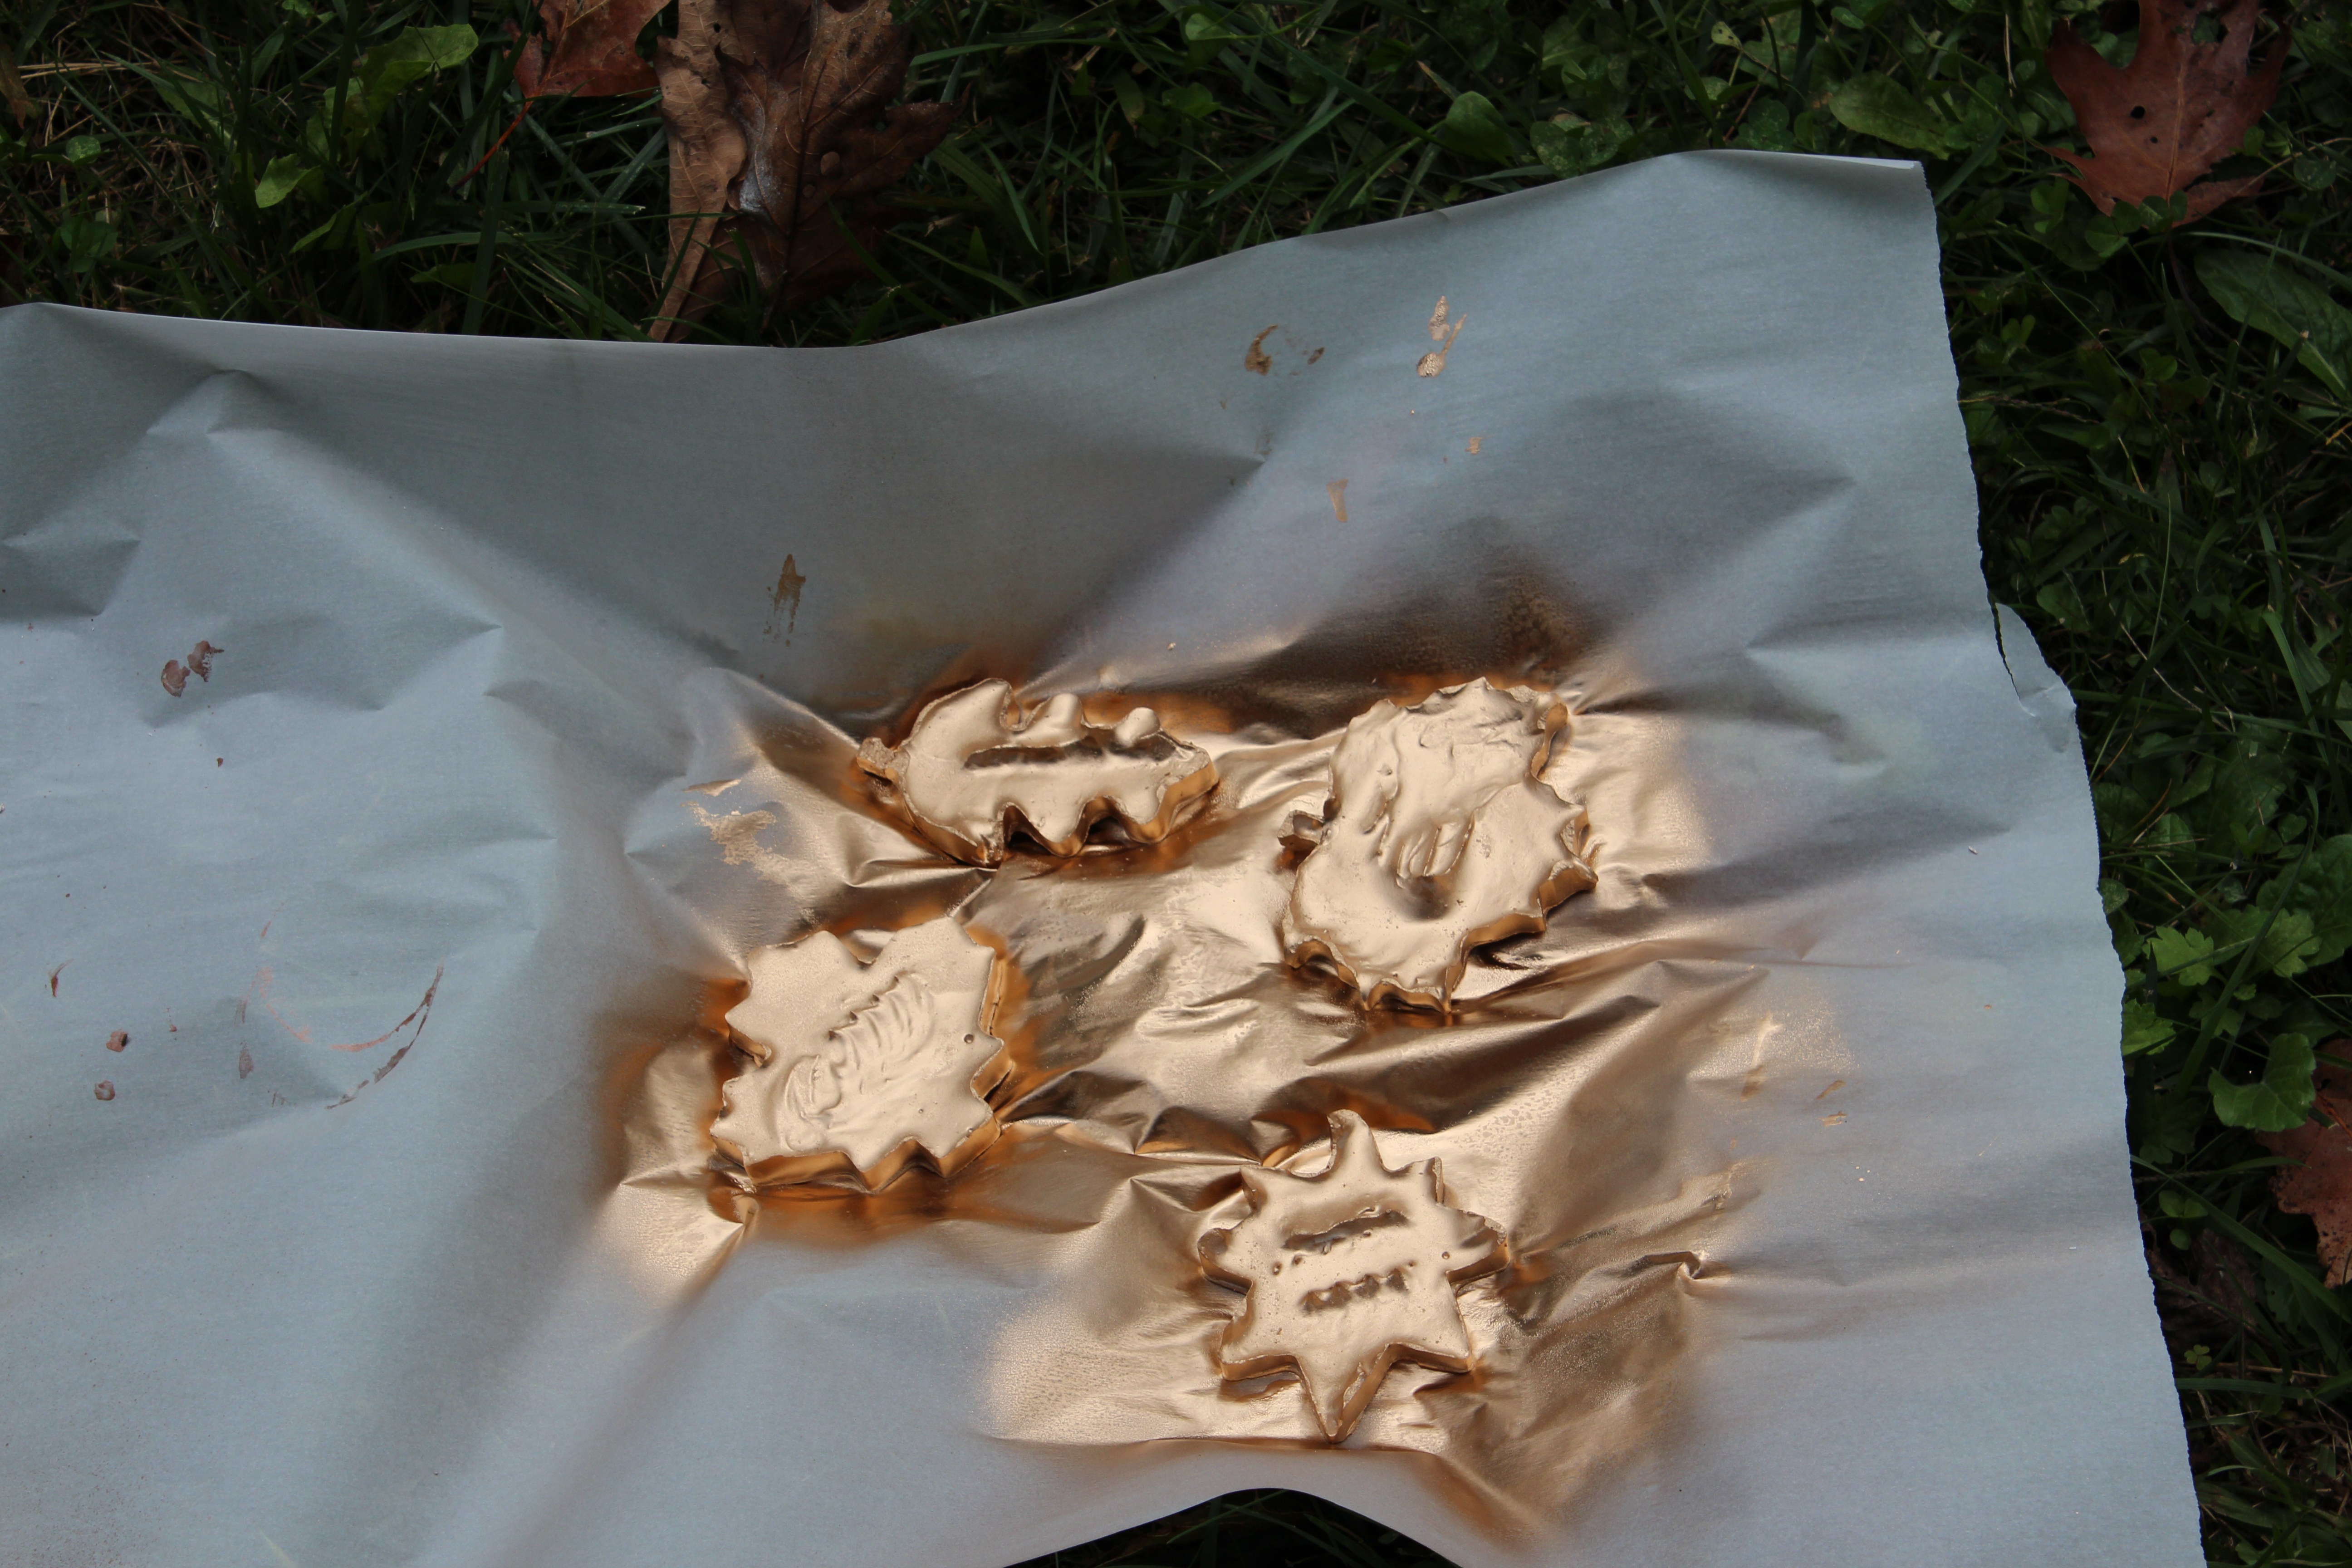
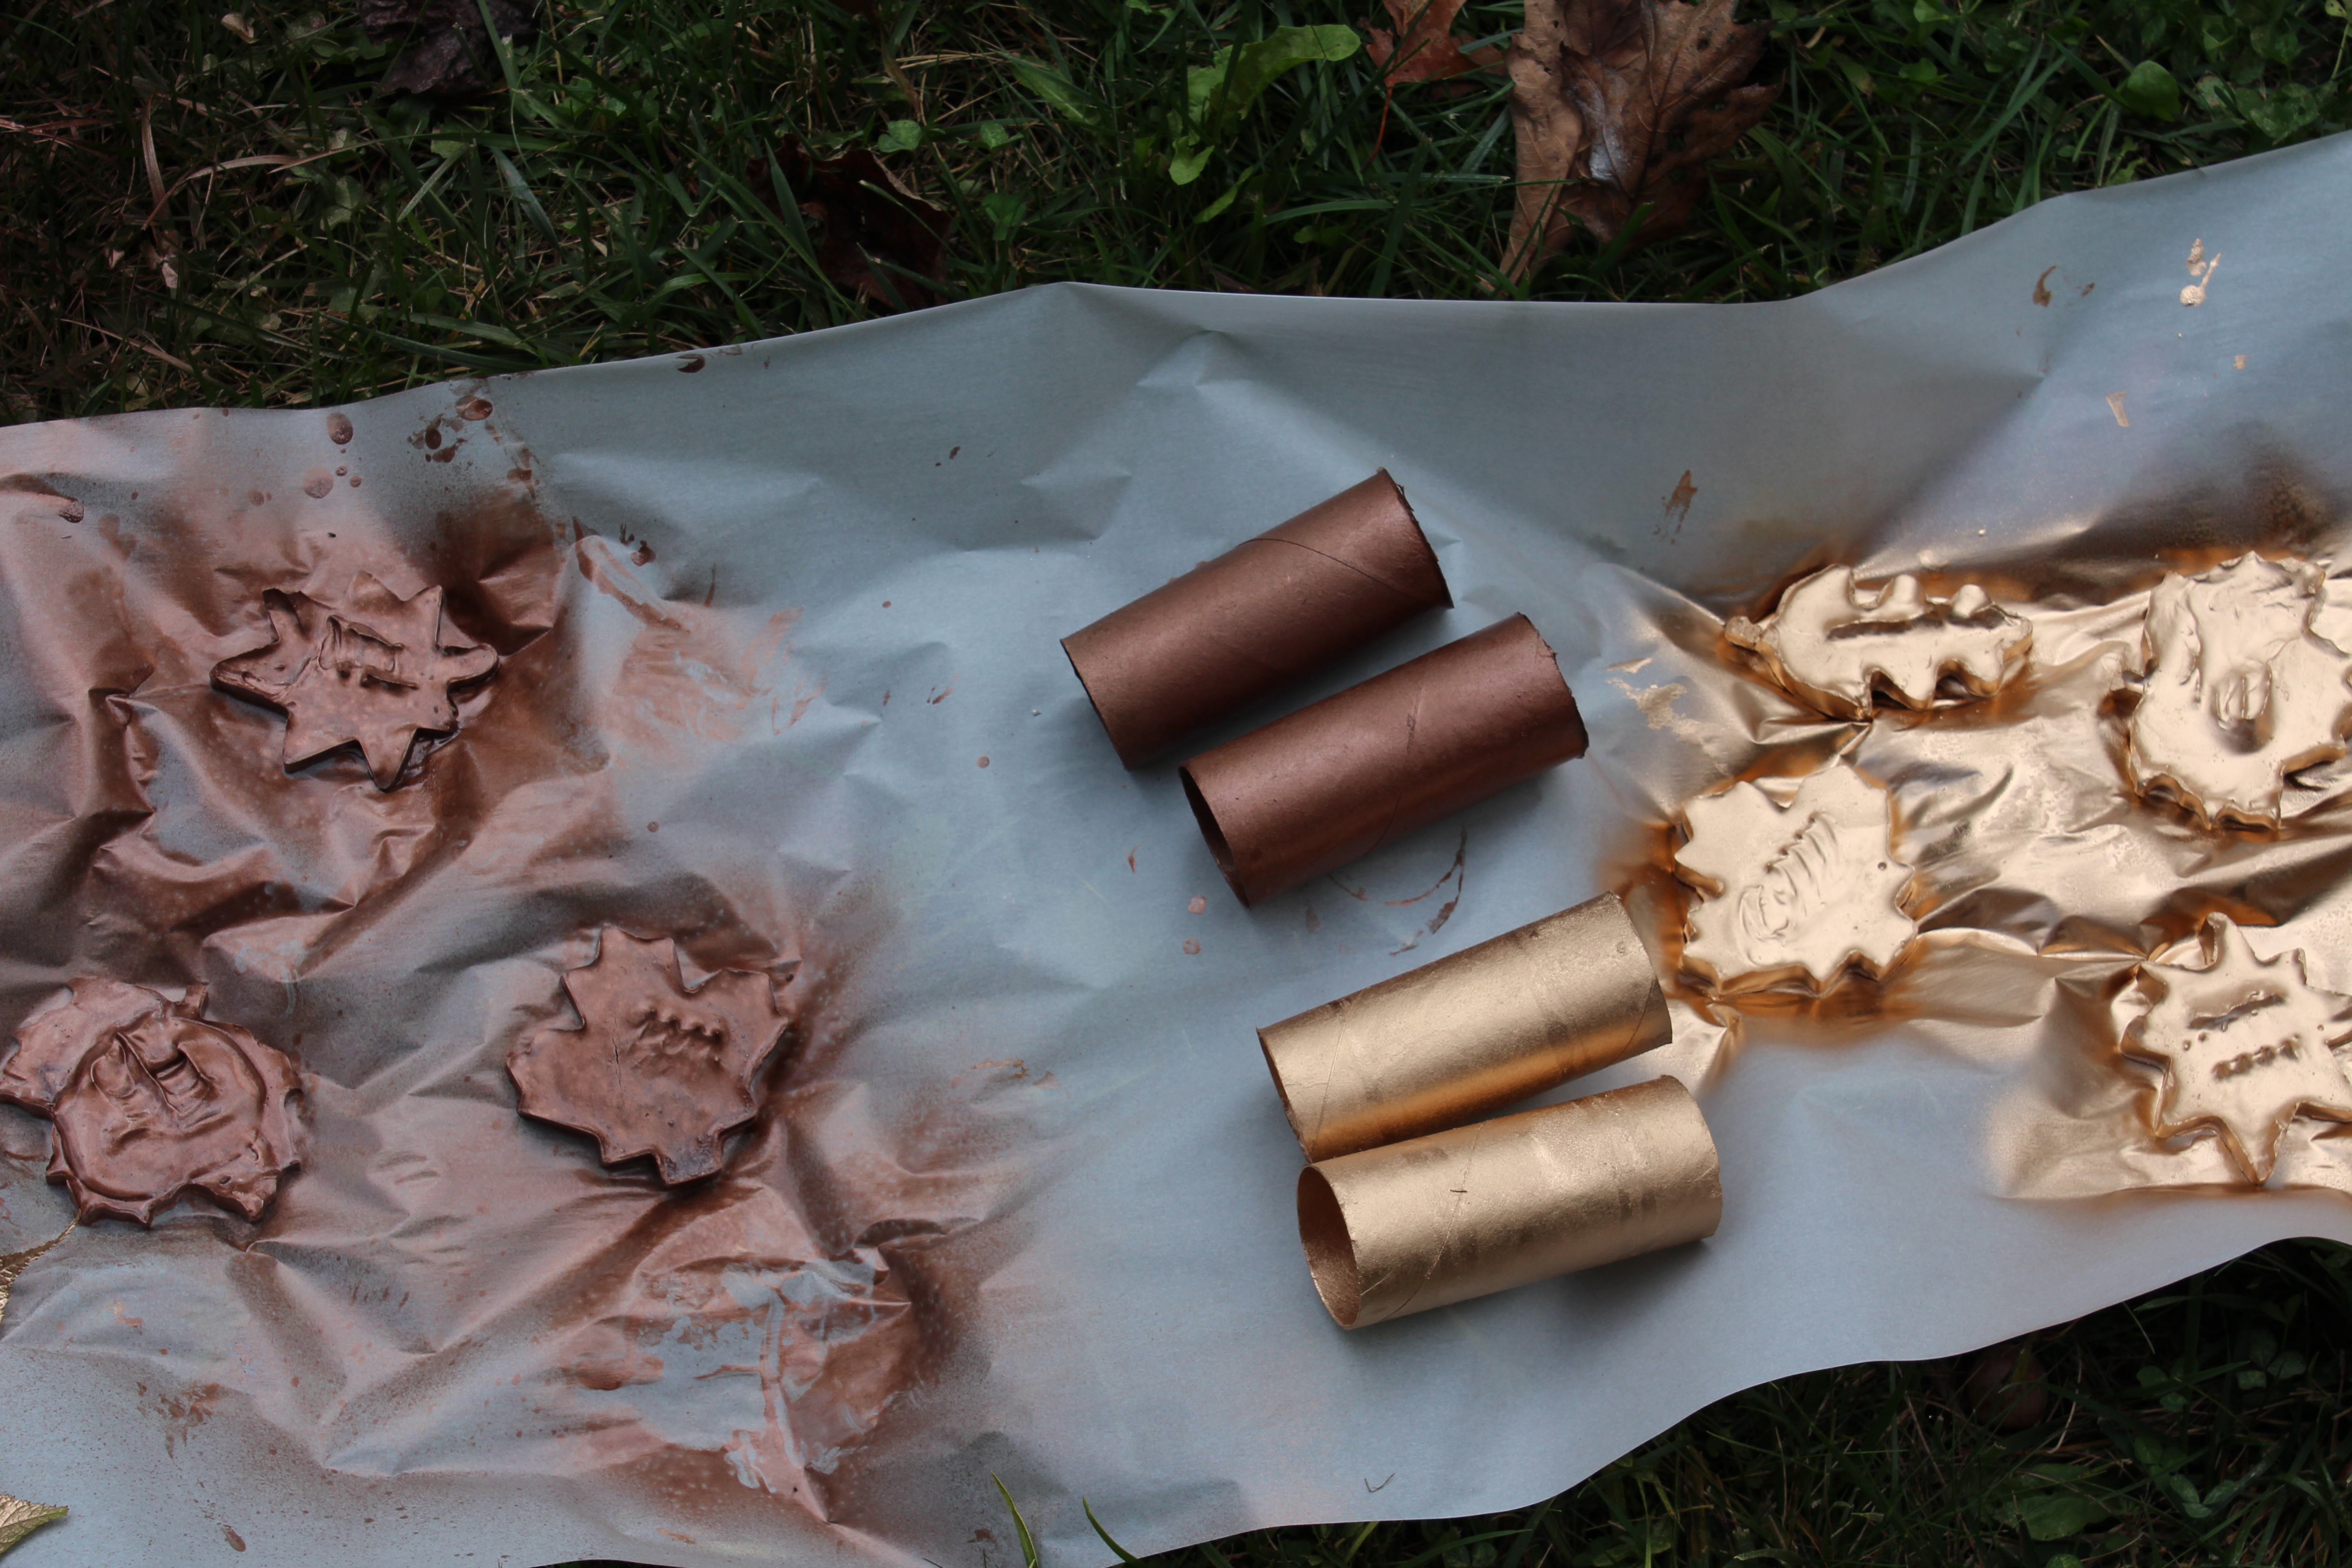
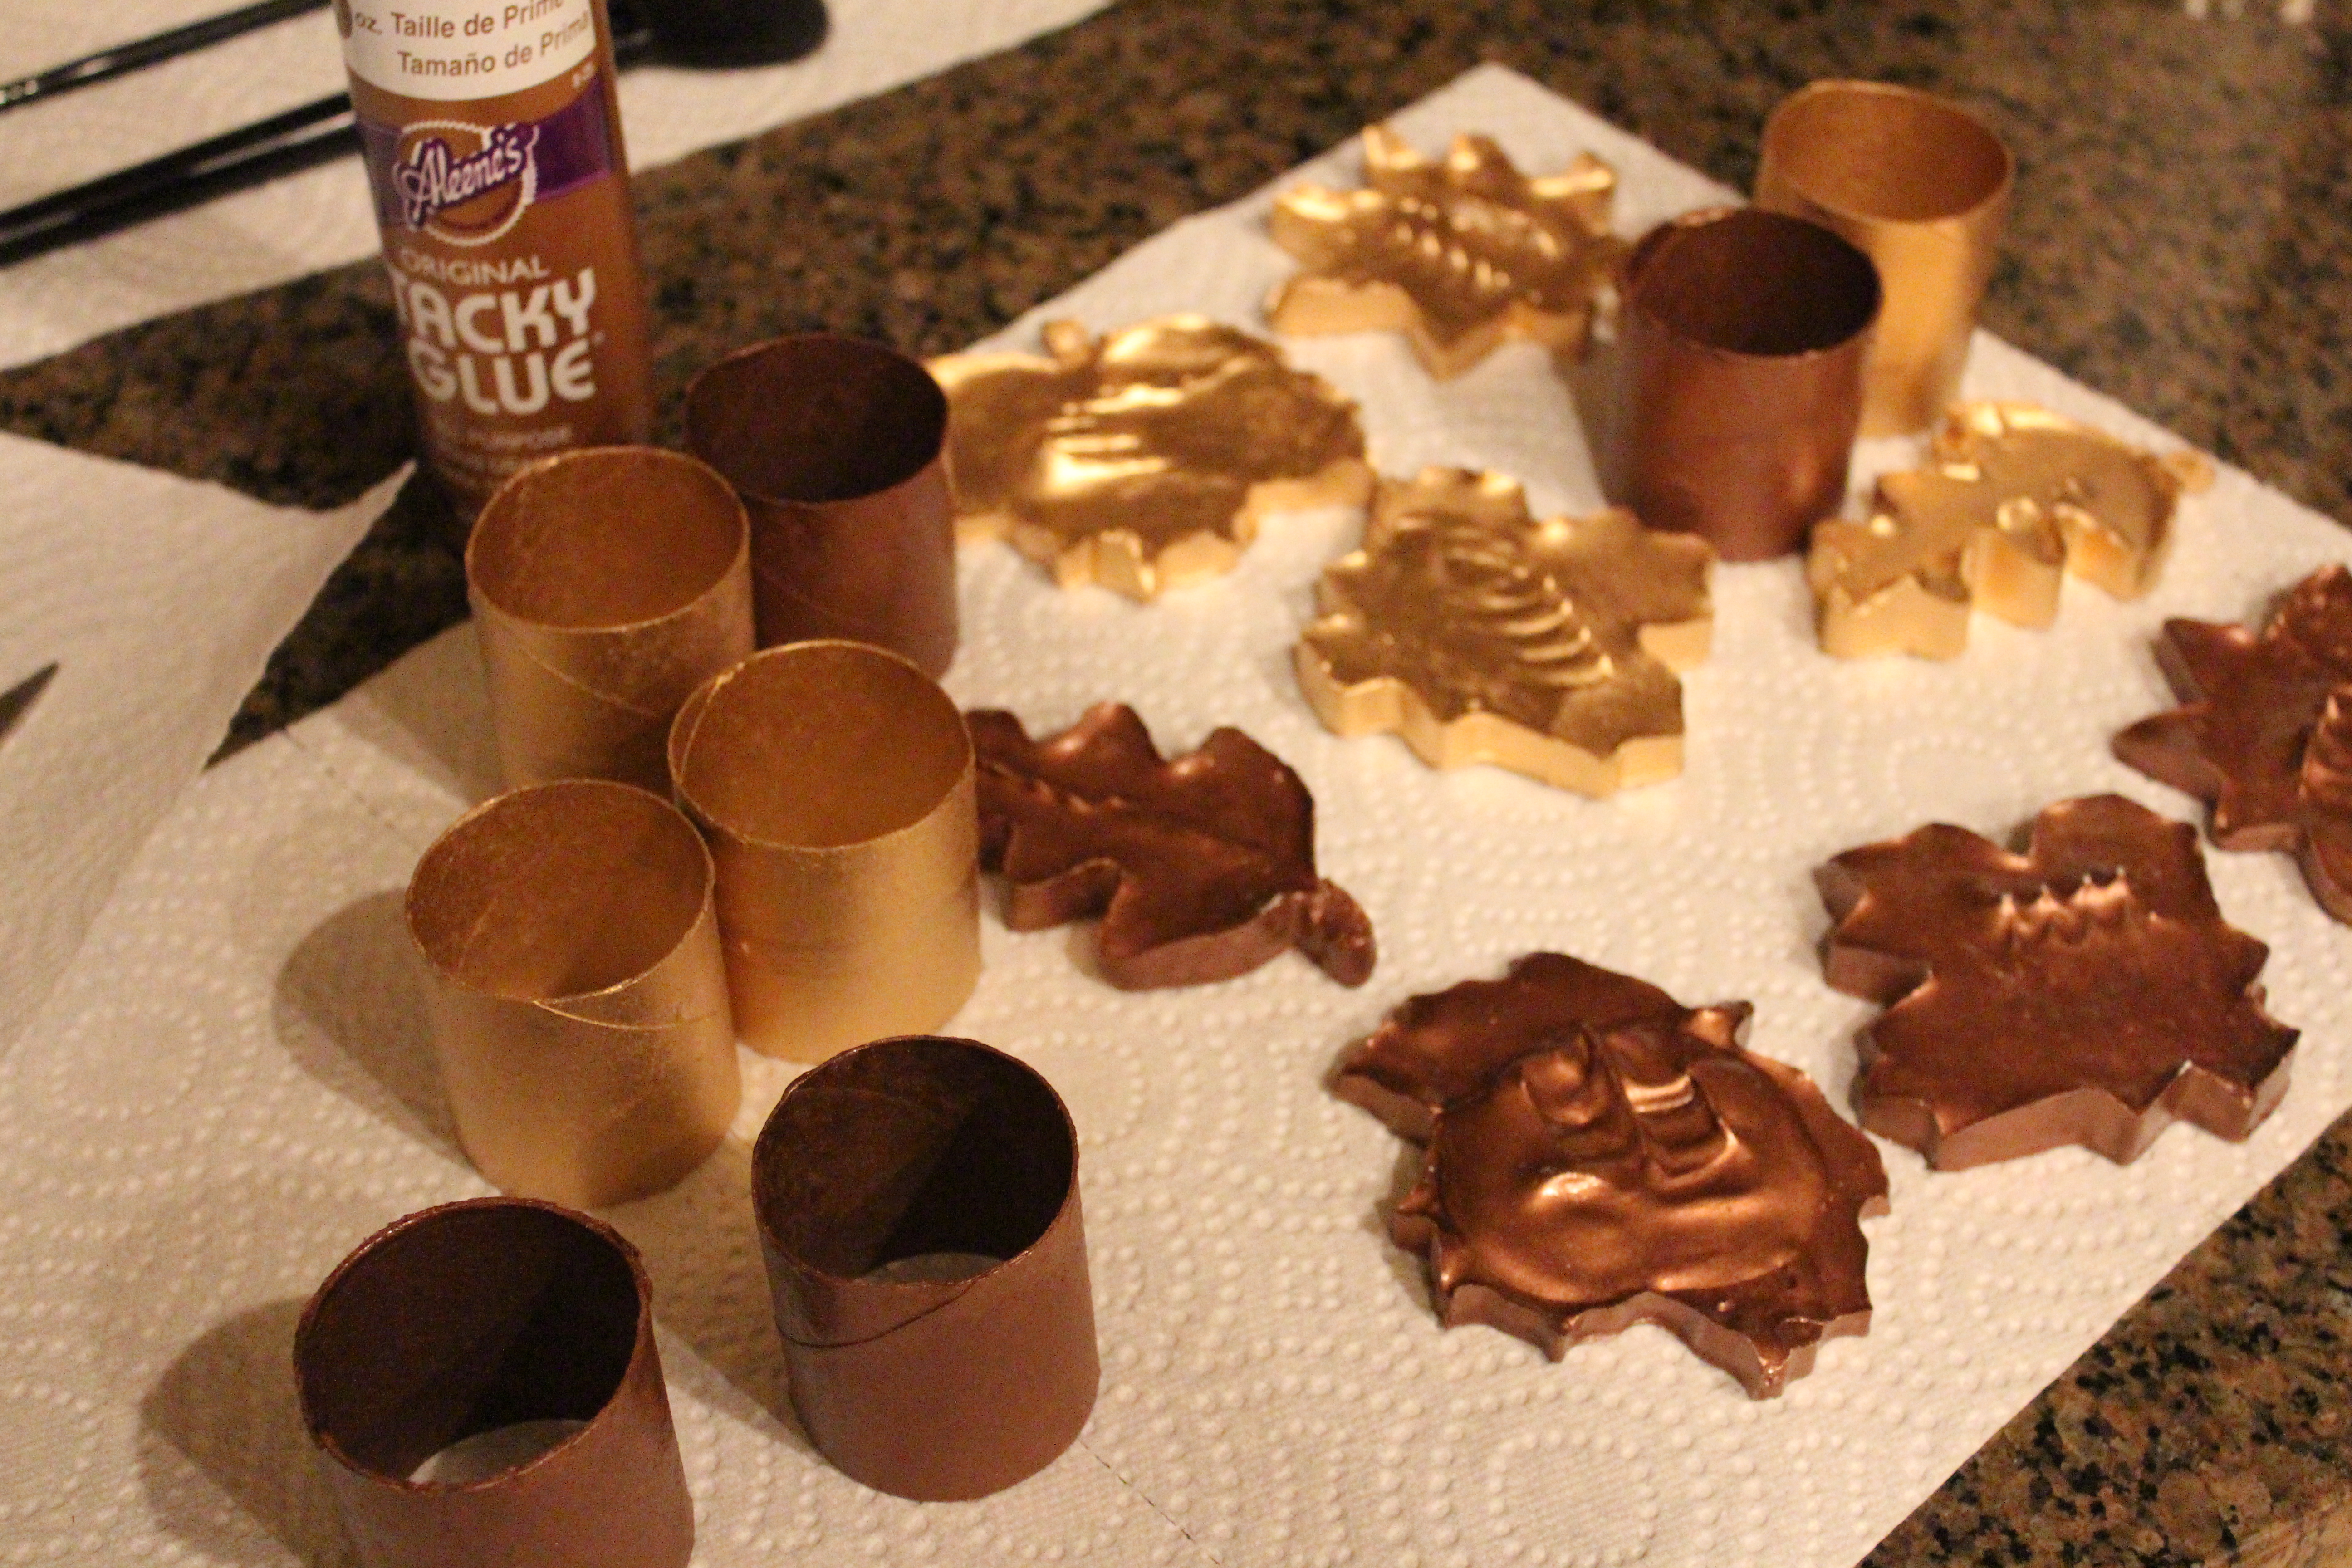
Once all the leaf shapes you need are dry, paint them. I sprayed the bottoms first on paper and then flipped them over and sprayed the top side. Cut the toilet paper holders in half and spray the outside and inside of these at the same time. You will have plenty of paint left over to do this whole project again if you want.
After the paint is completely dry, glue the toilet paper tubes to the flat (back) side of the leaf shape. I used craft glue, but hot glue or whatever glue you have available would also work. Again, set aside and allow to dry (I feel like I’ve typed that sentence 100 times).
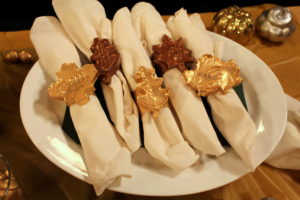
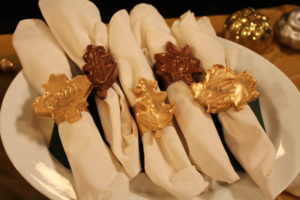
Add the napkins and Voila DIY Fall Napkin Rings! Save your money for turkey and Santa!