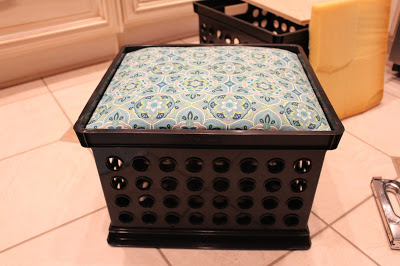


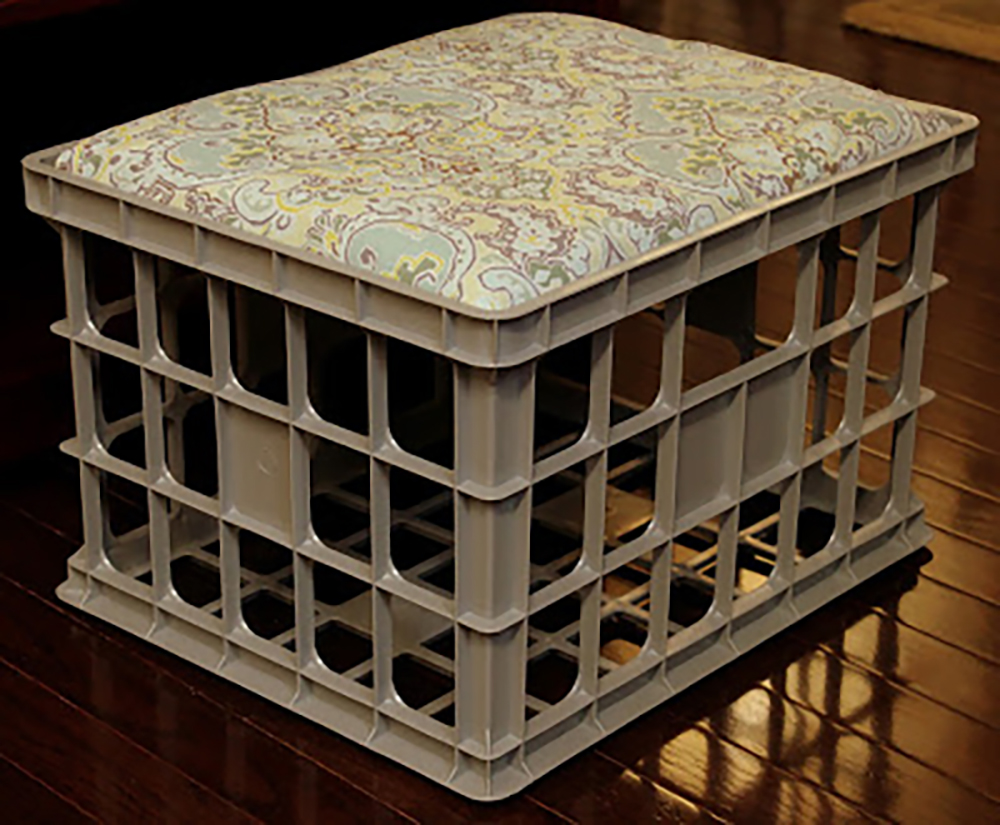
I can never have enough storage. I like having the ability to put things away in a tidy place that makes sense. When I was a student (back in the day), I never had enough storage. My stuff seemed to multiply as the semesters progressed. The idea today is to create double duty storage that can be used in a Dorm Room or a study area using storage crates. This project is amazing for parents to use in playrooms also. Your kids have space for toys and seating that is lower to the ground. I give you DIY Dorm Storage and Seating!
The crates are great because you can put everything from clothes and shoes to books – and they’re sturdy and provide an excellent place to store your stuff. These seats are a great place to sit and put on shoes (that may be stored in the crate) or for friends to chill on when they come over to study. Plus, they cost between $5-6 dollars (or less) each and you may customize them to match your decor. It takes about 5 minutes to assemble, yep 5 minutes – so why wouldn’t you make one?

Materials:
One Storage Crate $3
One piece of wood to fit on the inside rim (about $1-2)
Roughly 1/2 yard of Fabric or bath towel
Cushioning material to cover one side of wood (or you can use other half of bath towel)
Scissors
Staple Gun
How To:
I made two crates using different cushioning. First I folded over an old pair of fleece pillow cases. They were really comfy and provided excellent cushioning. For the other crate I used an old piece of foam that I trimmed to fit the board. Use what you have, it isn’t a rule that you have to use a cushion either.
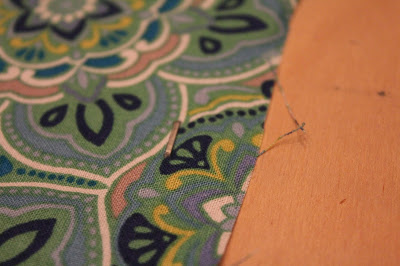 You will need to manipulate the edges of the fabric a little to make the ends smooth. I started by stapling the long sides first and finished on the ends. I also had some fabric left over and trimmed the edges so they’d be even.
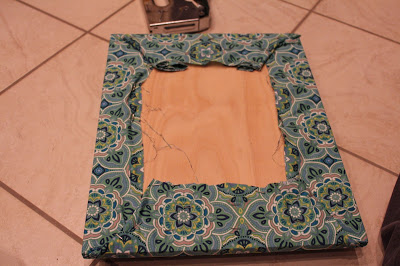
Flip the board over and place inside the crate – it’s that easy. Now you’ve made seating/storage for your room. Have a great year!