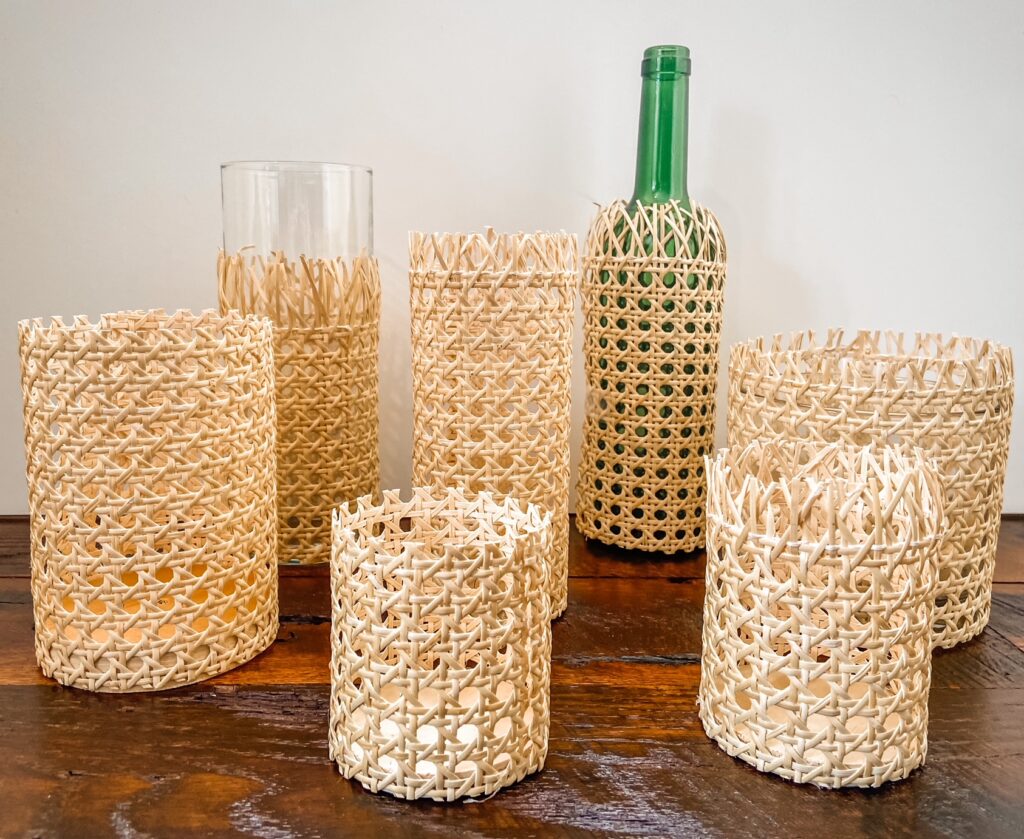


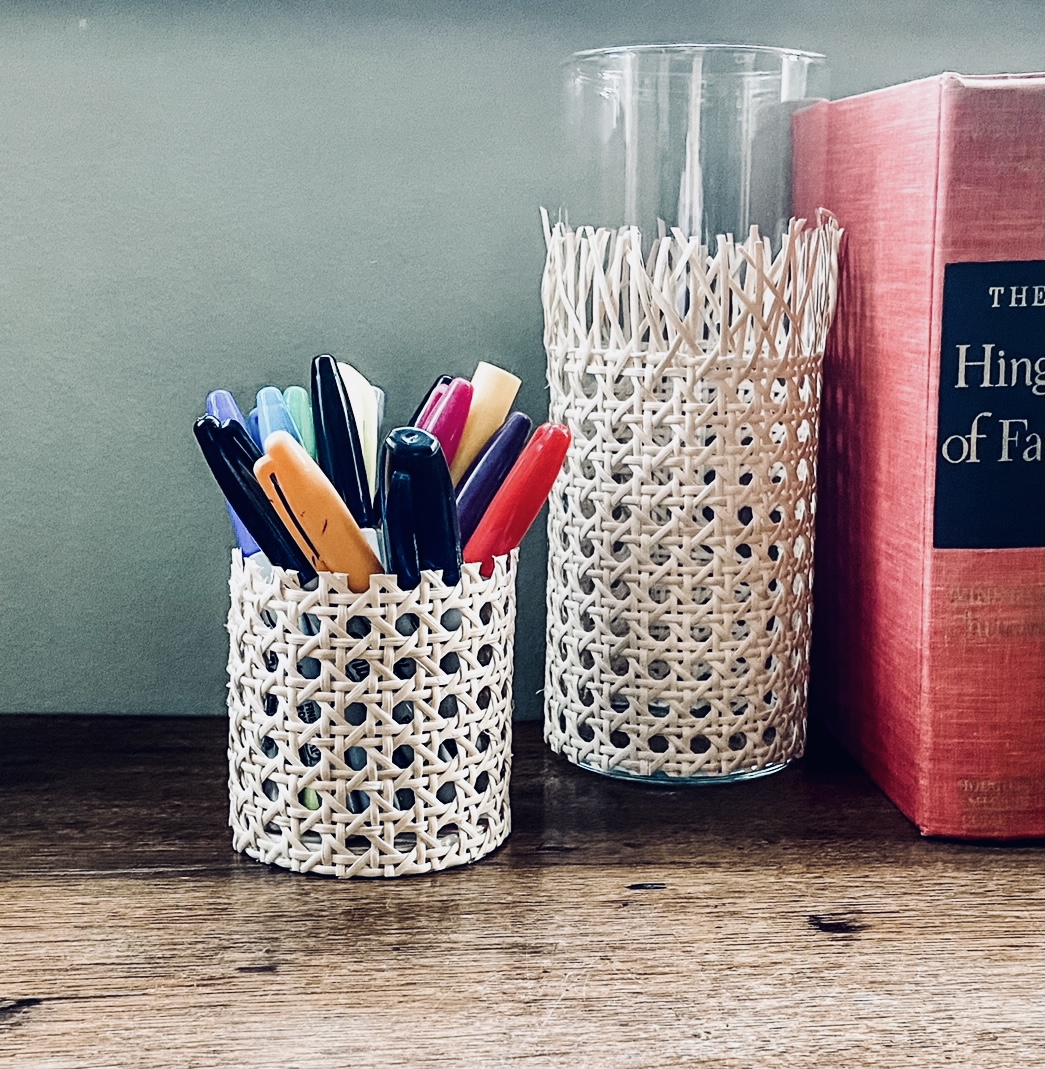
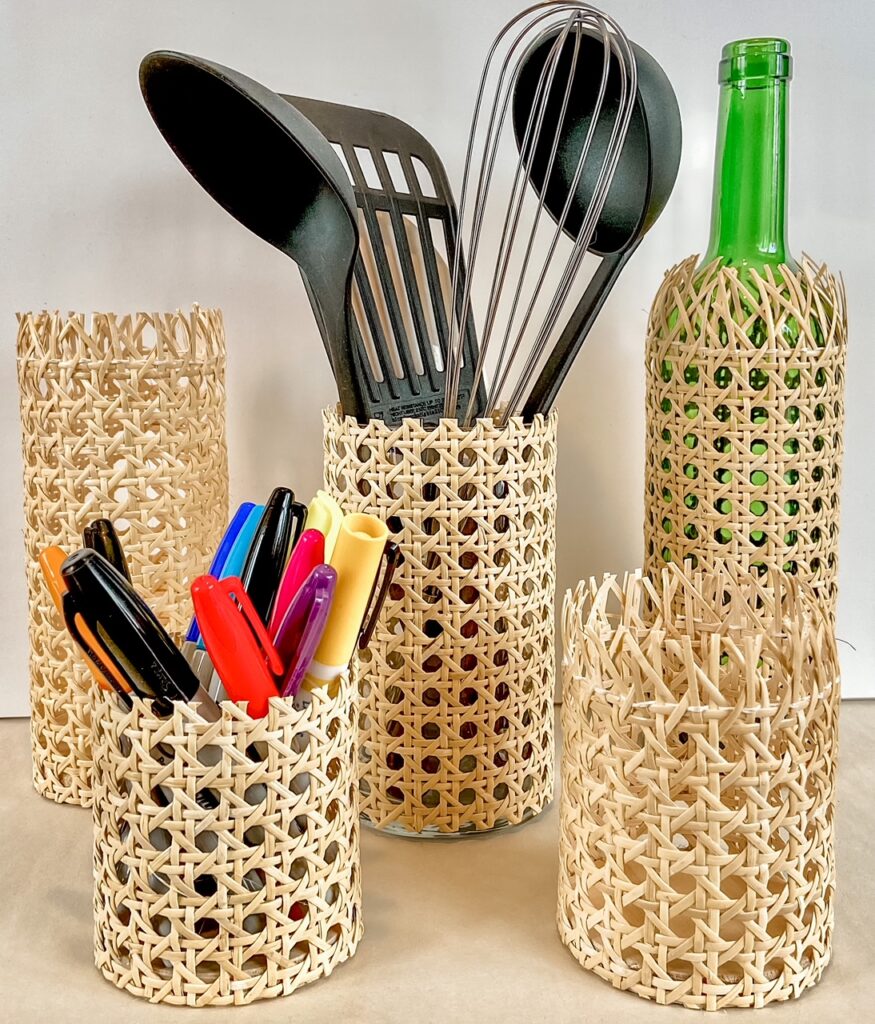
I’m in the process of organizing myself for the new year starting with my desk and then branching out to other spaces. I wanted some interesting storage containers that were attractive yet functional. After looking through container and design websites, I decided to make my own and use an offbeat material for fun. Thus I made Decorative Storage Containers from Cane Mat (sometimes called Rattan Webbing or Matting). Cane Mat is durable and not expensive and interesting as a design element. These containers are also very simple to make which makes them even more attractive. This method makes storage containers great for everything from utensils to pen and pencil holders to make-up brush containers. They can be made in any size/height/width you’d like. The cane mat is also fun to use as a decor element on old bottles or vases to spruce up the old for the new year.
Materials:
Cane Mat
Scissors
Glue
Wooden disc (3-4″ in diameter) — 30-80 cents at craft stores
or
Vase/Drinking Glass/Bottle
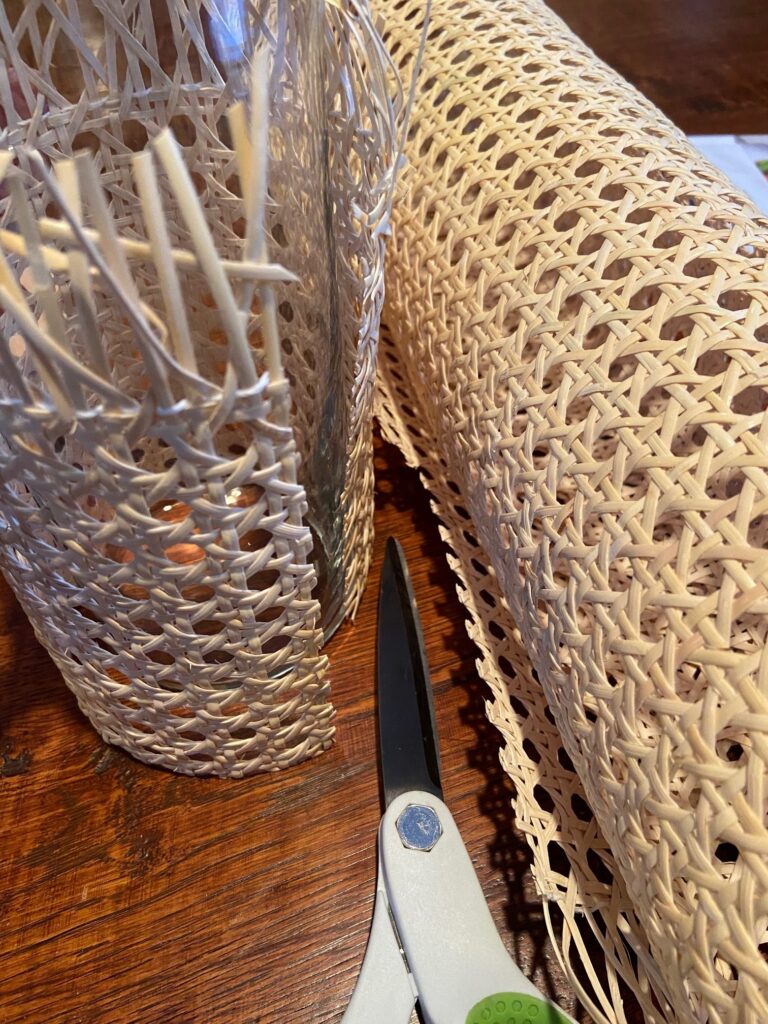
The cane mat cost about $9 at craft stores for a 12″x18″ piece. Most national craft stores offer a 40% coupon for one item which takes the price down to $5-6 range.
How-To:
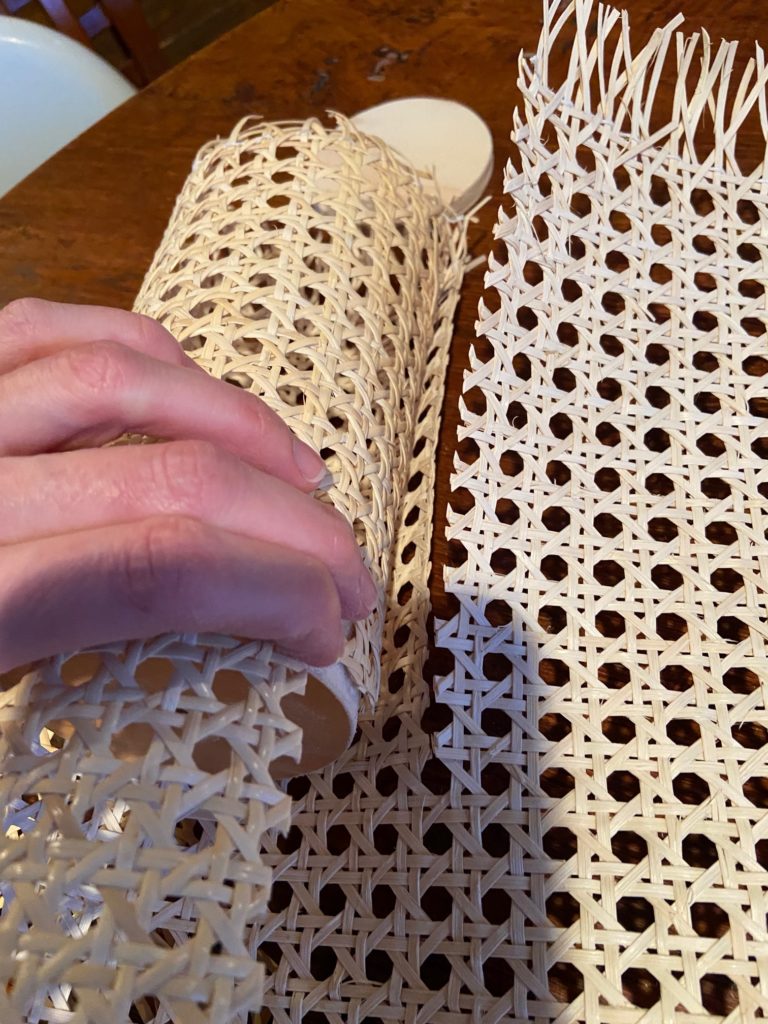
You may choose to make a container using a wooden disk as a base or to cover an existing container with the cane mat. It’s up to you. To cover an existing vase or drinking glass (both work well), measure the cane mat in the size of the vase and cut it to size. Allow the mat to overlap just a little on the seam.
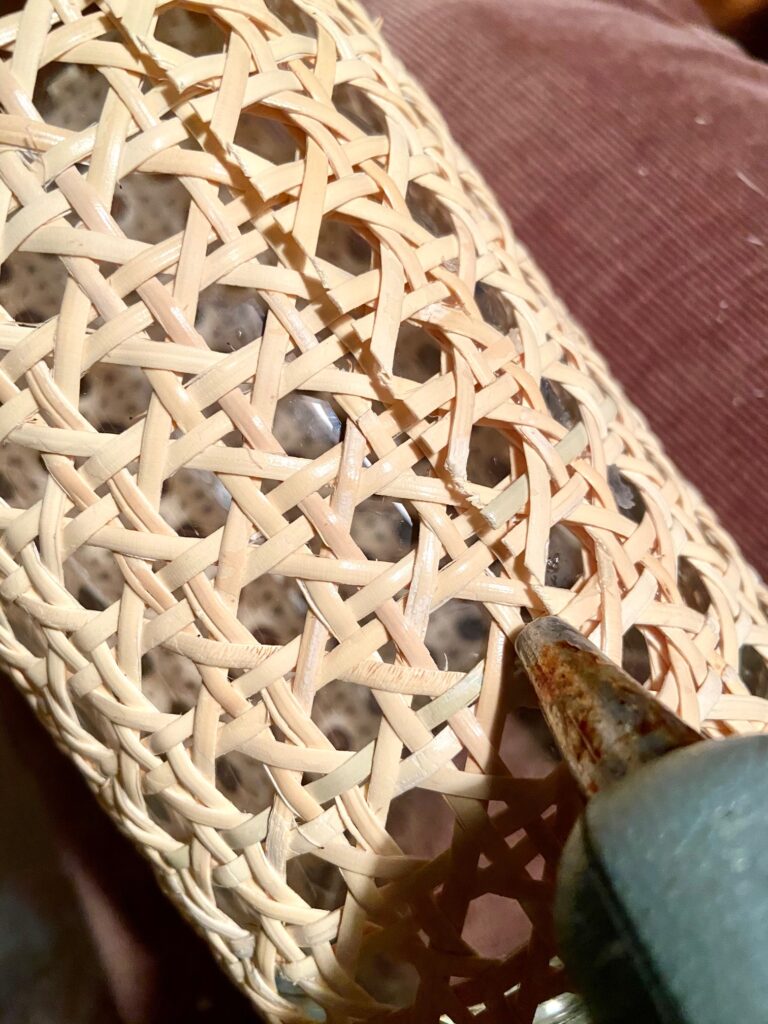
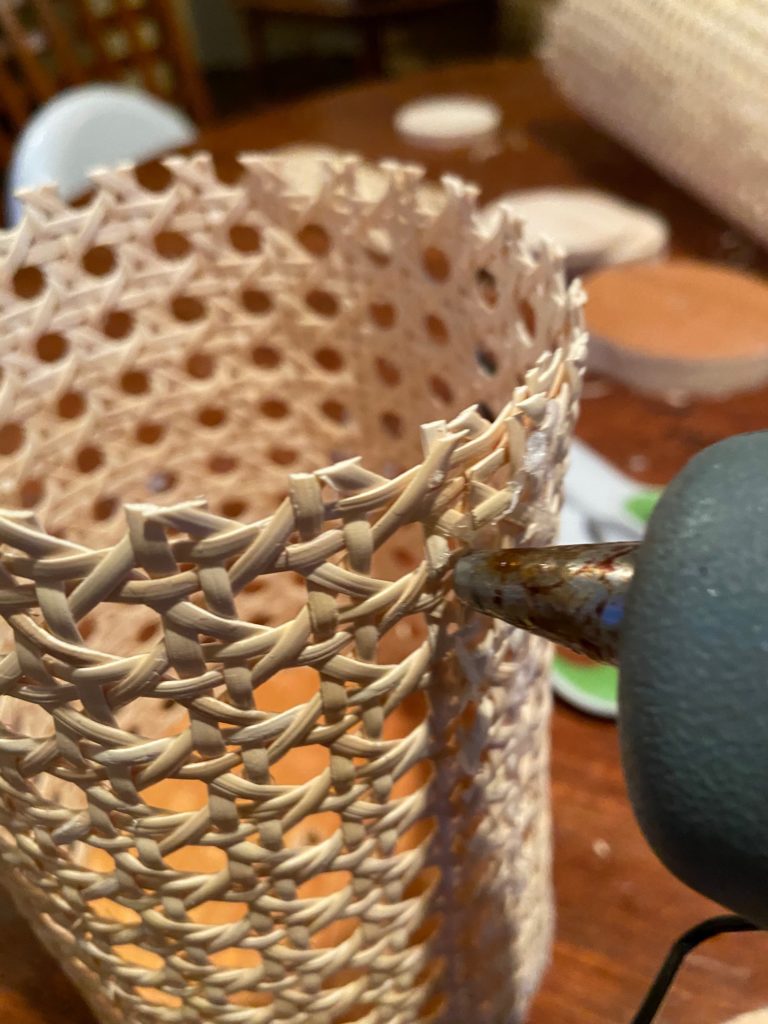
For this vase, I cut the cane mat to about 3/4 of the size of the vase to add a decorative detail to the vase without covering it completely. The mat comes with two sides frayed already and I thought the frayed edges were super cool for this vase. Once the mat is cut to size use hot or regular glue on the seam to glue the pieces together.
If you’re making a container from the mat itself, measure the mat to wrap around one of your wooden discs. It is flexible yet very durable so the mat will stand on its own once glued.
Put a few dots of glue around the outside edge of the wooden disc and wrap the cut mat around the glue dots. Glue the mat seam where it comes together and allow to dry. You may want to put a rubber band around the lower bottom half of the container while it’s drying to make sure it stays in place.
Once the glue is dry, fill your Decorative Storage Containers with your stuff and get organized for the new year!