


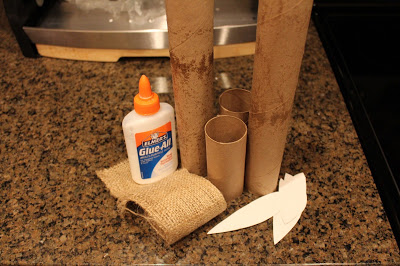
Materials:
Glue
Cardboard or card stock paper
Toilet paper or paper towel tubes
Small piece of burlap or fabric (you may already have at home in whatever color or pattern matches your table)
Purchase your burlap/fabric at a discount store. I used cardboard that came as packaging in the mail. If you choose to purchase card stock paper, you’ll need one piece for the ears – it costs 29-39 cents per piece at most art stores. I already had the materials so my napkin rings were free. You may purchase all materials for $3-5 for 10 napkin rings.
How To:
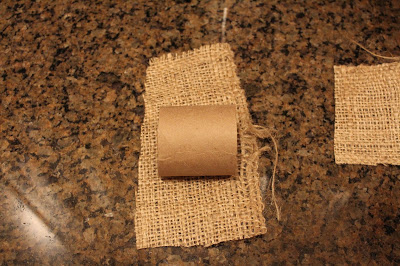
Cut the toilet paper/paper towel tubes into napkin ring size. One toilet paper tube will make 2 napkin rings for reference. A paper towel tube will make 4 rings. Next cut a strip of burlap or fabric just long enough to go around the ring. There are two options for the width of the fabric (and I did both and think both ways look good). You may cut the fabric wider than the tube to tuck the edges into the tube for a more finished look OR you may cut the fabric just the width of the tube. This method works well if you use burlap. The edges of the burlap hang over the edge of the tube for a more rustic look (and this method is far easier and faster also).
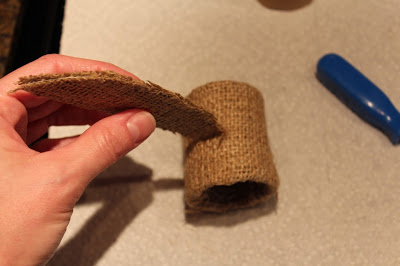
Once the fabric is cut, glue the tube to the fabric and allow to dry. If you’re tucking your fabric edges into the tube on both ends, tuck the fabric and glue the edges to the inside of the tube once the outside fabric has already dried.
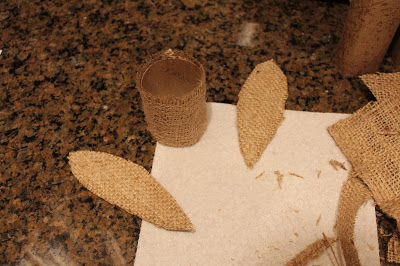
Repeat the above process to make the bunny ears. I didn’t have a template, I just cut paper into the shape of bunny ears. Cut small pieces of fabric and cover both sides of the paper ears with it. These don’t have to be perfect. None of my ears were the same size and the imperfection made the rings look better. (I’ll be honest, I made these after work on a Friday night and I was so tired I wanted them to be done in a hurry. These really are quick if you cut the paper and fabric first and then glue everything at one time).
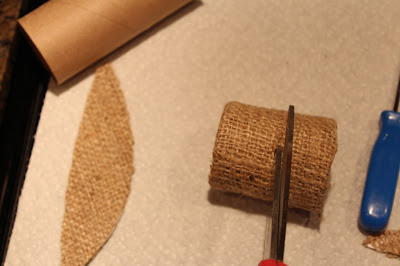
Allow the rings and ears to dry overnight before attaching the ears. To assemble the rings, cut a small hole in the top of the tube. It needs to be about 1/2″ long.
Place one ear at a time in the ring. I had to open up the hole just a little more to get both ears into the ring. However, make the hole small at first and you can always make it larger – you want the ears to be very snug in the napkin ring.
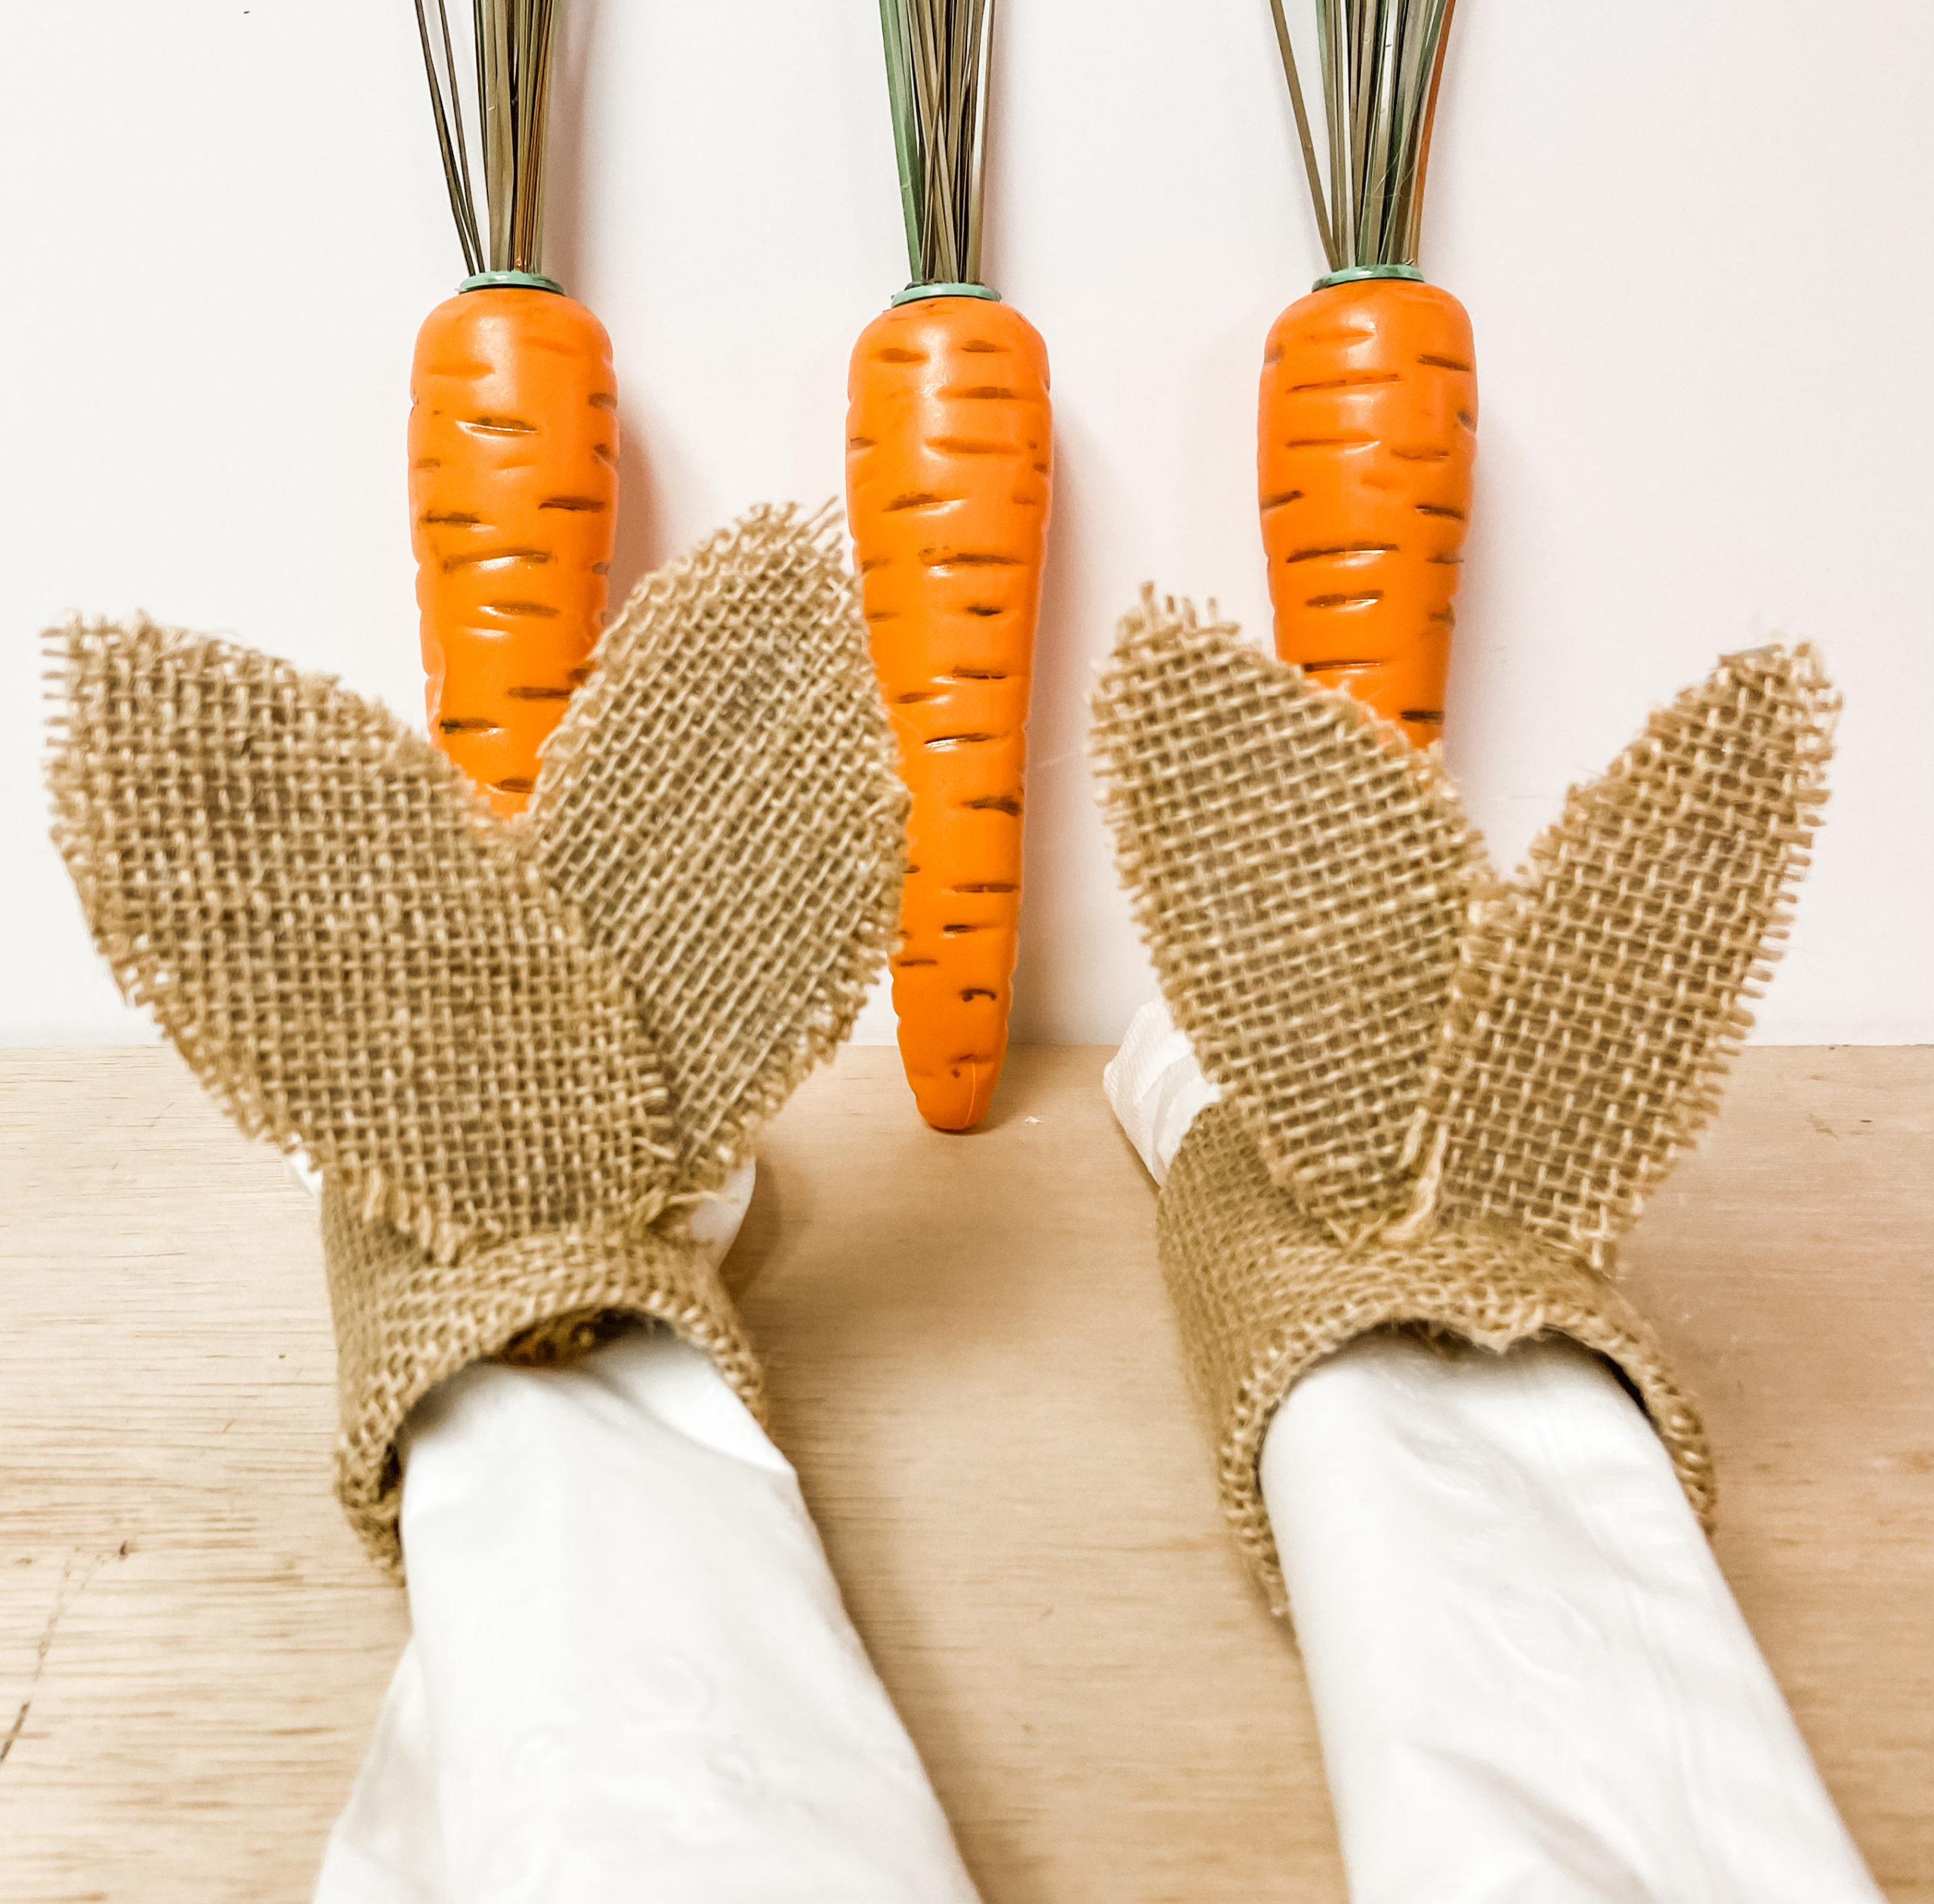
Once both ears are in the ring, slide them apart to resemble bunny ears.
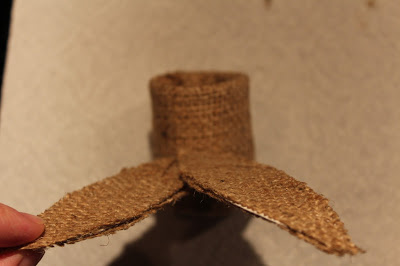
And your ring is complete!

Easter Bunny Napkin Rings!!