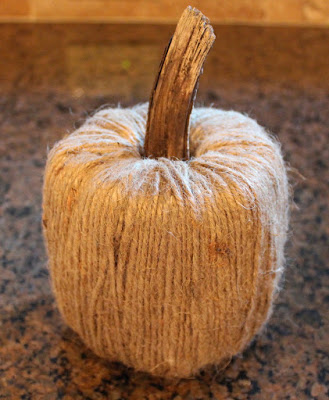


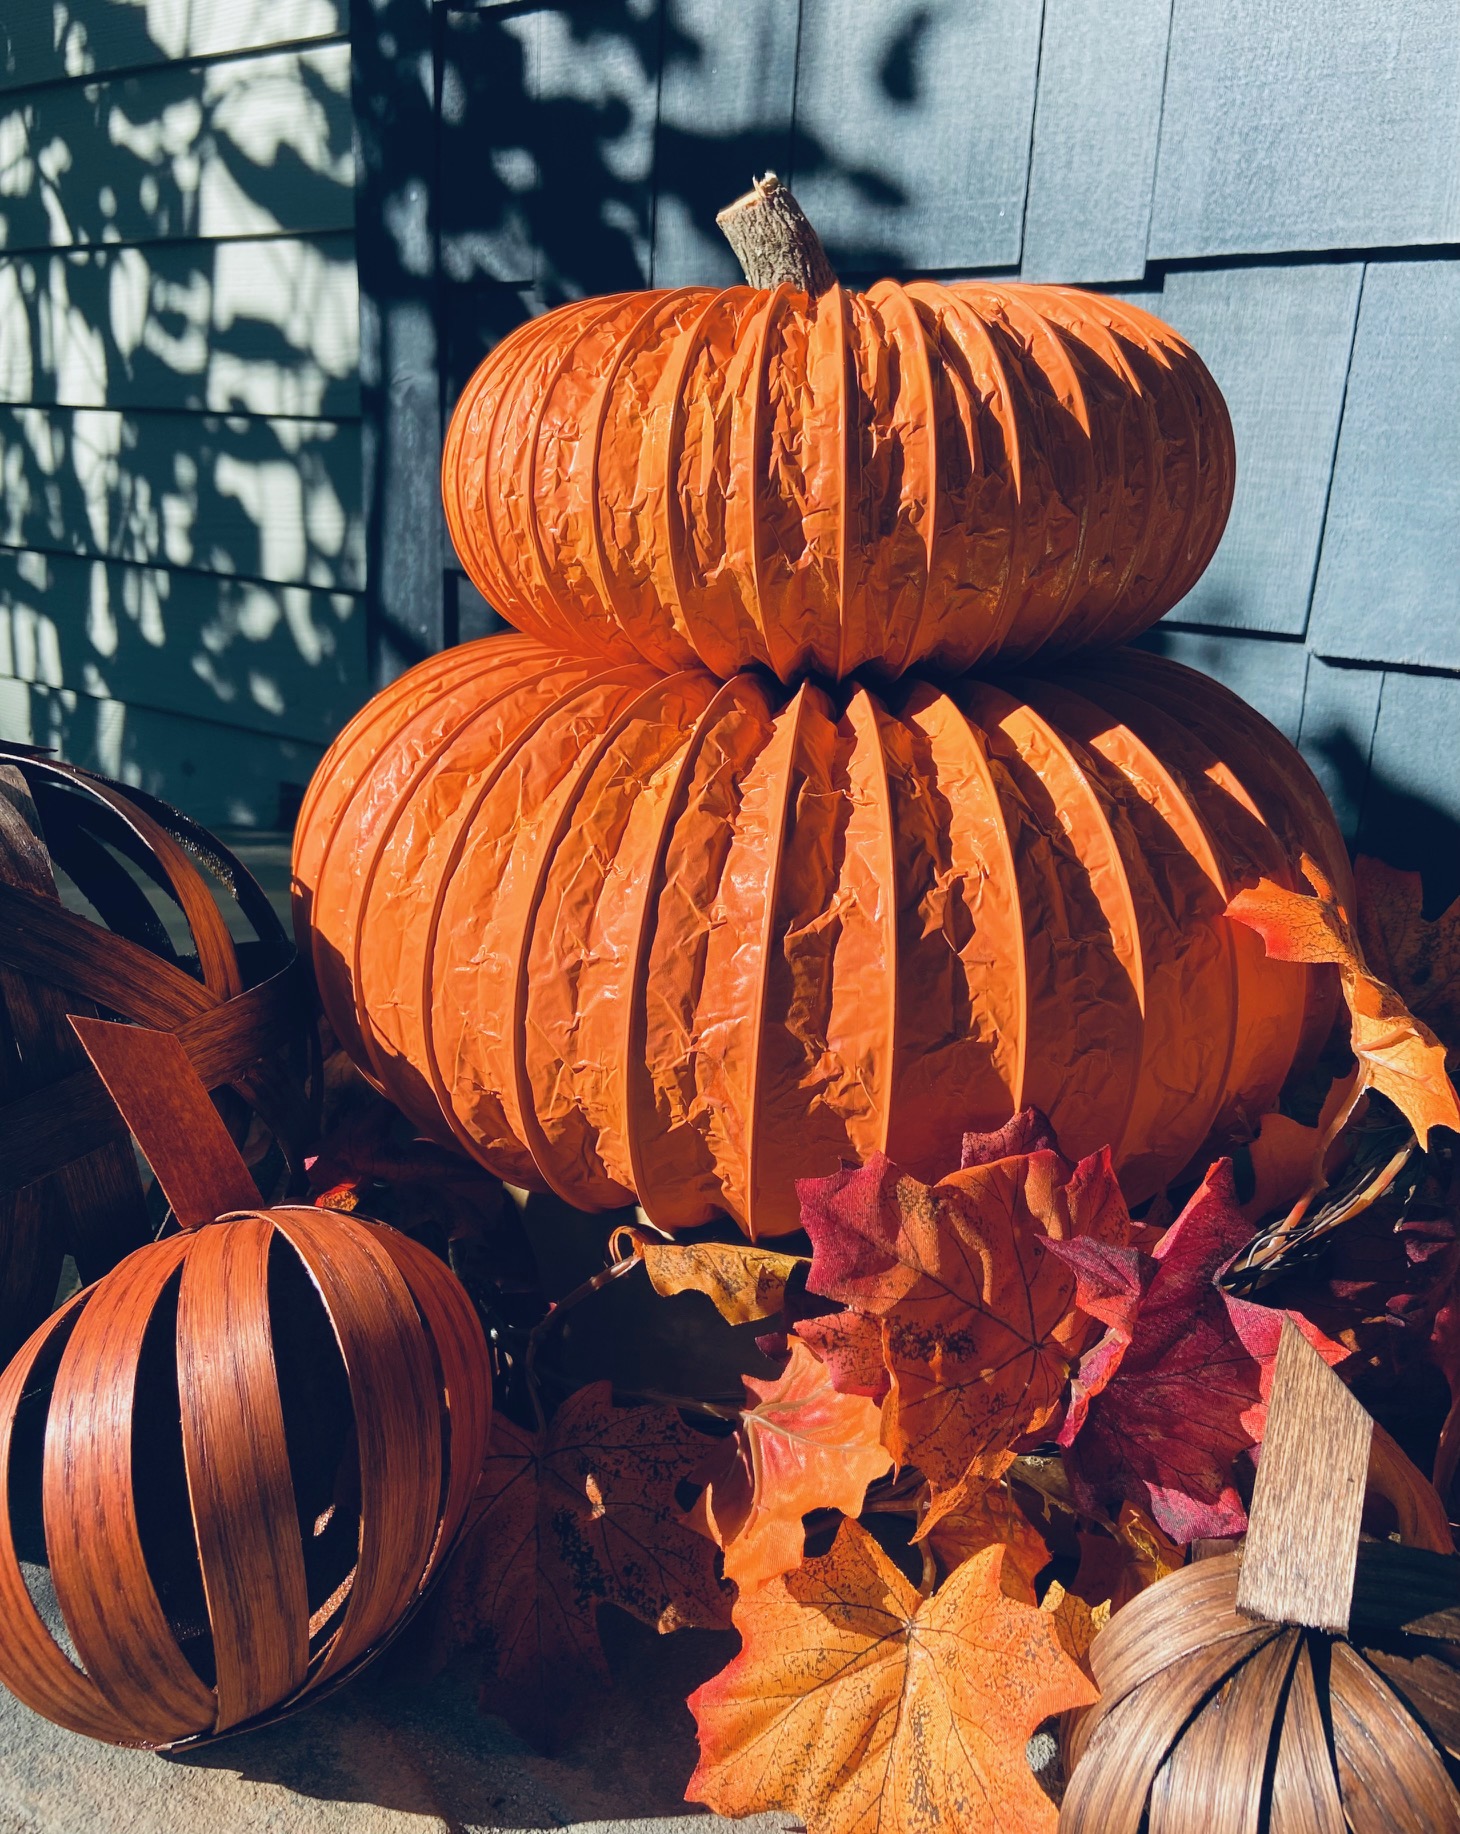

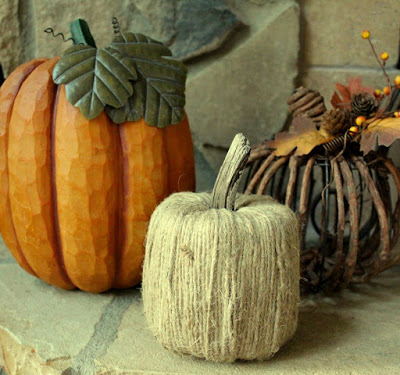
Happy Fall Y’all! My favorite season is fall. The color, sights, and smells make the season extra special. Fall is fun for kids because Halloween is coming and a whole bunch of holidays are just around the corner. Children love a good project (and moms love the help). This year give your kids a project that is fun and useful — Autumn Pumpkins! Pumpkins are great for many reasons, both culinary and decorative. These pumpkins make beautiful autumn and Thanksgiving decorations for the home and table, and are a great way to involve the entire family in the seasonal preparations. My “pumpkins” cost about $1.50 and take 20 minutes or so to make. It really is so easy!
Materials:
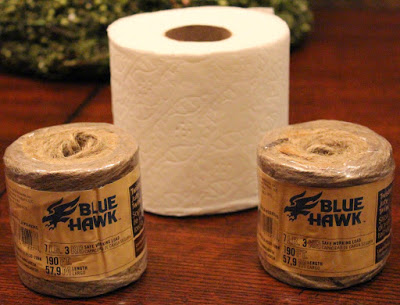
One roll of toilet tissue
One roll of jute twine
Scissors
Glue
The rolls of twine that I purchased make roughly two pumpkins per roll. The rolls of twine are just under $2 and the tissue paper is 50 cents per roll. So the cost is about $1.50 per pumpkin. Colored yard is also a nice touch. It allows for custom colors like orange, brown, rust, or yellows that blend with fall decorations (or whatever color scheme is on your Thanksgiving table).
How-To:
Begin by threading the end of the twine through the roll and tying a tight knot. After you tie the knot, shimmy the knot into the middle of the roll so it is hidden. Pull plenty of twine from the roll. Make a mental note to pull only the amount that you can force through the center of the paper roll. You should pull only half of what you need at first. It is easy to tie another knot as you go along for more twine. Cut the end of the pulled twine from the roll.
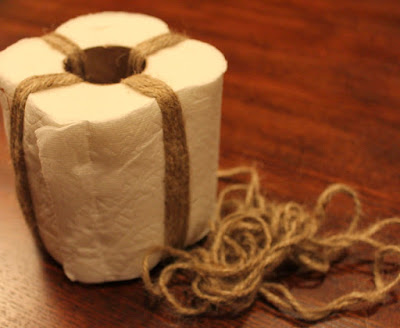
Wrap the twine four or five times around one section of the roll. Then turn the roll 1/4 around and repeat. This process will repeat until the entire roll is covered in twine. By doing it in quarter turns, the twine inside the roll stays firmly against the side so as you push and pull the excess in and out of the roll it doesn’t tangle the extra twine. It also keeps the paper evenly mashed down so that one side doesn’t bulge to the point you can’t evenly cover it. No misshapen pumpkins here!